Quickstart
Create your account, set up your inbox with a phone number, and send your first message.
Helios gets you from signup to texting customers in minutes. This guide walks the whole path: account, inbox, phone number, plan, and your first message.
1. Create your account
Go to sendhelios.com/signup and fill in your details: first and last name, company name, phone number, email, and a password of at least 8 characters. Your company name becomes your organization in Helios.
Click Get started to create your account and begin onboarding.
2. Create your inbox
An inbox is a shared workspace with its own phone number. Your whole team works out of it together.
Name your inbox
Pick something your team will recognize, like “Support” or “Sales”. Many teams name inboxes after locations.
Choose a phone number
Search by area code and pick a number from the results. Each result shows the number and its city and state.
Continue
3. Choose your plan
Every plan includes the full platform: all features, every channel, unlimited team members, and unlimited contacts. Plans differ by how many message credits are included each month and how many phone numbers you can have.
Pick Pay monthly or Pay yearly (yearly saves 20%), then choose your plan.
4. Start your subscription
Review the order summary, enter your payment details, and click Start subscription. Helios creates your inbox and provisions your phone number, then drops you into your new workspace.
5. Send your first message
You’ll land on Inbox, your team’s daily starting point.
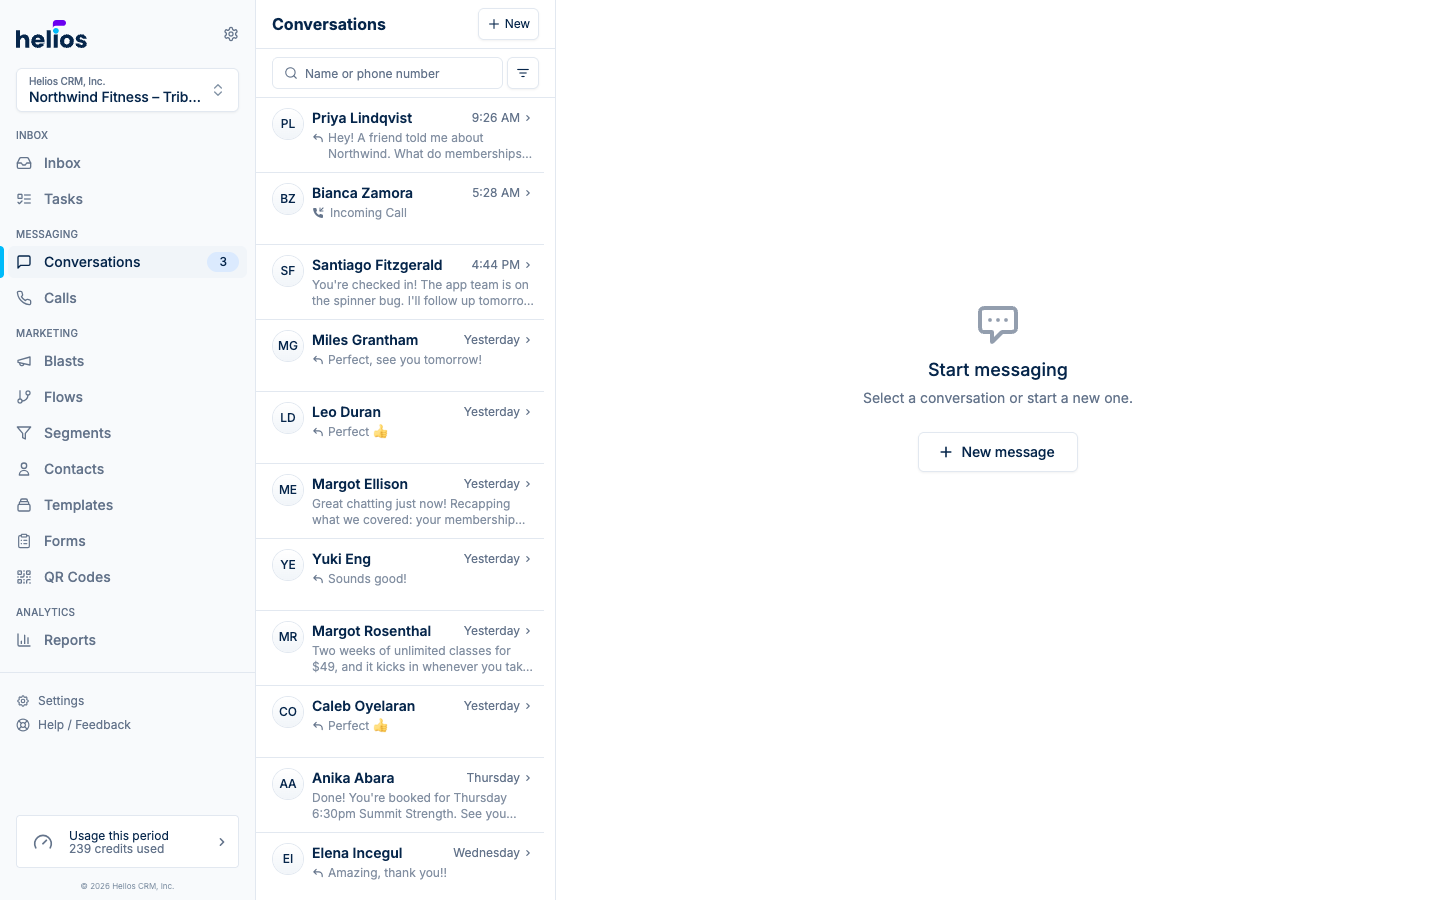
To start a conversation:
- Click New at the top of the conversation list.
- Search for a contact or enter a phone number.
- Type your message and hit Send.
Replies land back in the same thread, and your whole team can see and respond to them.