Email domains
Send email from your own domain, with step-by-step DNS instructions for Squarespace, GoDaddy, Wix, and every other provider.
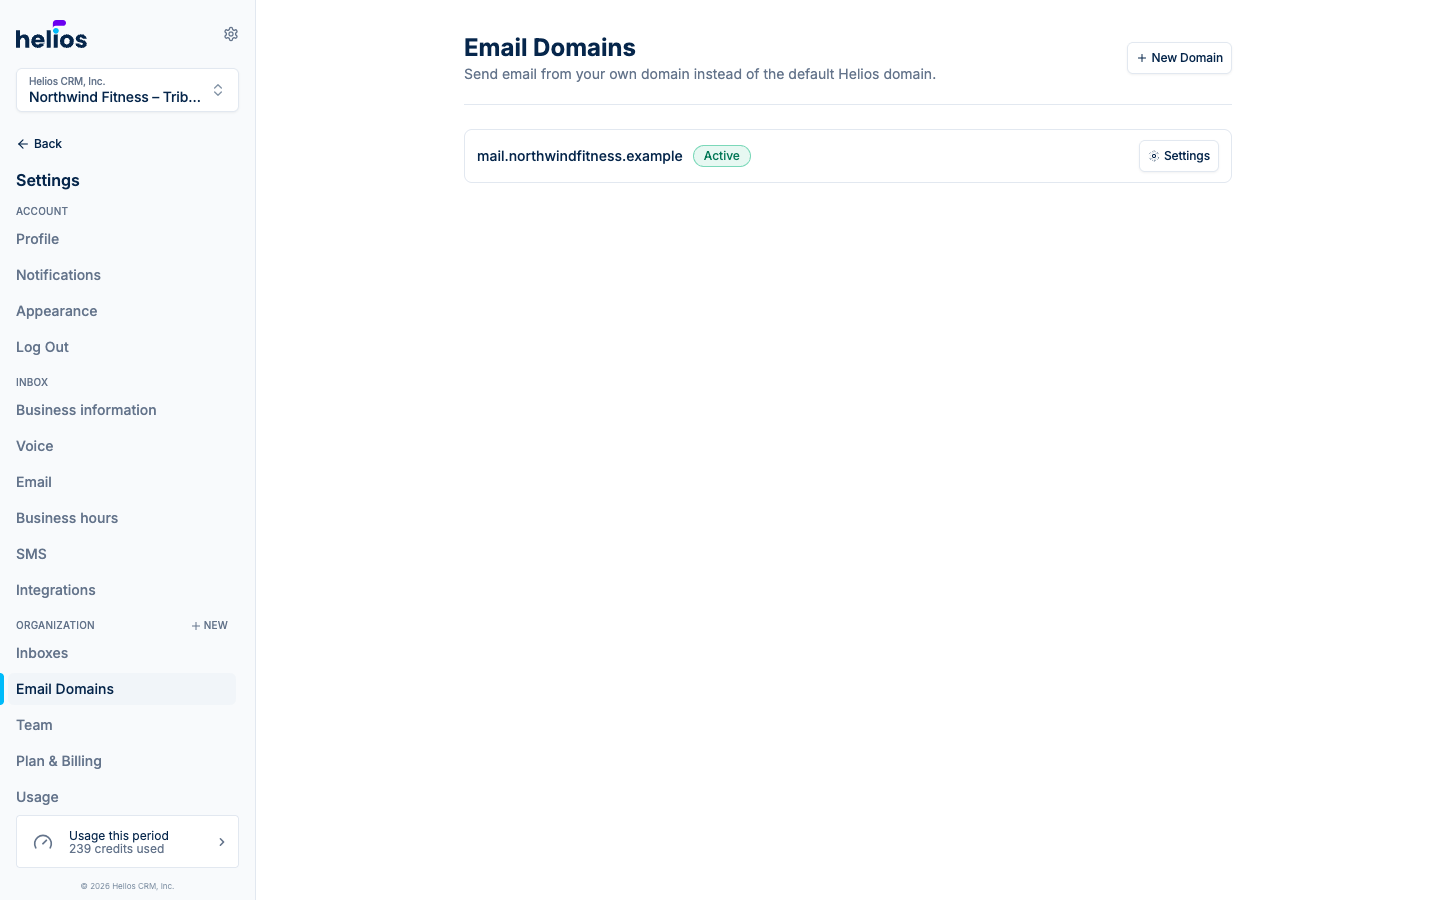
To send email blasts and flow emails from you@yourgym.com instead of a shared Helios address, add and verify a sending domain under Settings → Email Domains.
Verification means adding three DNS records at your DNS provider. It takes about 10 minutes, and this guide walks you through every click, including exact steps for Squarespace, GoDaddy, and Wix.
How verification works
When you add a domain, Helios generates three DNS records. Each one proves something to mailbox providers like Gmail and Outlook:
| Record | Type | What it does |
|---|---|---|
| SPF | TXT | Lists the servers allowed to send email for your domain |
| DKIM | TXT | Cryptographically signs your email so receivers know it wasn’t forged or altered |
| Return Path | CNAME | Routes bounce reports back through Helios (recommended) |
Your domain becomes Active once SPF and DKIM verify. Without them, your campaigns are far more likely to land in spam.
Two rules that prevent almost every failure
Nearly every failed verification we see comes down to one of these two mistakes. Read this before touching your DNS settings.
Step 1: Add your domain in Helios
Open Email Domains
Go to Settings → Email Domains and click Add Domain.
Enter your domain
Enter the domain you send email from, e.g. yourgym.com. Optionally set a custom Return Path
Domain (e.g. pm-bounces.yourgym.com); otherwise the default works fine.
Follow the setup steps
Helios opens a guided setup: pick your DNS provider from the dropdown and the page shows the exact values to copy, already formatted for that provider’s fields. Keep this page open while you work.
The in-app setup covers most cases on its own. The rest of this guide is the detailed reference for each provider, plus troubleshooting.
Step 2: Find out where your DNS is managed
Your DNS is not always managed where you bought the domain. If you bought a domain at Namecheap but your website runs on Squarespace with Squarespace’s nameservers, your DNS lives at Squarespace.
To check, look up your domain at lookup.icann.org and find the Name Servers section, then match against this table:
| Nameservers contain | Your DNS is managed at |
|---|---|
squarespace.com, nsone.net, googledomains.com, squarespacedns.com |
Squarespace (including all former Google Domains) |
domaincontrol.com |
GoDaddy |
wixdns.net |
Wix |
cloudflare.com |
Cloudflare |
registrar-servers.com |
Namecheap |
Log in to that provider and follow the matching section below.
Step 3: Add the records at your DNS provider
You’ll add three records: the SPF TXT record, the DKIM TXT record, and the Return Path CNAME. Keep the Helios domain page open in one tab and your DNS provider in another.
Squarespace
These steps apply to domains registered with Squarespace (including domains migrated from Google Domains) and third-party domains connected via nameservers.
Open your domain's DNS settings
Log in to Squarespace and open your domains dashboard. Click your domain, then click DNS in the side panel, then DNS Settings. Scroll down to Custom Records and click Add Record. Squarespace may ask you to re-enter your password or confirm two-factor authentication.
Add the SPF record
Set Type to TXT. In the Name field enter @ (Squarespace adds your domain
automatically, and @ means the root domain). In the Text field paste the SPF Value
from Helios, e.g. v=spf1 a mx include:spf.mtasv.net ~all. Click Save.
Add the DKIM record
Add another record with Type TXT. In the Name field enter only the part of the DKIM
host before your domain: if Helios shows 20260101abc.pm._domainkey.yourgym.com, enter
20260101abc.pm._domainkey. In the Text field paste the DKIM Value from Helios (the
long string starting with k=rsa;). Click Save.
Add the Return Path record
Add another record with Type CNAME. In the Name field enter pm-bounces (again,
without your domain). In the Data field paste the Return Path Value from Helios,
pm.mtasv.net. Click Save.
GoDaddy
Open your domain's DNS settings
Sign in to your GoDaddy Domain Portfolio, select your domain, then select DNS (on some accounts: Manage DNS under Additional Settings). Click Add New Record.
Add the SPF record
Set Type to TXT. In the Name field enter @ (GoDaddy adds your domain automatically).
In the Value field paste the SPF Value from Helios, e.g. v=spf1 a mx include:spf.mtasv.net ~all. Save the record.
Add the DKIM record
Add another record with Type TXT. In the Name field enter only the part of the DKIM
host before your domain: if Helios shows 20260101abc.pm._domainkey.yourgym.com, enter
20260101abc.pm._domainkey. In the Value field paste the DKIM Value from Helios. Save
the record.
Add the Return Path record
Add another record with Type CNAME. In the Name field enter pm-bounces. In the
Value field paste pm.mtasv.net. Save the record. If your domain has Domain Protection,
GoDaddy asks you to verify your identity before saving.
Wix
These steps apply if your domain is registered with Wix or connected to Wix via nameservers. If your domain is connected via pointing, your DNS lives at your registrar instead: check the nameserver table above.
Open your domain's DNS records
Go to the Domains page in your Wix account. Click the Domain Actions icon (three dots) next to your domain and select Manage DNS Records.
Add the SPF record
Scroll to the TXT (Text) section and click + Add Record. Leave the Host Name field
blank (Wix treats a blank host as the root domain; do not type @). In the Value field
paste the SPF Value from Helios, e.g. v=spf1 a mx include:spf.mtasv.net ~all. Click
Save.
Add the DKIM record
In the same TXT (Text) section click + Add Record again. In the Host Name field
enter only the part of the DKIM host before your domain: if Helios shows
20260101abc.pm._domainkey.yourgym.com, enter 20260101abc.pm._domainkey. In the Value
field paste the DKIM Value from Helios. Click Save.
Add the Return Path record
Scroll to the CNAME (Aliases) section and click + Add Record. In the Host Name field
enter pm-bounces. In the Value field paste pm.mtasv.net. Click Save.
Any other provider
The same three records work everywhere; only the field names change slightly.
- Log in to your DNS provider and find the DNS management page for your domain (often called DNS Settings, DNS Zone Editor, or Manage DNS).
- For each record in Helios, add a record of the matching Type (TXT or CNAME), copy the Host and Value with the copy buttons, and save.
- Check whether your provider automatically appends your domain in the host field. If it does, enter only the part of the host before your domain, and
@(or a blank field) for the root domain. If it does not, paste the full host exactly as Helios shows it.
Step 4: Verify in Helios
Back on the domain page in Helios, click I’ve added the records, check them. Helios checks each record and, if something is off, tells you exactly which record has a problem and how to fix it: a record saved under the wrong name, a value that doesn’t match, or a record that just hasn’t finished propagating.
Each record flips to Verified as it’s found, and the domain’s badge changes to Active once SPF and DKIM are both verified.
DNS changes are not instant. If a record can’t be found right after you added it, wait 15 to 30 minutes and click Check my records again. Most providers propagate within the hour; 48 hours is the worst case.
Troubleshooting
A record still shows Not Verified after several hours
Work through these in order; together they cover nearly every case.
- Check the host for a doubled domain. At your DNS provider, look at the record you
created. If the host reads like
something._domainkey.yourgym.com.yourgym.com(your domain twice), delete the record and re-add it with only the part before your domain in the host field. This is the single most common cause. - Re-copy the value. Delete the value at your DNS provider, click the copy button in Helios, and paste it fresh. A single mistyped character breaks DKIM.
- Confirm you edited DNS at the right provider. If your nameservers point at Squarespace, records added at GoDaddy do nothing. See Step 2.
- Check the record type. SPF and DKIM are TXT records; the Return Path is a CNAME. A DKIM value pasted into a CNAME record won’t verify.
My domain already has an SPF record
A domain can only have one SPF record; adding a second breaks both. Instead of adding a new
record, edit your existing SPF TXT record and insert include:spf.mtasv.net before the final
~all or -all. For example, v=spf1 include:_spf.google.com ~all becomes
v=spf1 include:_spf.google.com include:spf.mtasv.net ~all.
How long does propagation take?
Usually minutes, sometimes hours. Squarespace typically propagates in 15 to 30 minutes, GoDaddy and Wix within an hour. The global worst case is 48 hours. Re-check any time from the domain page in Helios (I’ve added the records, check them during setup, or Check DNS records afterward); re-checking never hurts anything.
I don't know who manages my DNS
Look up your domain at lookup.icann.org and find the Name Servers section, then match it against the nameserver table. If the nameservers belong to a web agency or IT provider, send them the three records from the Helios domain page and ask them to add the records for you.
The DKIM record shows a Pending Rotation badge
Postmark (our email infrastructure) stages new DKIM keys before they go live. For a new domain, this just means the key is waiting for its first successful verification: add the record shown and verify. After a manual key rotation, it means you need to add the new DKIM record shown, and the old key keeps working until the new one verifies.
Still stuck? Contact support from the in-app help menu and include your domain name; we can check exactly what our verification sees.
Point an inbox at the domain
Verification alone doesn’t change anything: assign the domain in each inbox’s Email Settings (Inboxes) and set the From Name and From Address (which must end in @yourdomain.com). From then on, that inbox’s email sends from your domain.
Maintenance
- Rotate DKIM keys if your keys are ever compromised. On a verified domain, open Advanced: view DNS records on the domain page and click Rotate keys inside the DKIM record. Your old key keeps working until you add the new record’s value at your DNS provider and it verifies.
- If you change DNS providers or nameservers, your records don’t move with you. Re-add all three records at the new provider and re-verify: a domain that loses its records stops authenticating and its email starts failing.