Platform & Features
Sending form submissions programmatically
In addition to creating and embedding forms in Helios you can also send form submissions programatically. This allows you to keep your existing forms on your website as-is and receive form submissions in your Helios inbox. You will need basic knowledge of Javascript to complete these steps.
Getting started
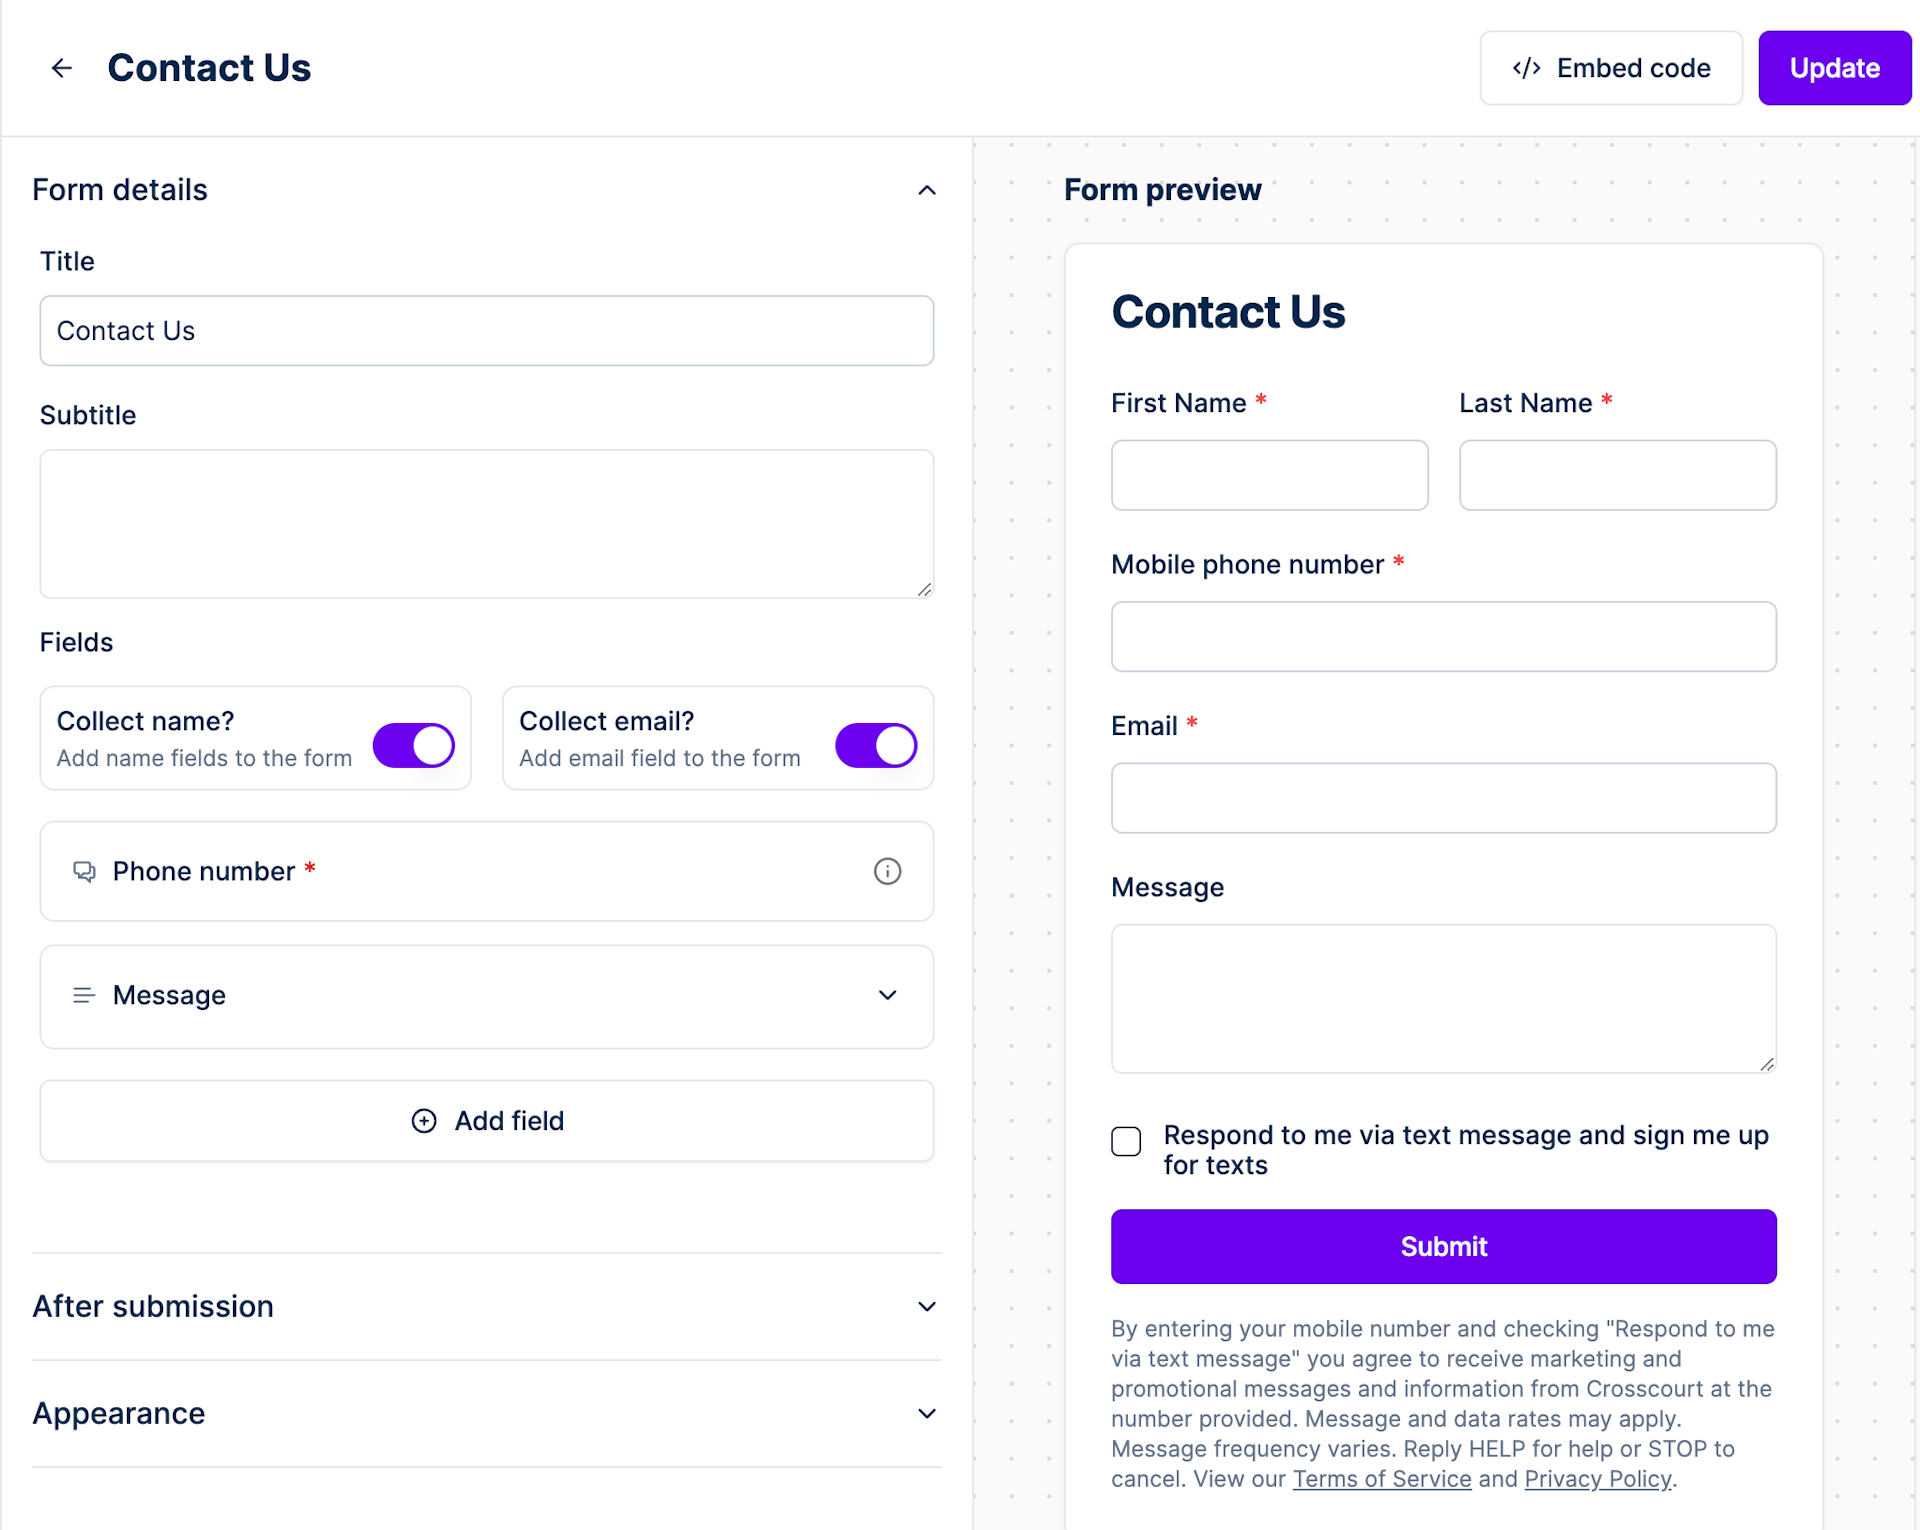
To start sending form submissions programmatically, first create a new form in Helios. The form should have the same fields as the existing form on your website. Refer to the help center article on creating forms for help with this step.

Note: Ensure that you include the opt in checkbox to your form and include the legal compliance language. You can copy and paste the message from the form in Helios and add it to your existing form.
Sending submissions
Step 1: Find your form ID
After creating the form in Helios navigate to https://sendhelios.com/forms. Copy the ID for the form you want to send submissions to.

Step 2: Send form submissions
On your website you will add or add to an onsubmit event listener for when your website's form is submitted. When a user submits your form you will add a POST to Helios' API.
Send submission with Helios public API
POST https://api.sendhelios.com/v1/forms/YOUR_FORM_ID_HERE
You will transmit data to this endpoint via a POST request, with the data structured according to the following JSON structure:
{
  "customer": {
    "phoneNumber": "+16468460076",
    "email": "help@sendhelios.com",
    "firstName": "Helios",
    "lastName": "Support",
    "properties": {
      "company": "Helios",
      "title": "Support"
    }
  },
  "fields": [
    {
      "id": "message",
      "value": "Hello, I have a question about Helios."
    }
  ],
  "metadata": {
    "referrer": "https://sendhelios.com/contact"
  }
}
JSON Definitions
Here's a breakdown of the JSON structure:
- customer (required): This object contains the customer's details.
- phoneNumber (required): string
- firstName: string
- lastName: string
- email: string
- properties: Record<string, any>
- fields (required): This is an array of additional fields not including phoneNumber, firstName, lastName, email. Match the field as they appear in Helios.
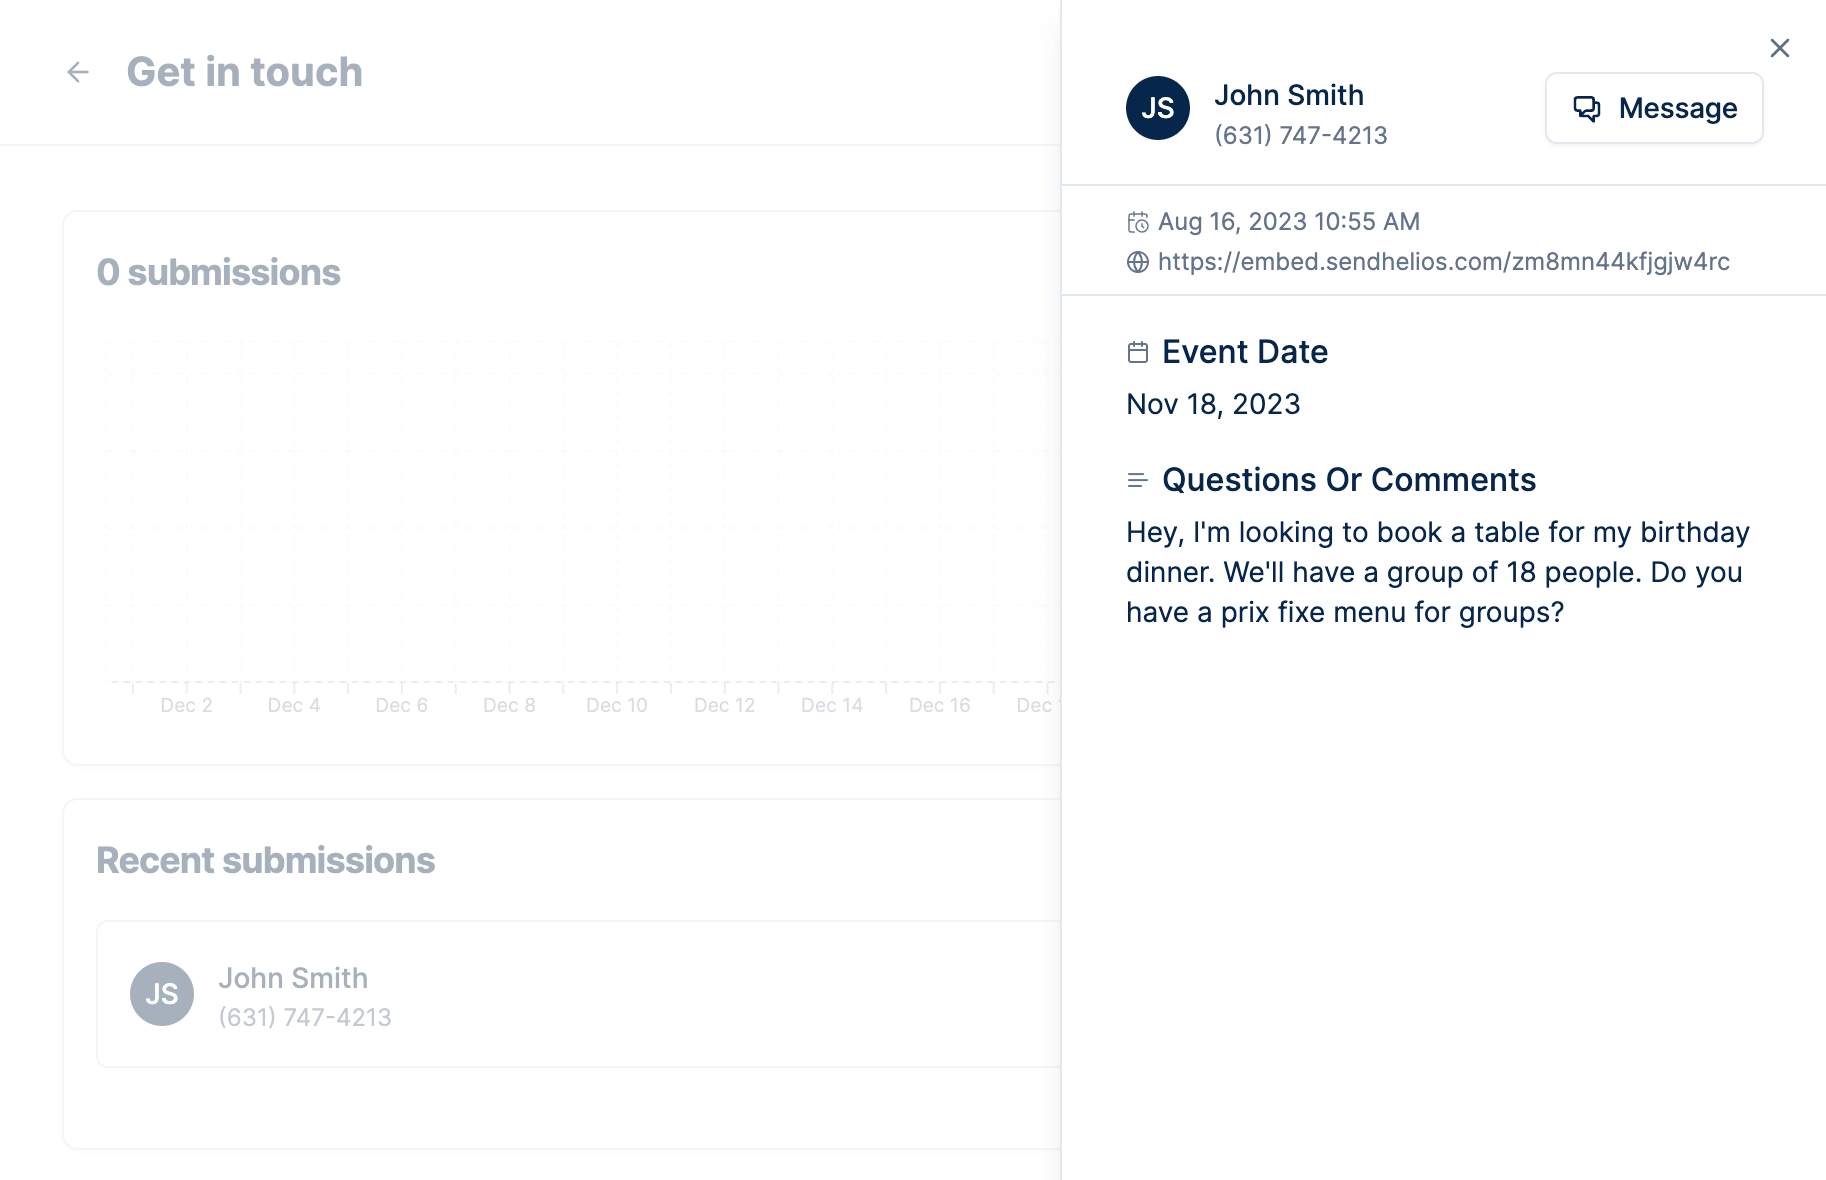
- fields[*].id (required): string. Field IDs are a camelCase string of the field label. For example a textarea field with the label Questions Or Comments will have the ID questionsOrComments
- fields[*].value (required): string. This is the value the user entered into the field on your form.
- metadata: Record<string, any>. Send any additional details as metadata. A common use case is to send the referrer (URL the form was submitted on)
Step 3: Send a test submission
Now that you have integrated your website's form to send submissions to the Helios API you can submit a test. A successful submission will show on the form detail page in Helios (https://sendhelios.com/forms/YOUR_FORM_ID_HERE) and as a new message in your inbox.

Troubleshooting
If you have issues successfully sending a form submission to Helios use the developer tools in your browser to inspect the network request for the submission to Helios API and look for any errors.
If you need additional assistance contact support.
