Platform & Features
Automations: Auto-Reply
Automating your workflow with incoming message replies
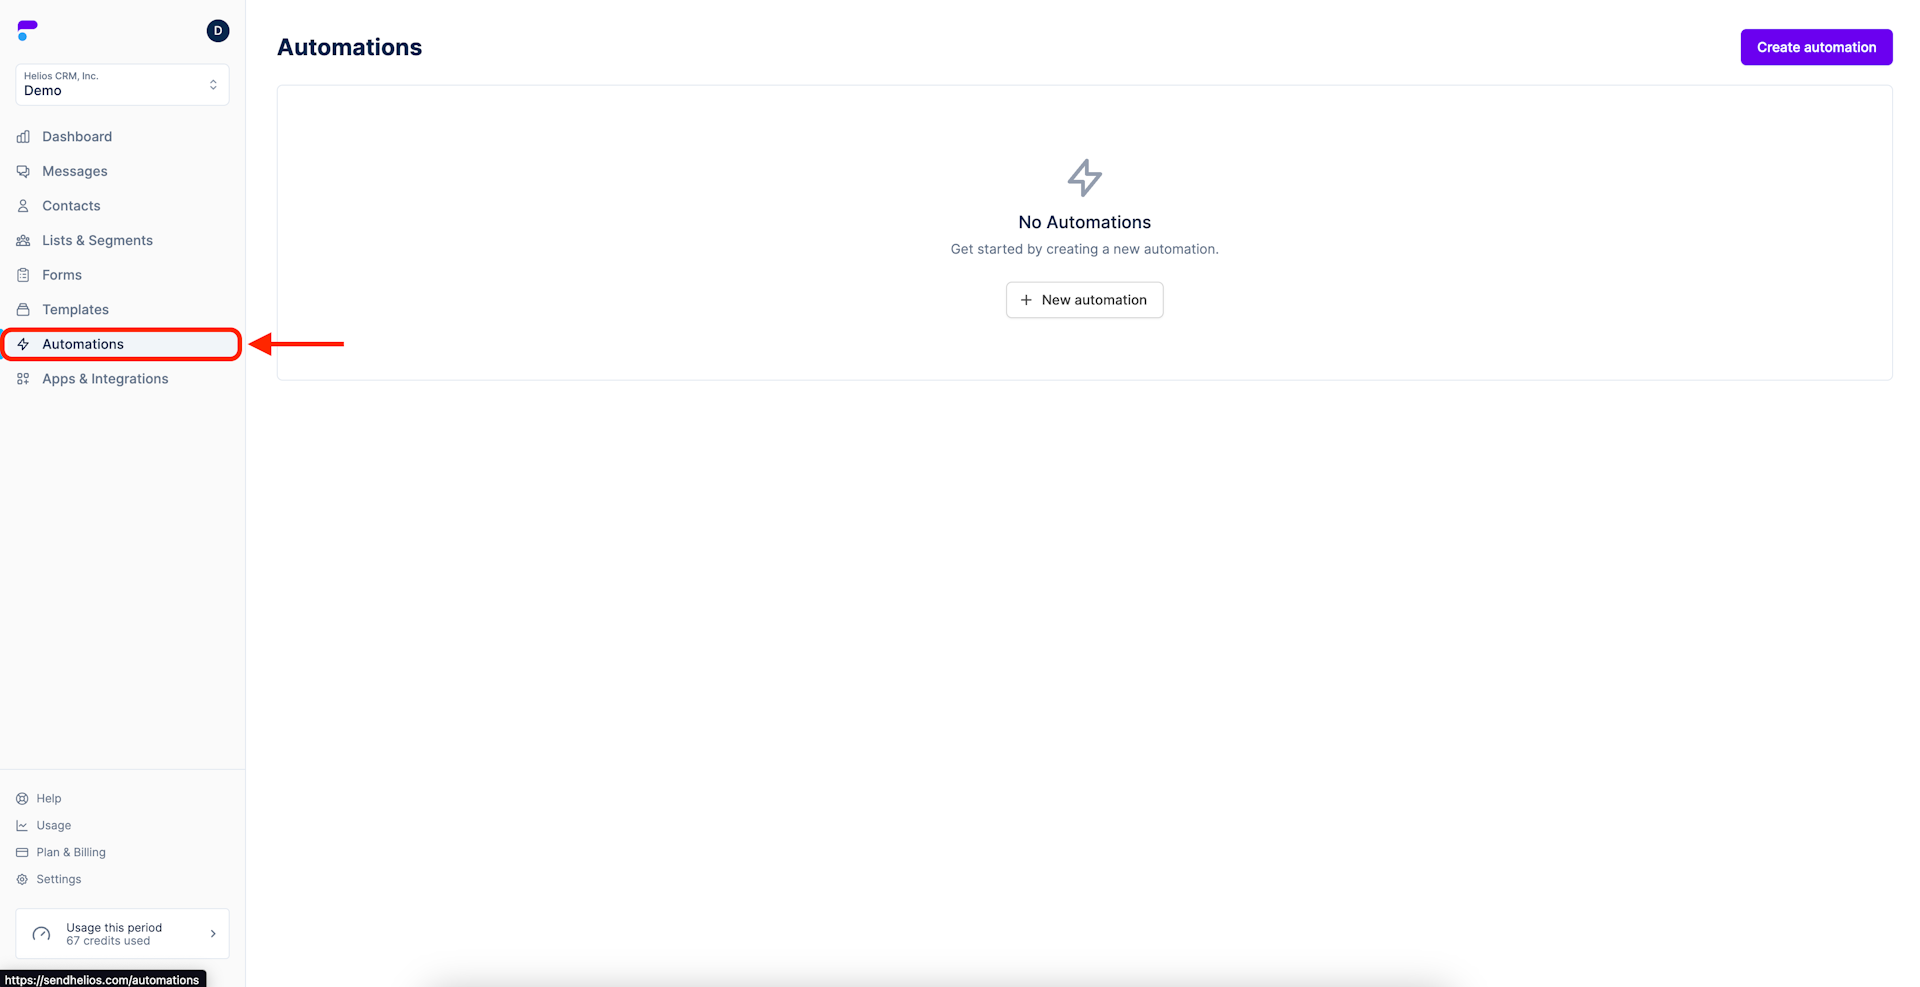
Step 1: Select Automations from the main menu
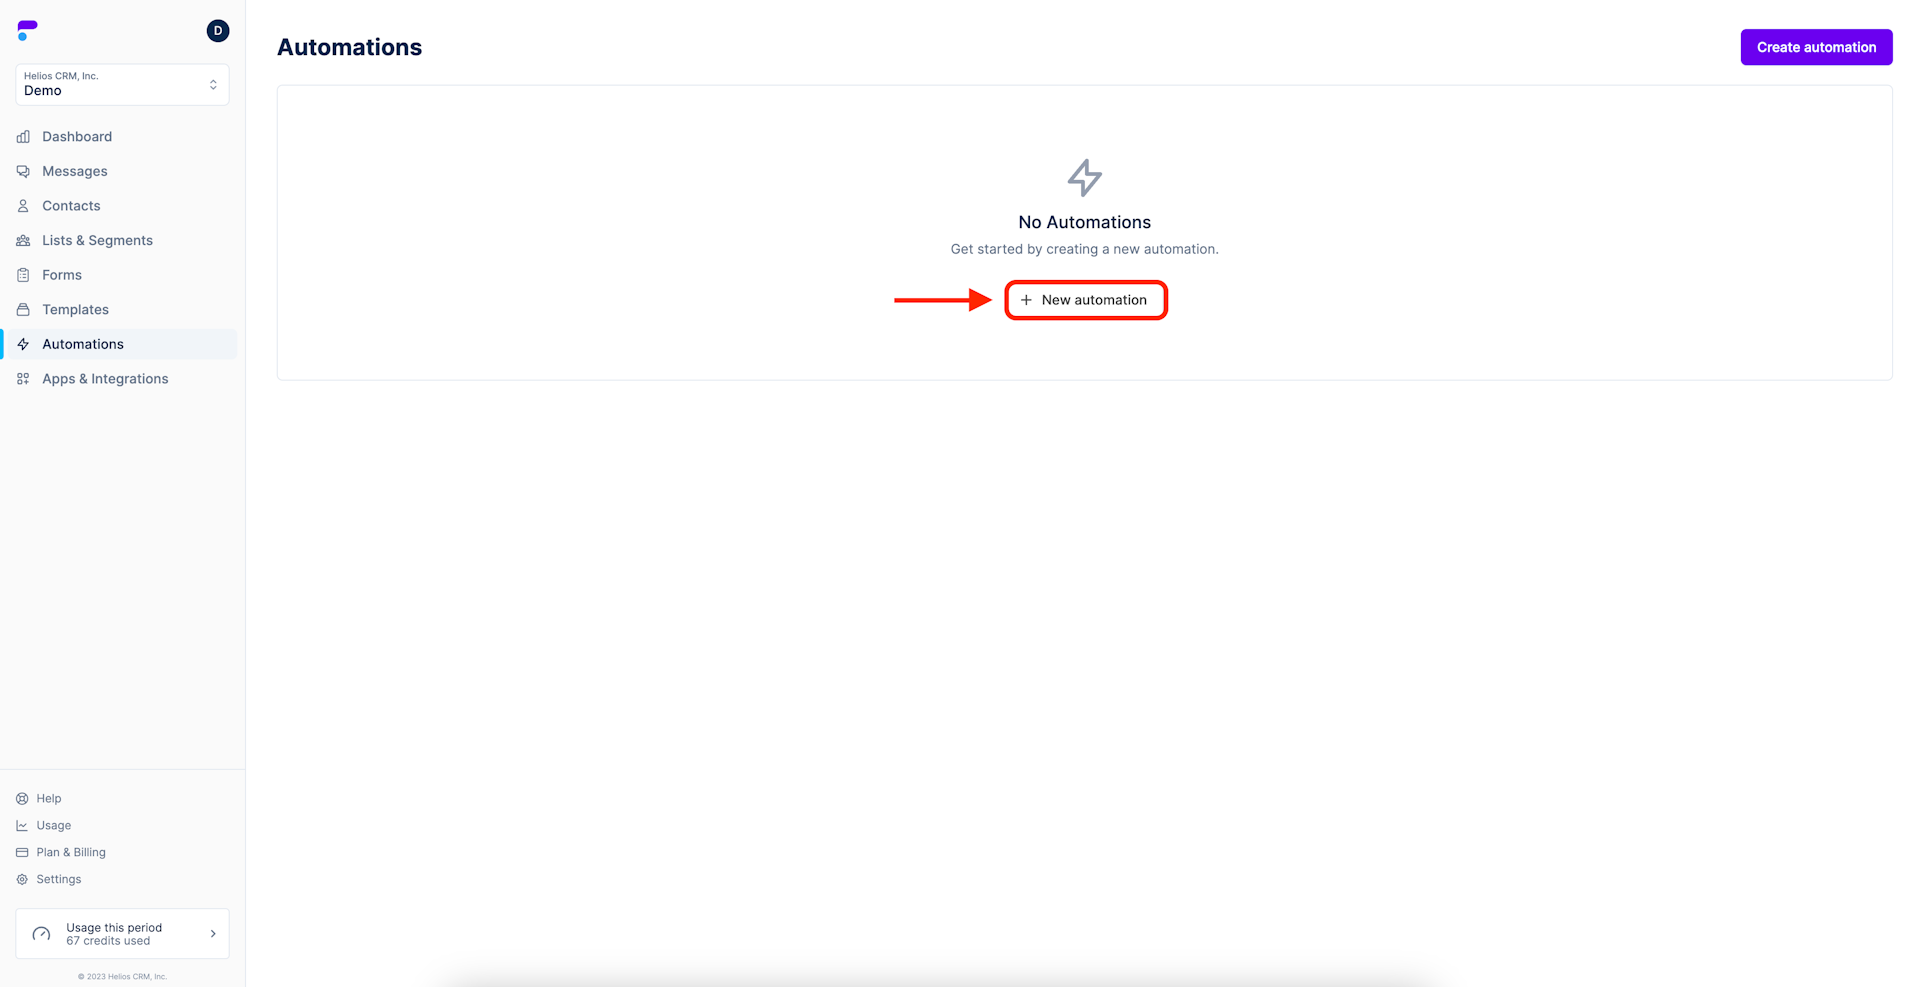
Step 2: Click New automation
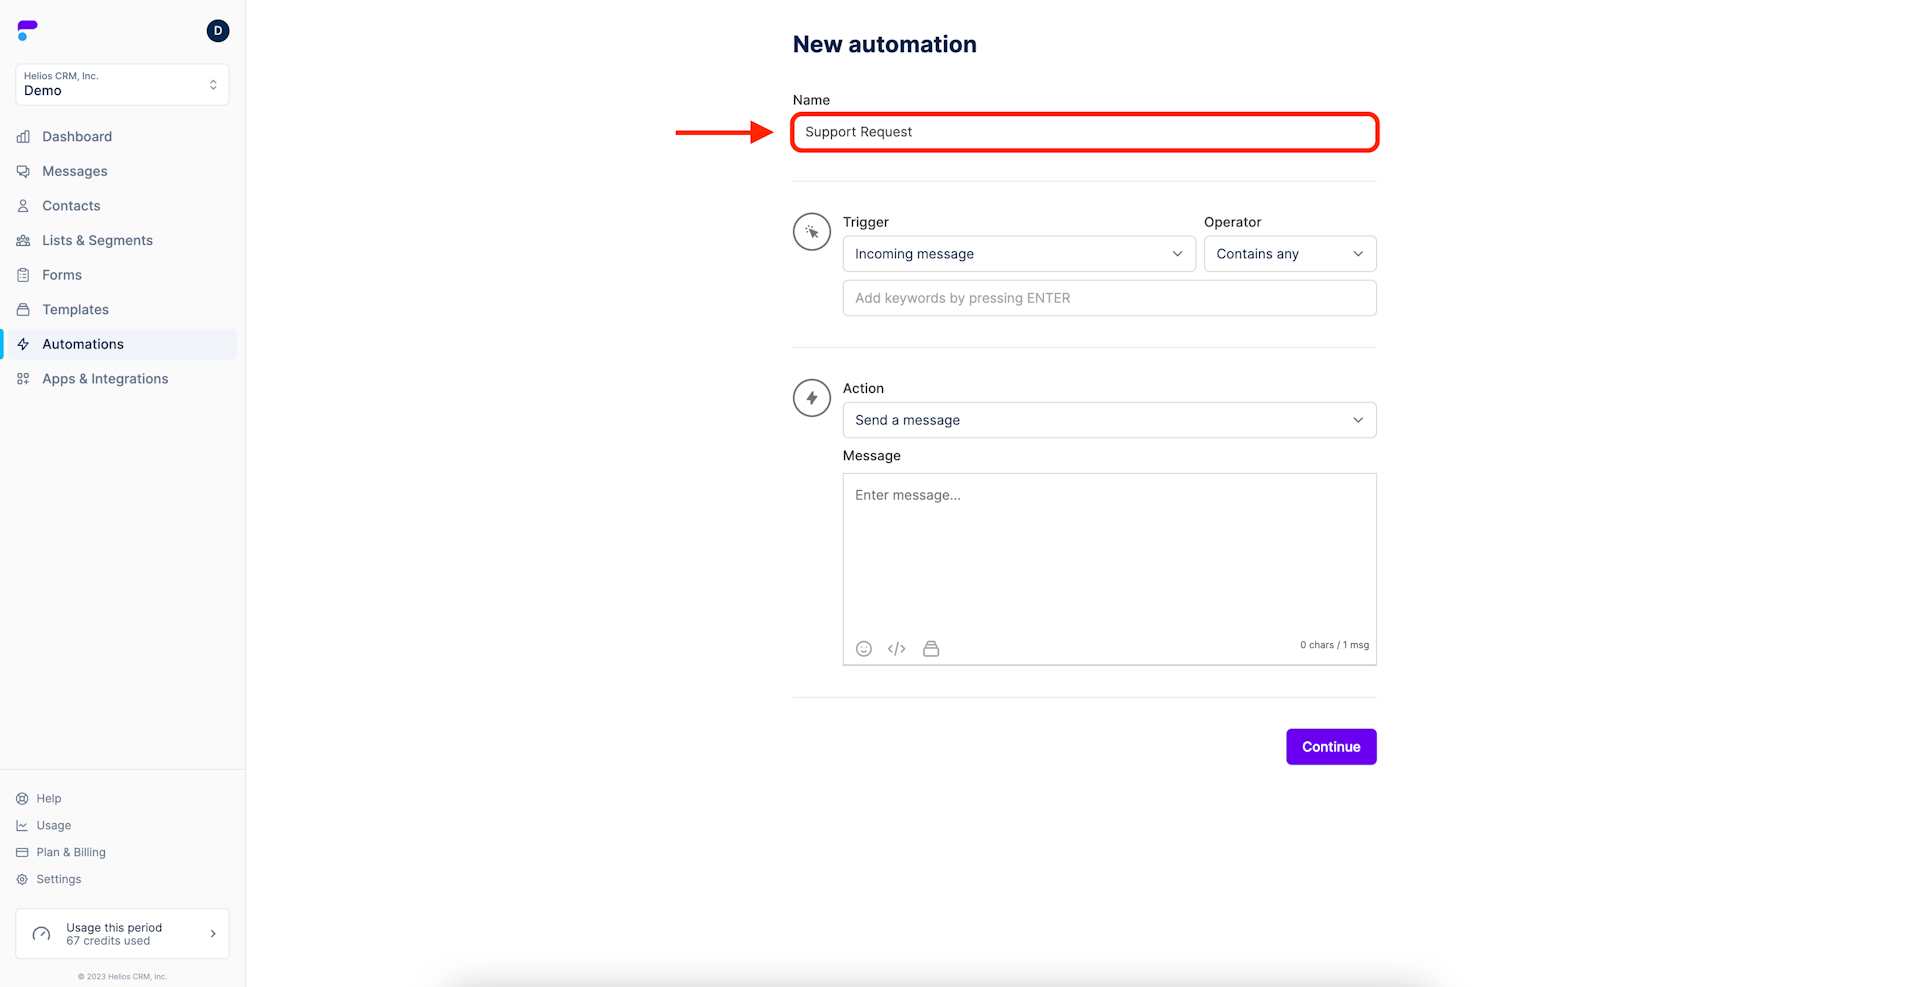
Step 3: Name your automation
In this example the automation was named 'Support Request.'
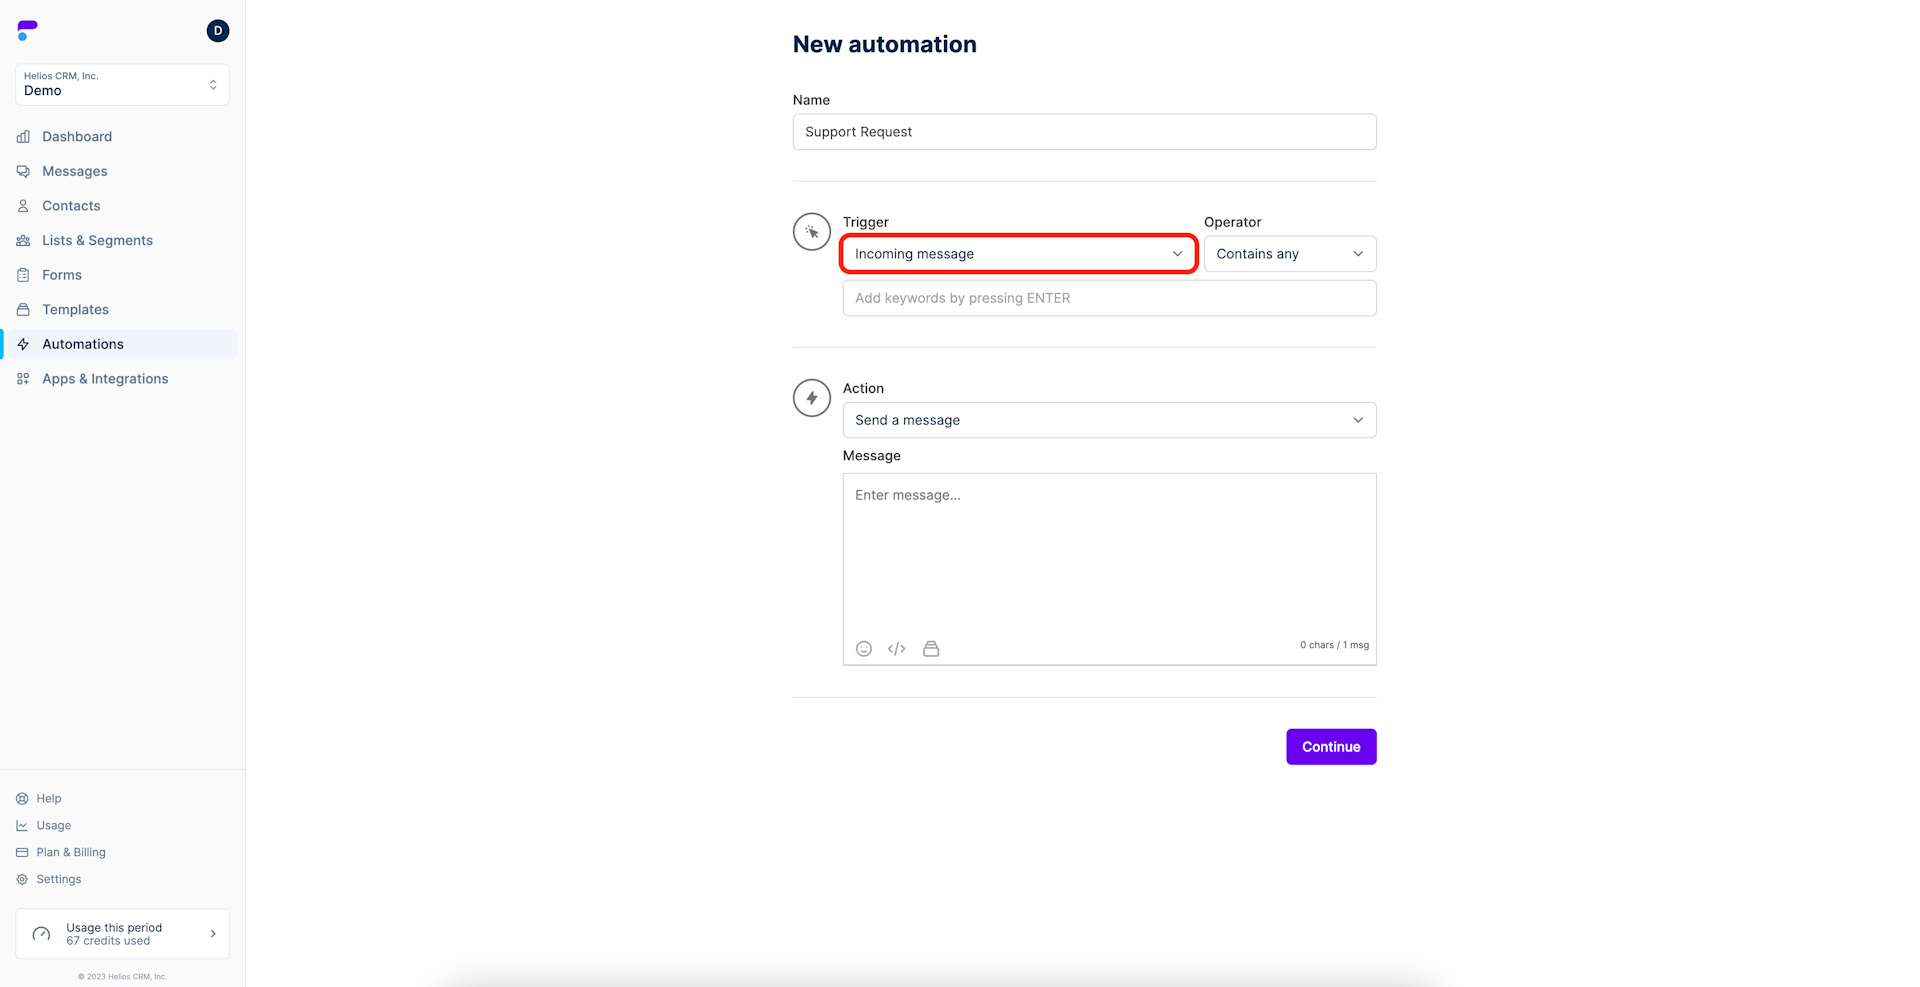
Step 4: Choose the Trigger
Triggers are the action that initiates your response.
By default, this will be set to Incoming message. Other options include added to list and removed from list.
Incoming message
Incoming message will automatically send your reply message based on a keyword your customer mentions in an incoming message.
For example, customers can reply to your messages with a keyword like FALL23 to unlock savings or early access to a product line.
Added to list
Added to list will automatically send your reply message based on a customer being dynamically added to a list or segment.
For example, you could have a segment of recent purchasers and automatically send a follow up text asking for feedback or a review.
Removed from list
Removed from list will automatically send your reply message based on a customer being removed from your dynamic segment.
For example, when a customer makes their second purchase, they will be removed from the 'First Time Buyer' segment. This could be a great time to send them information about your loyalty program via an automated MMS.
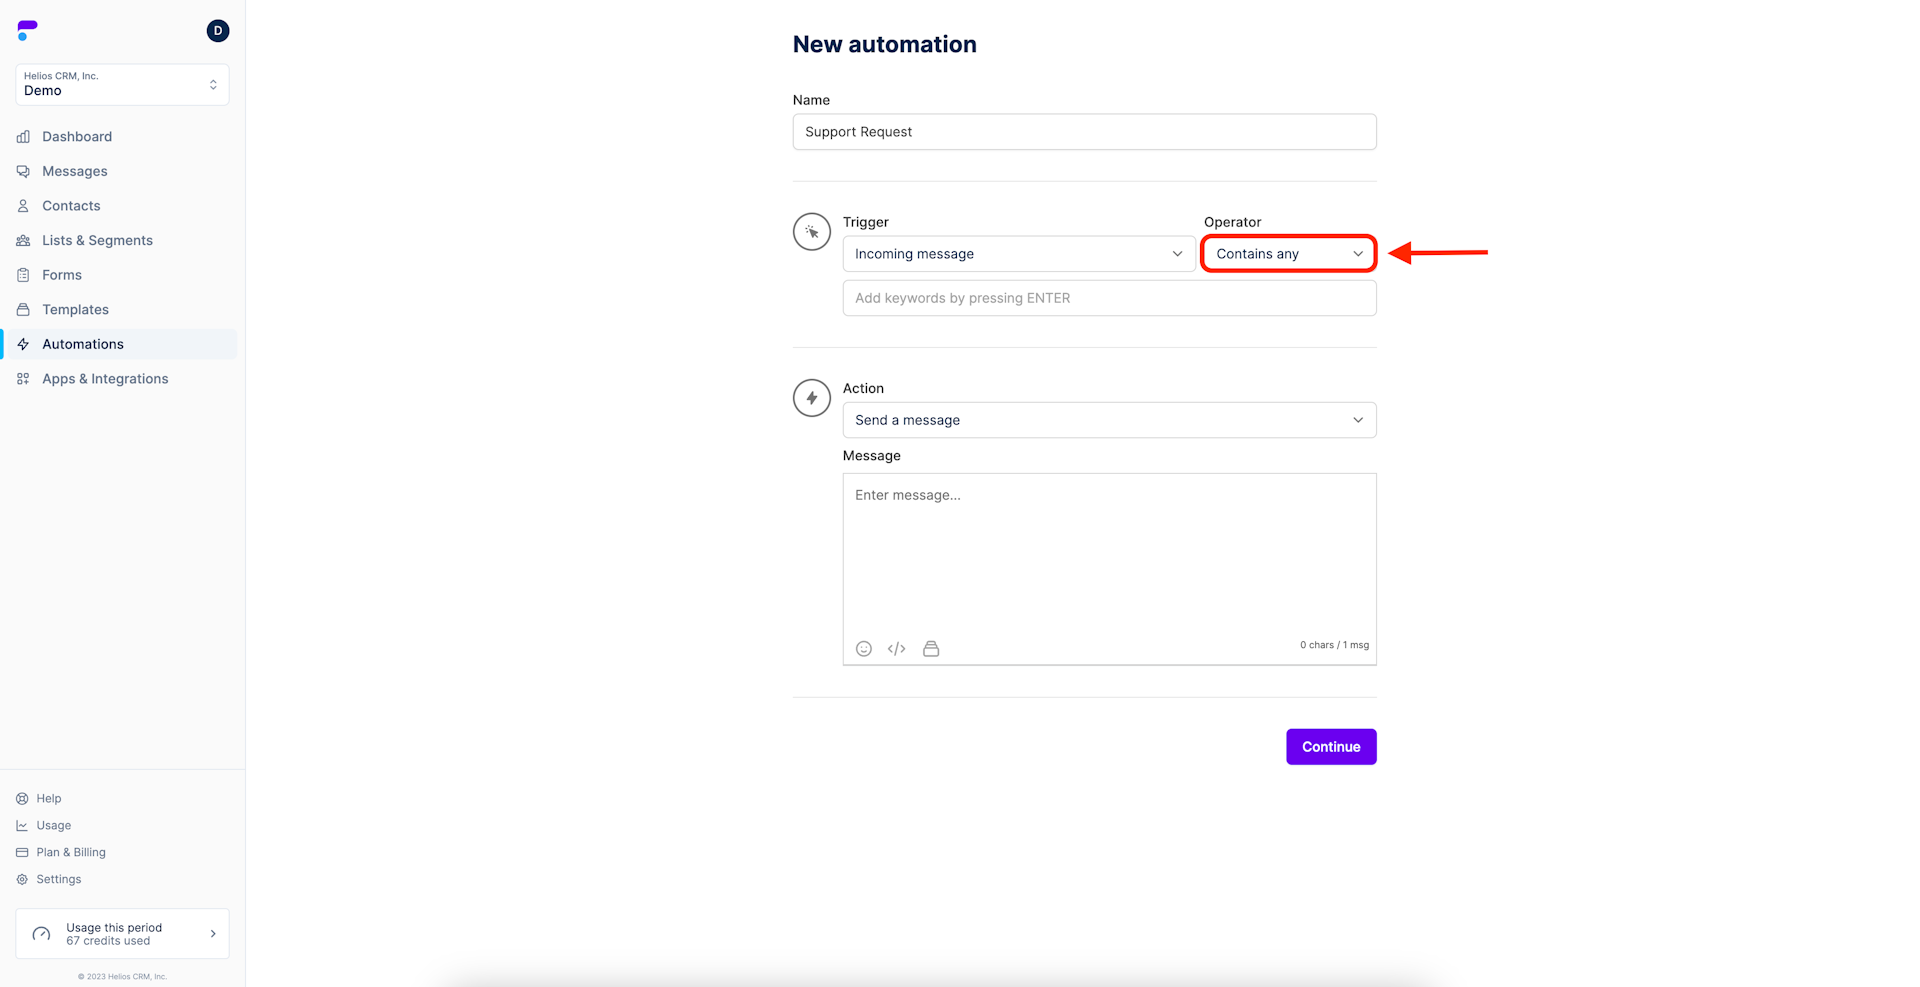
Step 5: Choose the Operator
Operators determine how specific the keyword recognition is.
Contains any
Contains any is more lenient in identifying the keyword phrase. With contains any your customers can match the phrase, including typos and punctuation errors, and the keyword is not case-sensitive.
Exact match
Exact match means the customer must type in the code exactly as you enter it during setup. Any of the instances above will not register an automated reply.
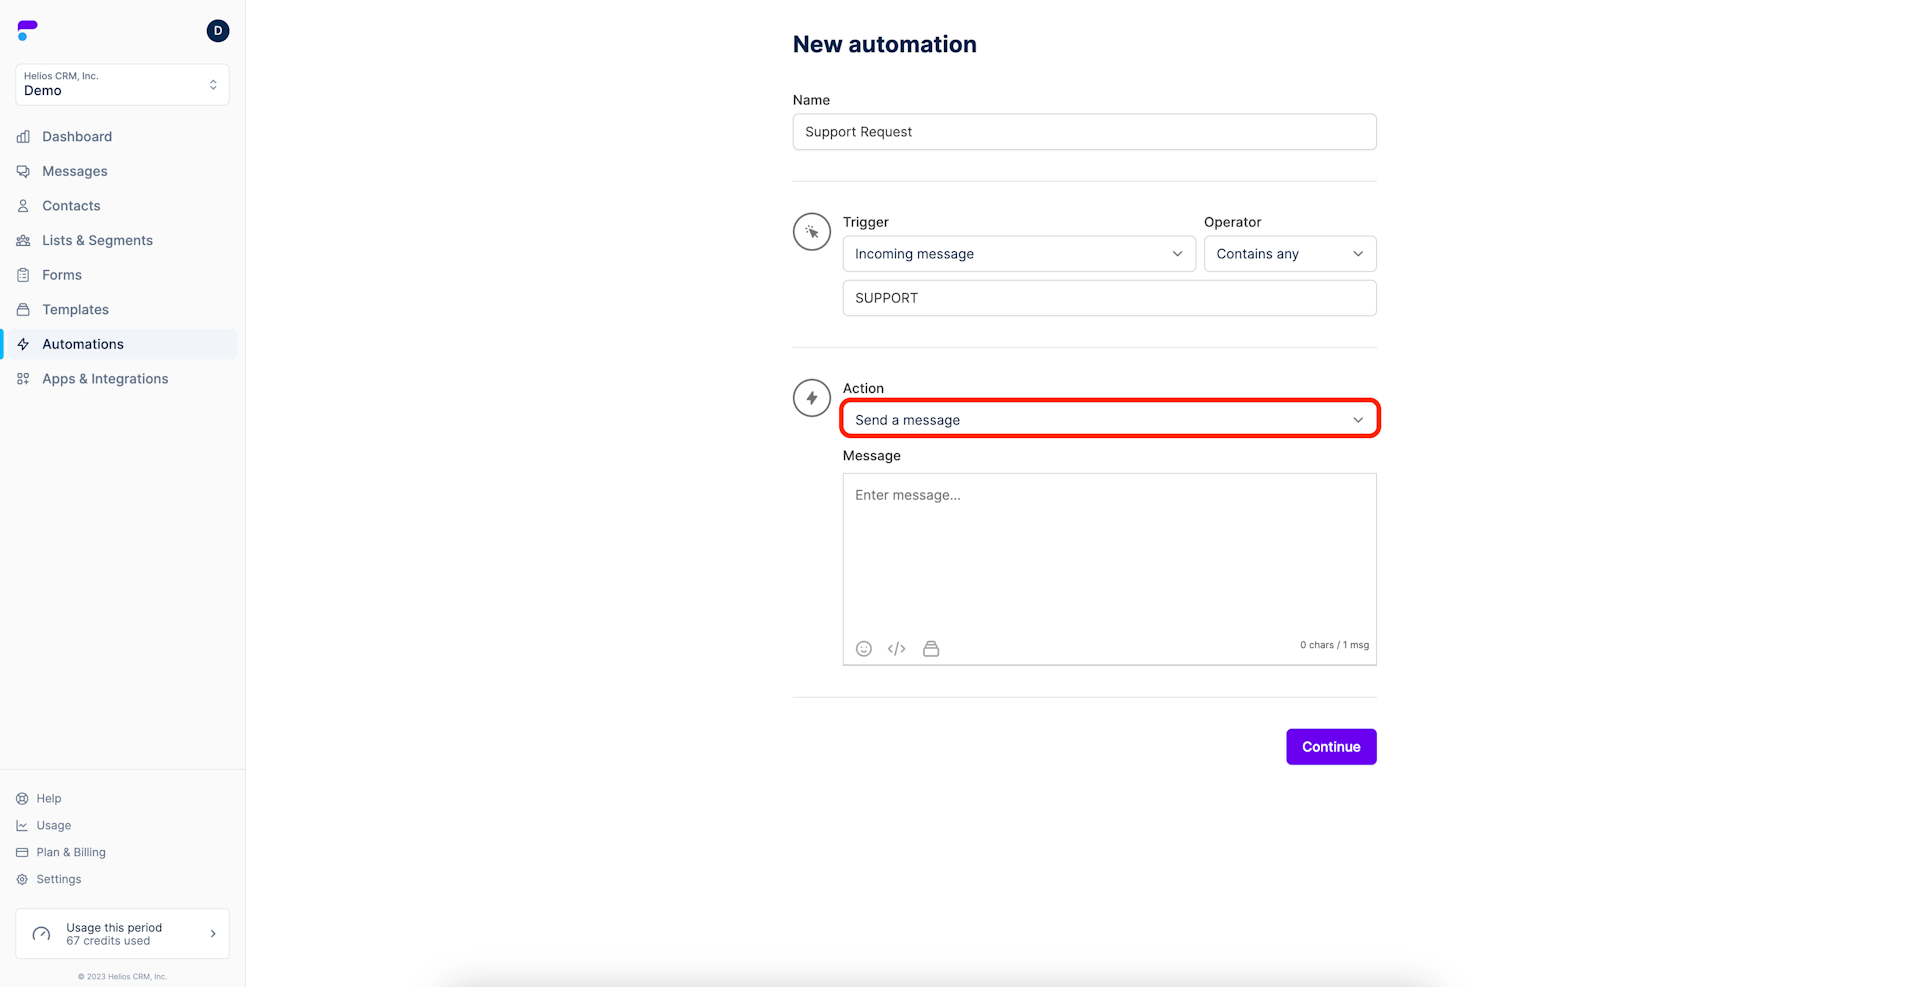
Step 6: Choose the Action
The Action is the operation you would like Helios to perform for you once the keyword is received.
This will be set to Send a message by default.
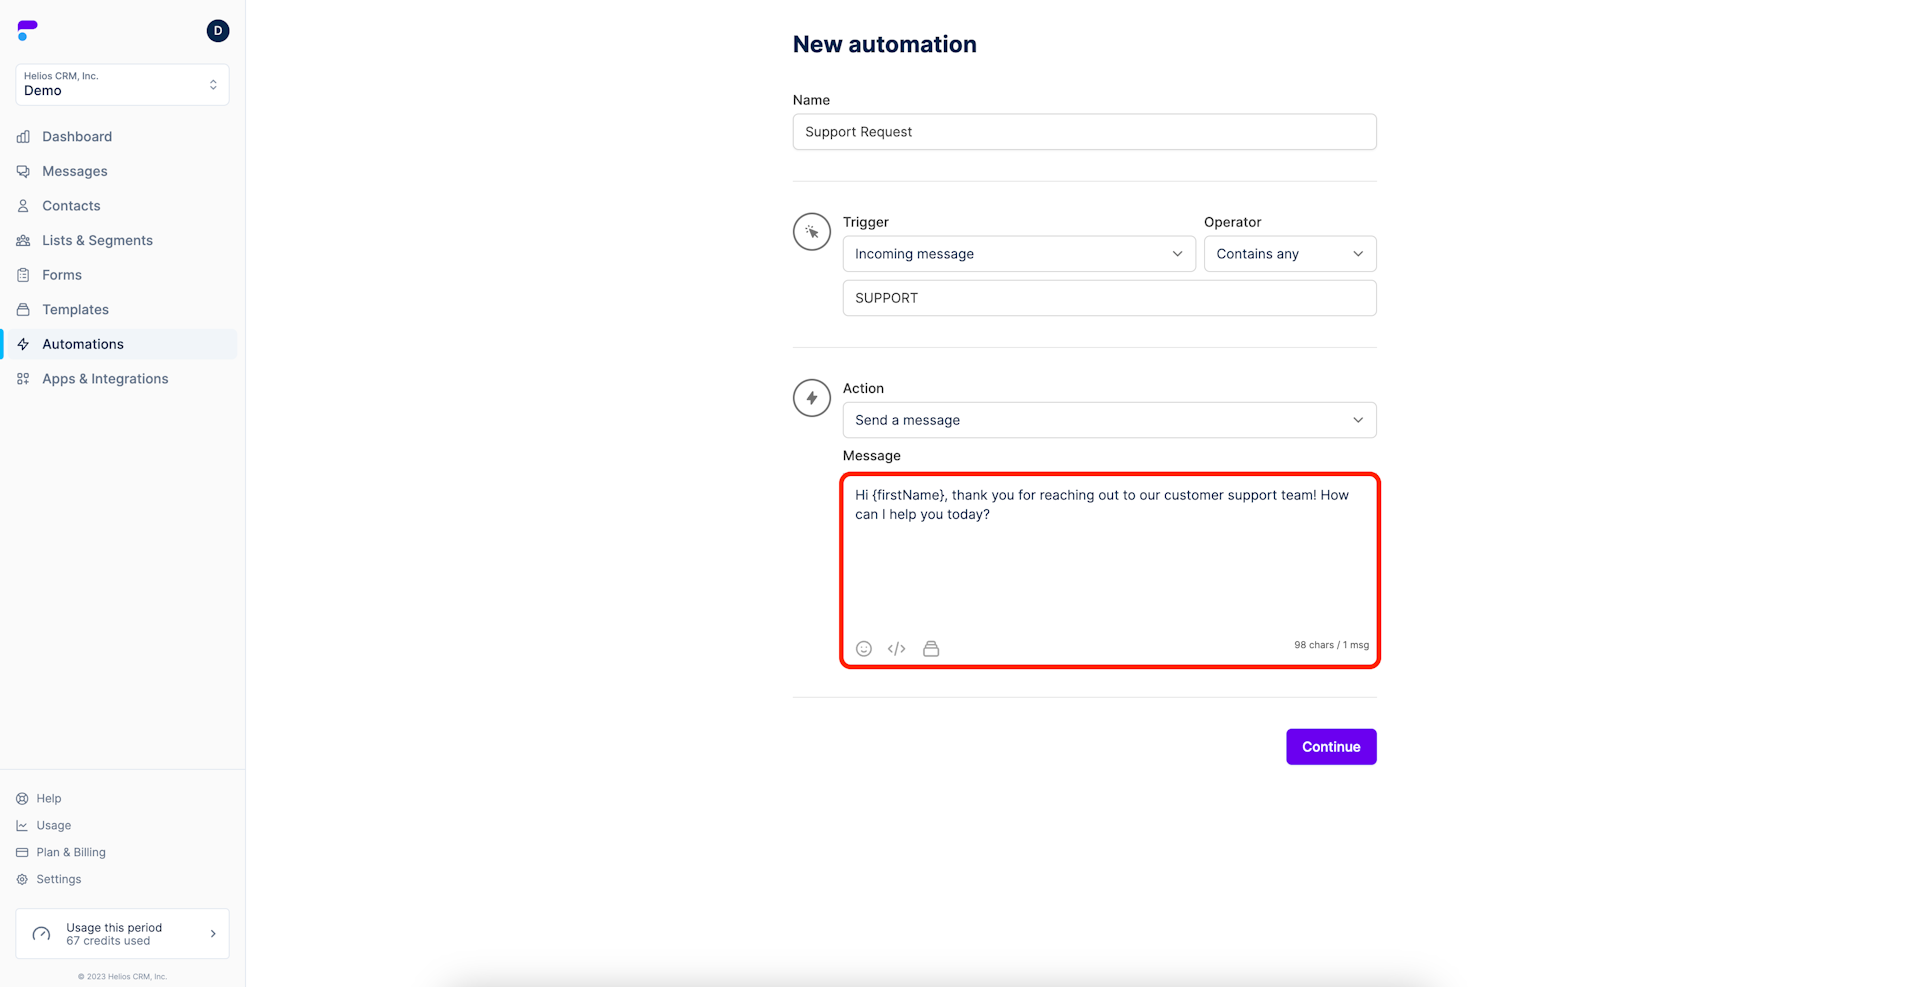
Step 7: Type the reply message
Type the message you would like the customer to receive in return. You can also add emojis, name and order, or use templates (the icons in the message box).
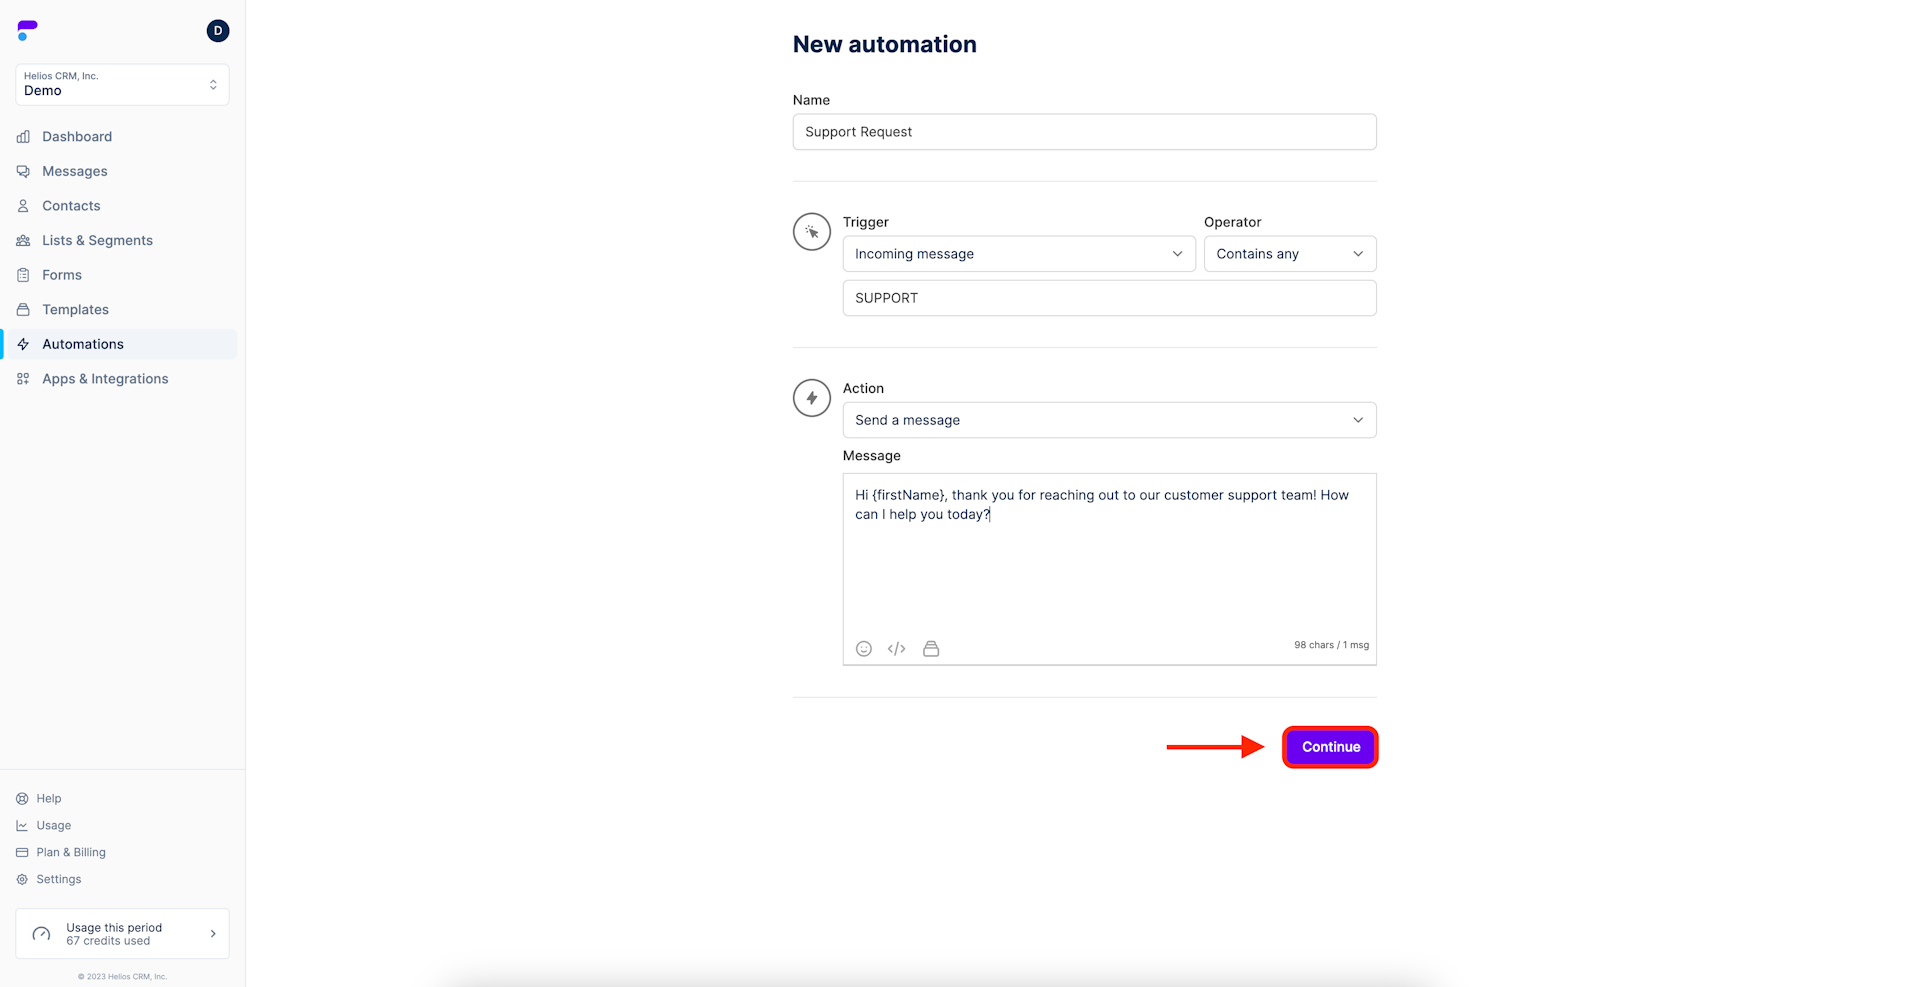
Step 8: Review and Continue
Once the automated reply is setup to your preferences, select continue.
Your automation has now been created.
Note: automations are set to inactive by default. This helps when setting up an account or planning for a future event.
To set your automation to active, please continue to Activating an Automation below.
Activate an Automation
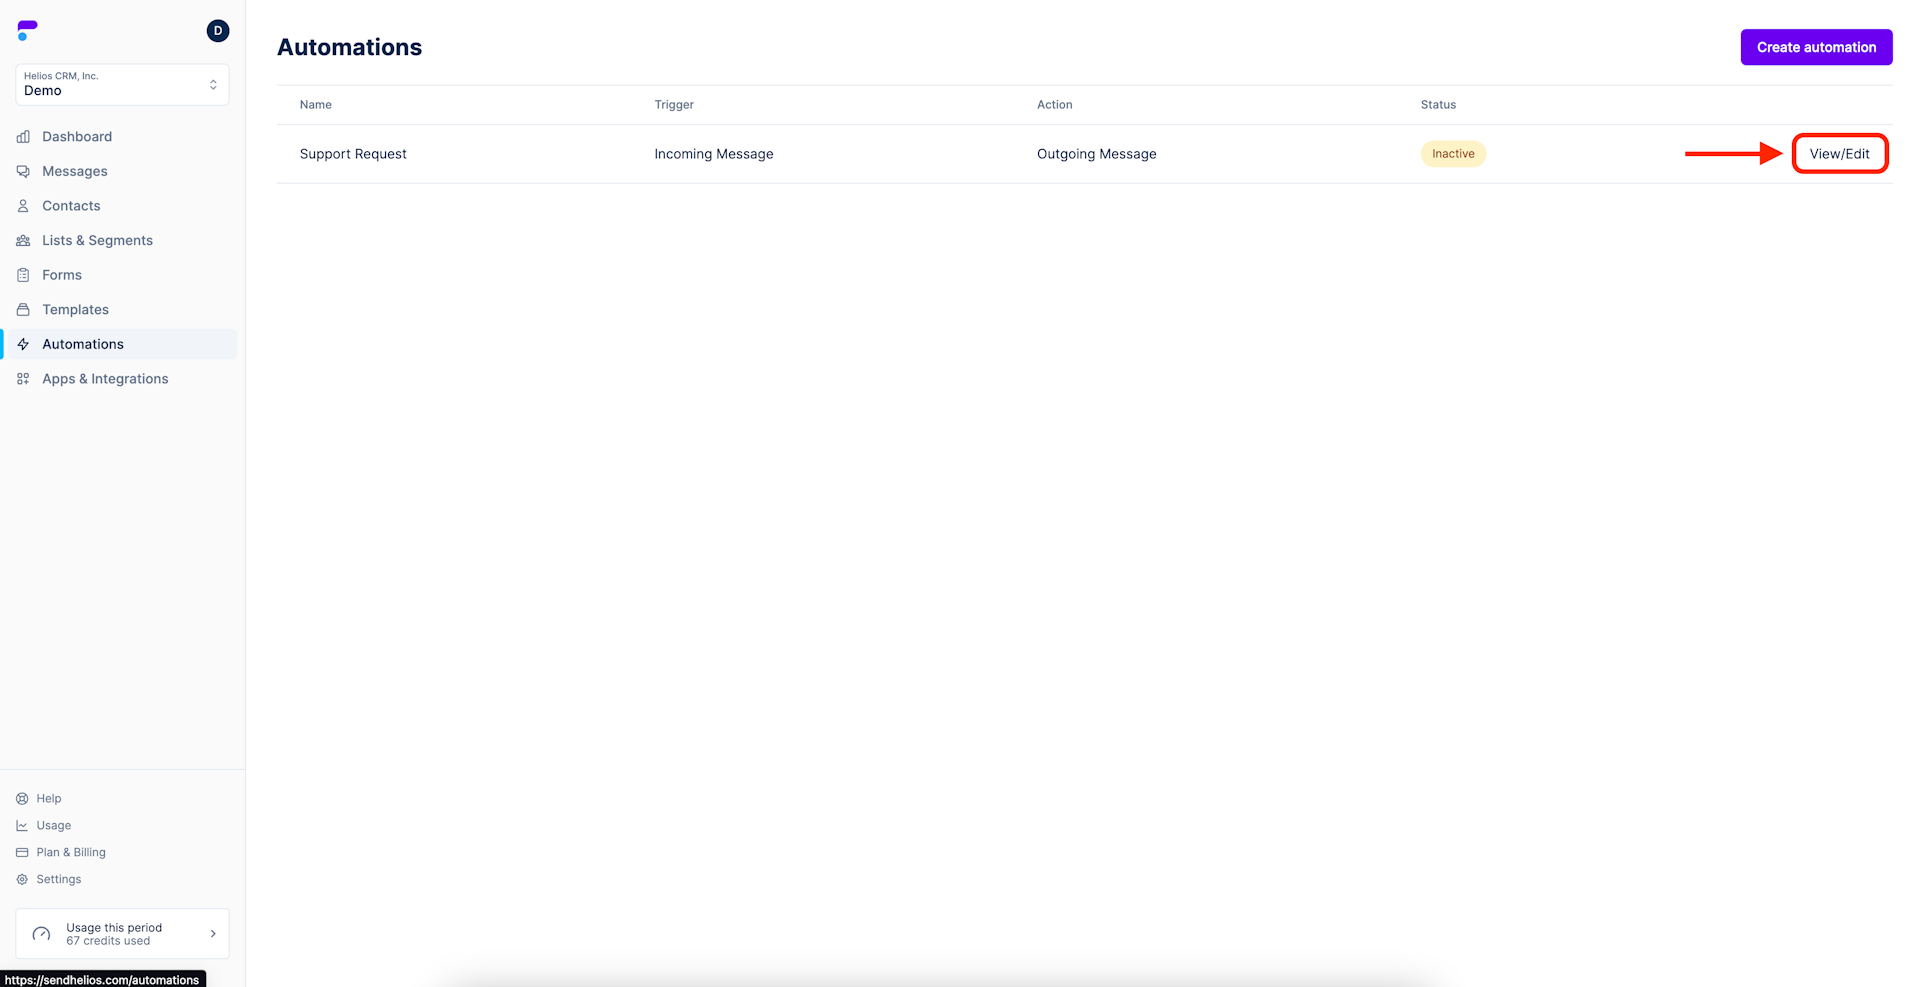
Step 1: Navigate to your Automations
If you have just built an automation, you will be brought to this page automatically.
If you are starting from the home screen, select Automations from the main menu.
You should see your automation listed with a status of inactive. Select View/Edit for the automation you want to activate.
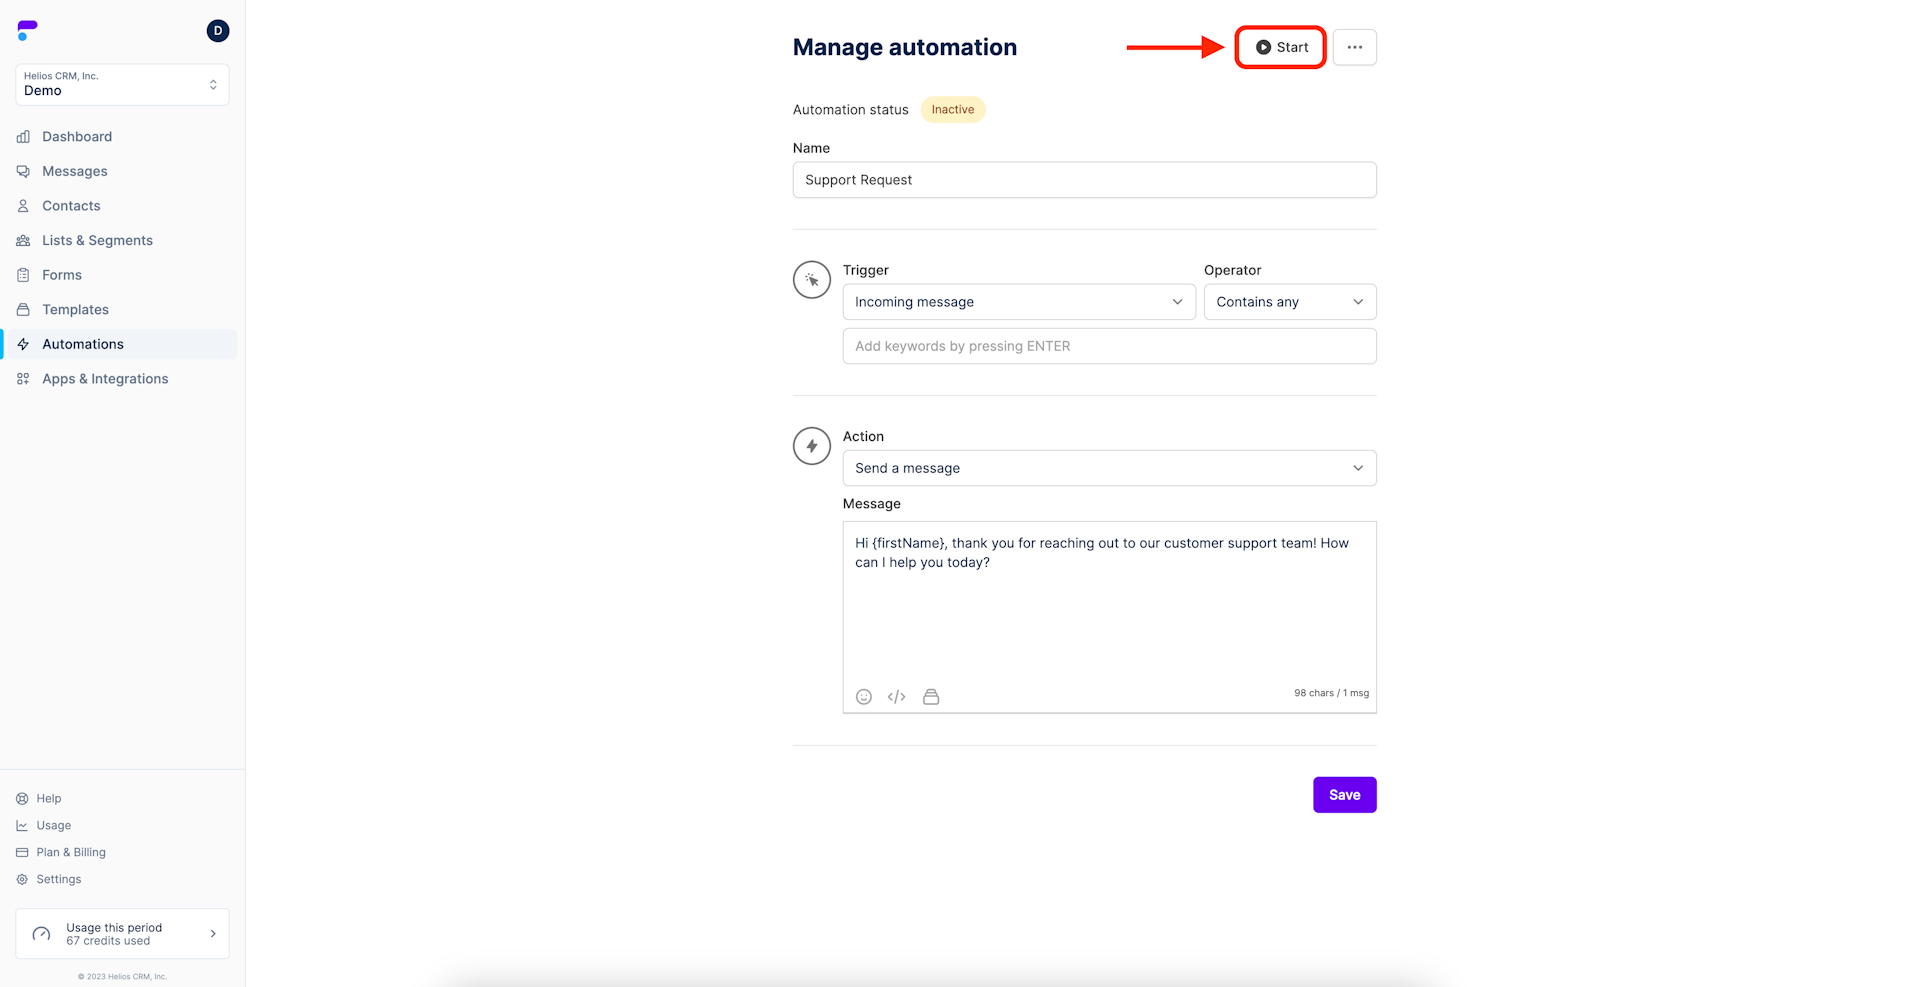
Step 2: Click Start
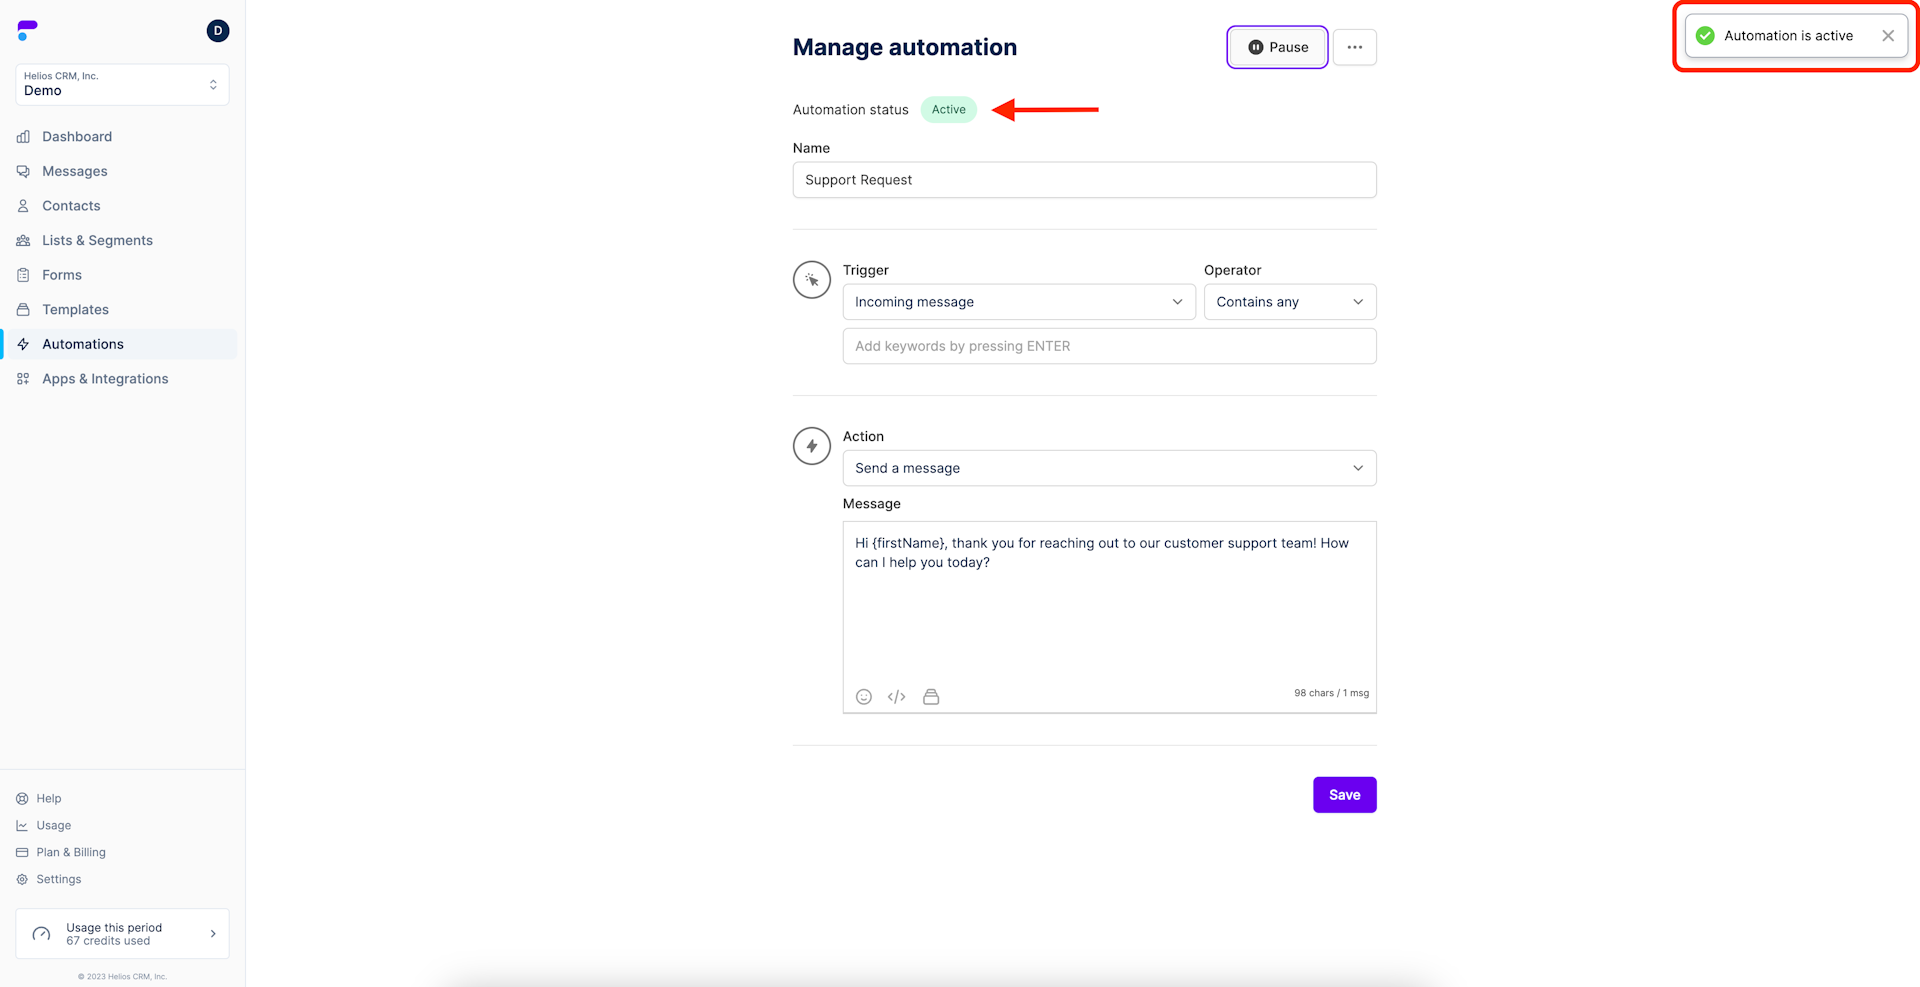
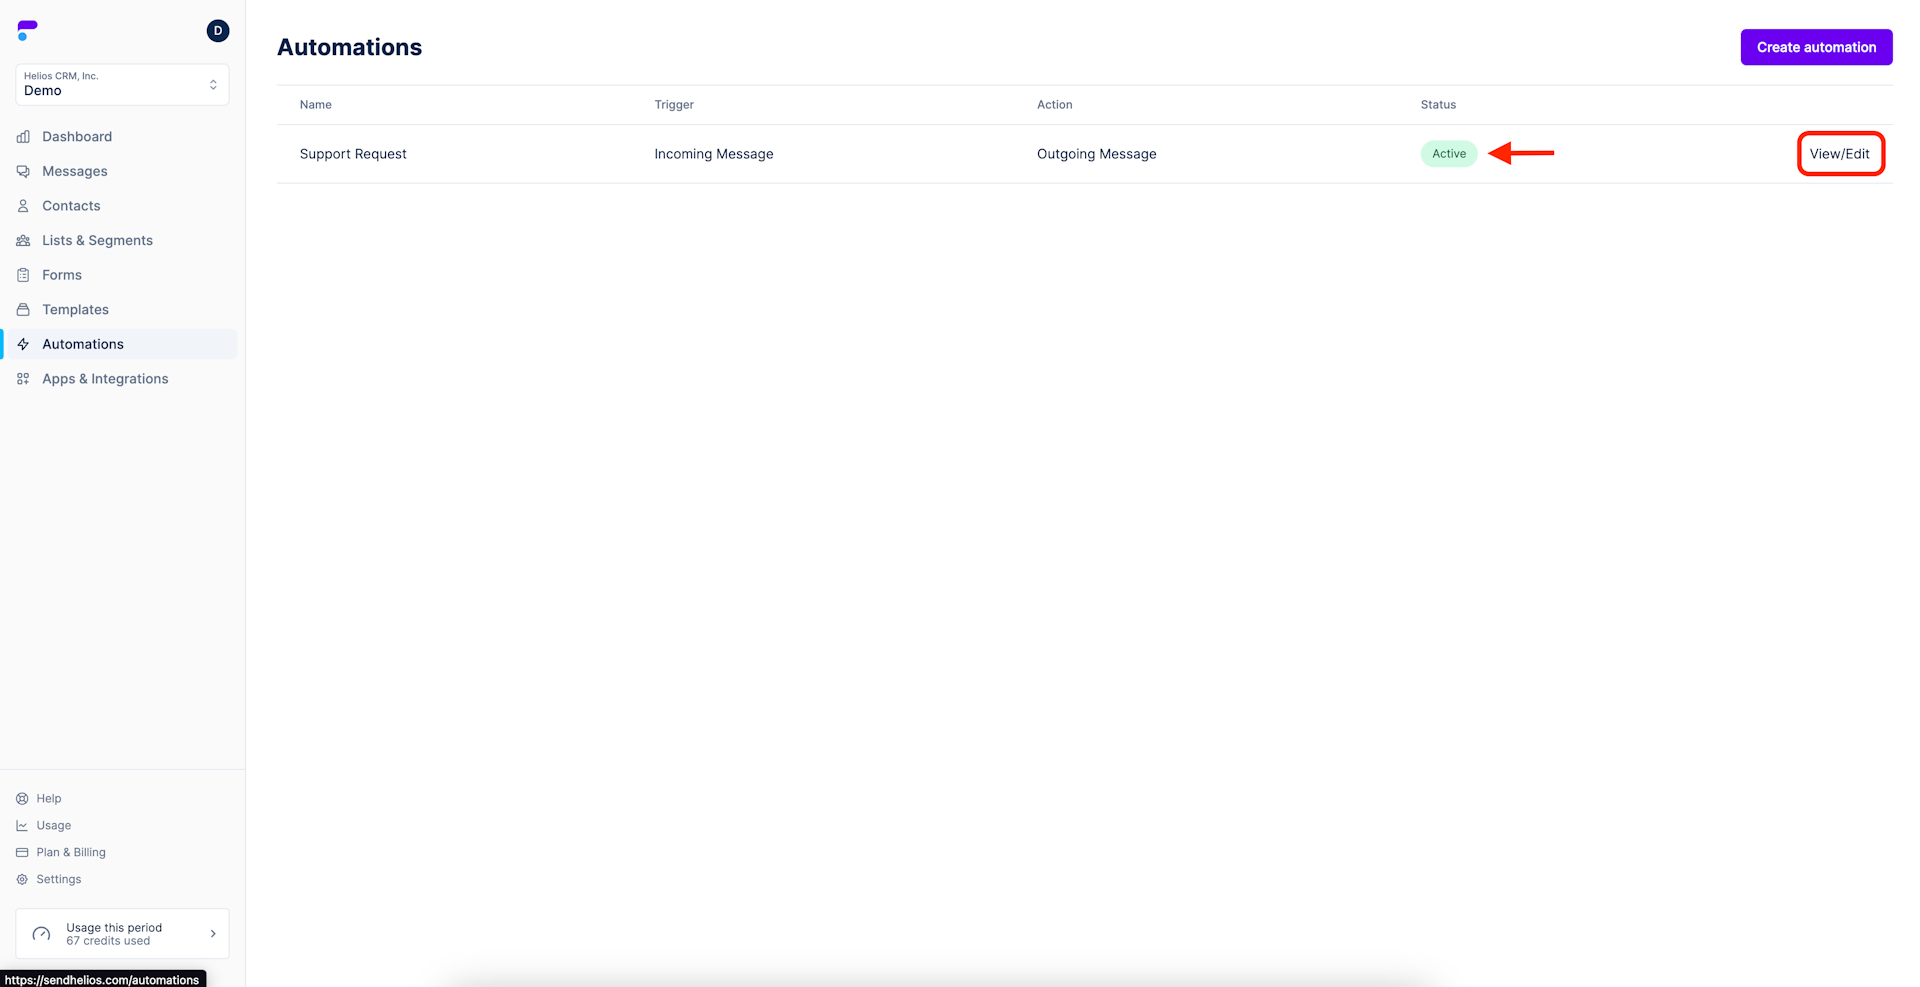
Your automation is now active and will have a green Active tag.
A confirmation message will also appear in the top right of the screen when the initial activation is submitted.
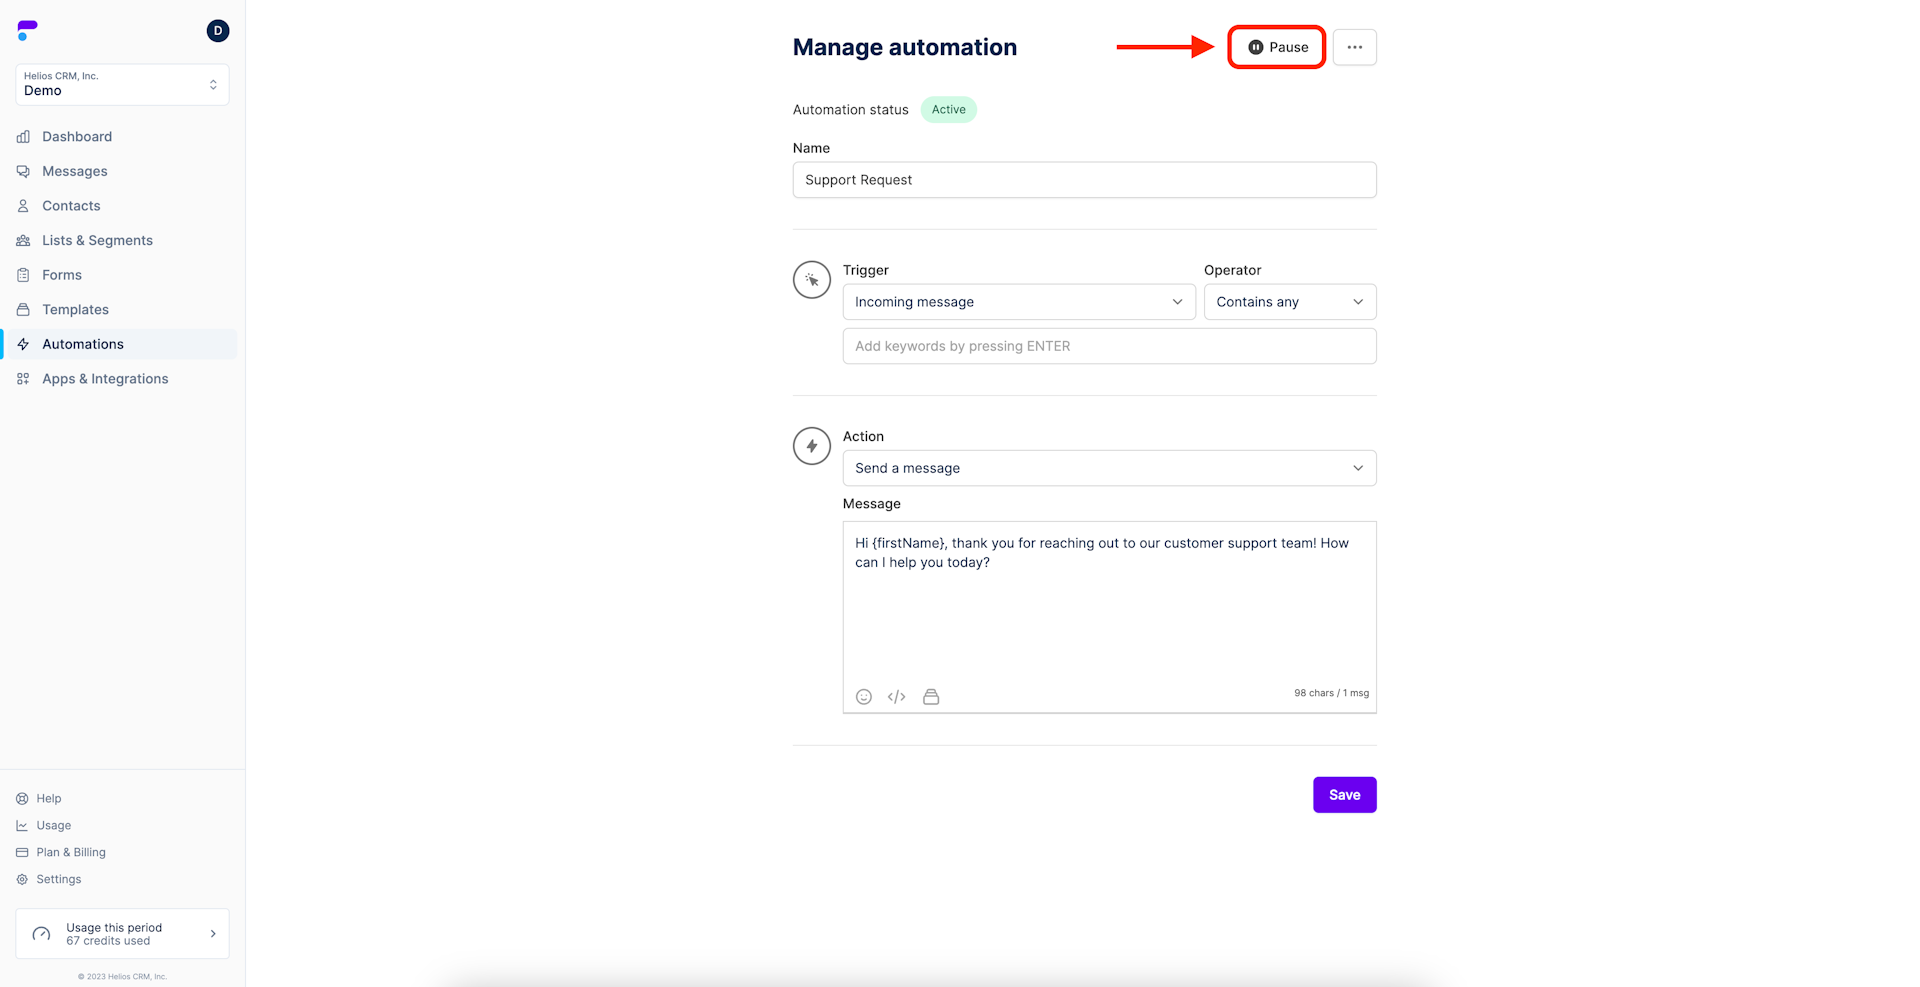
Pause an Automation
Step 1: Open the edit screen
From your Automation select the automation you want to pause by clicking View/Edit
Step 2: Click Pause
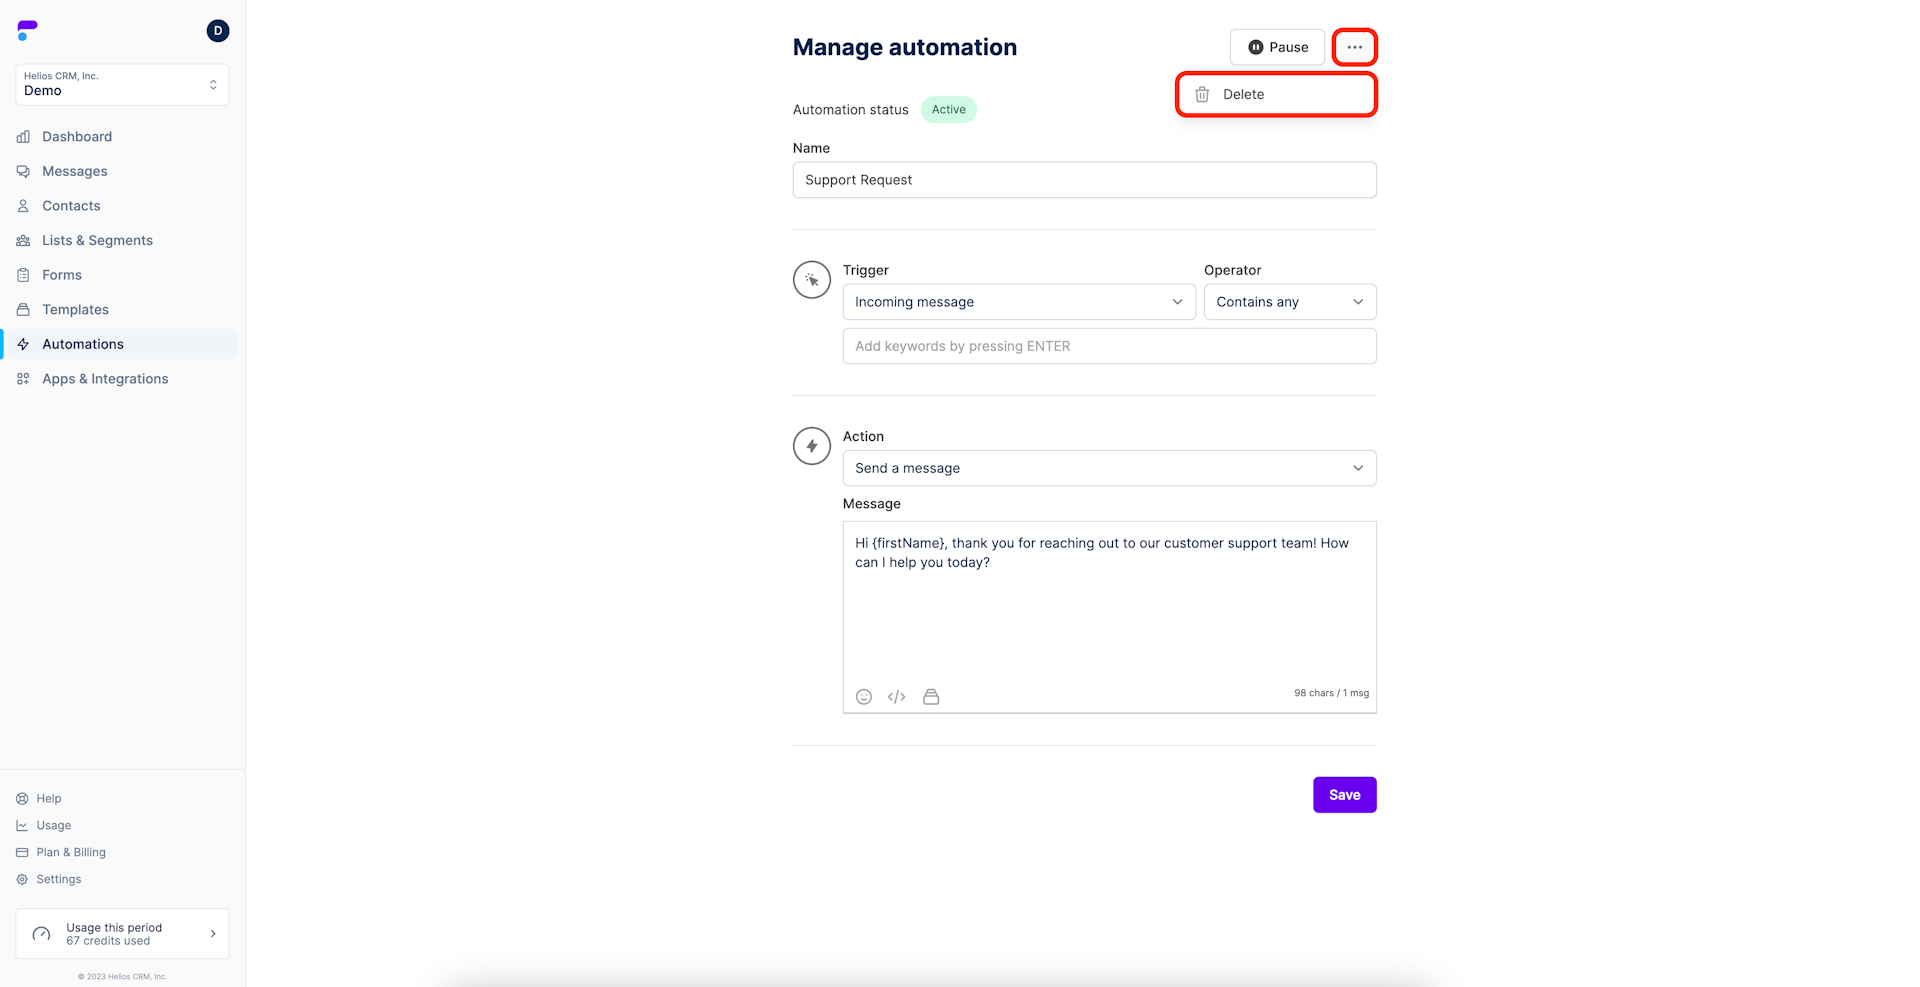
Delete an Automation
Step 1: Open the edit screen
From your Automation select the automation you want to delete by clicking View/Edit
Step 2: Click the menu icon and select Delete
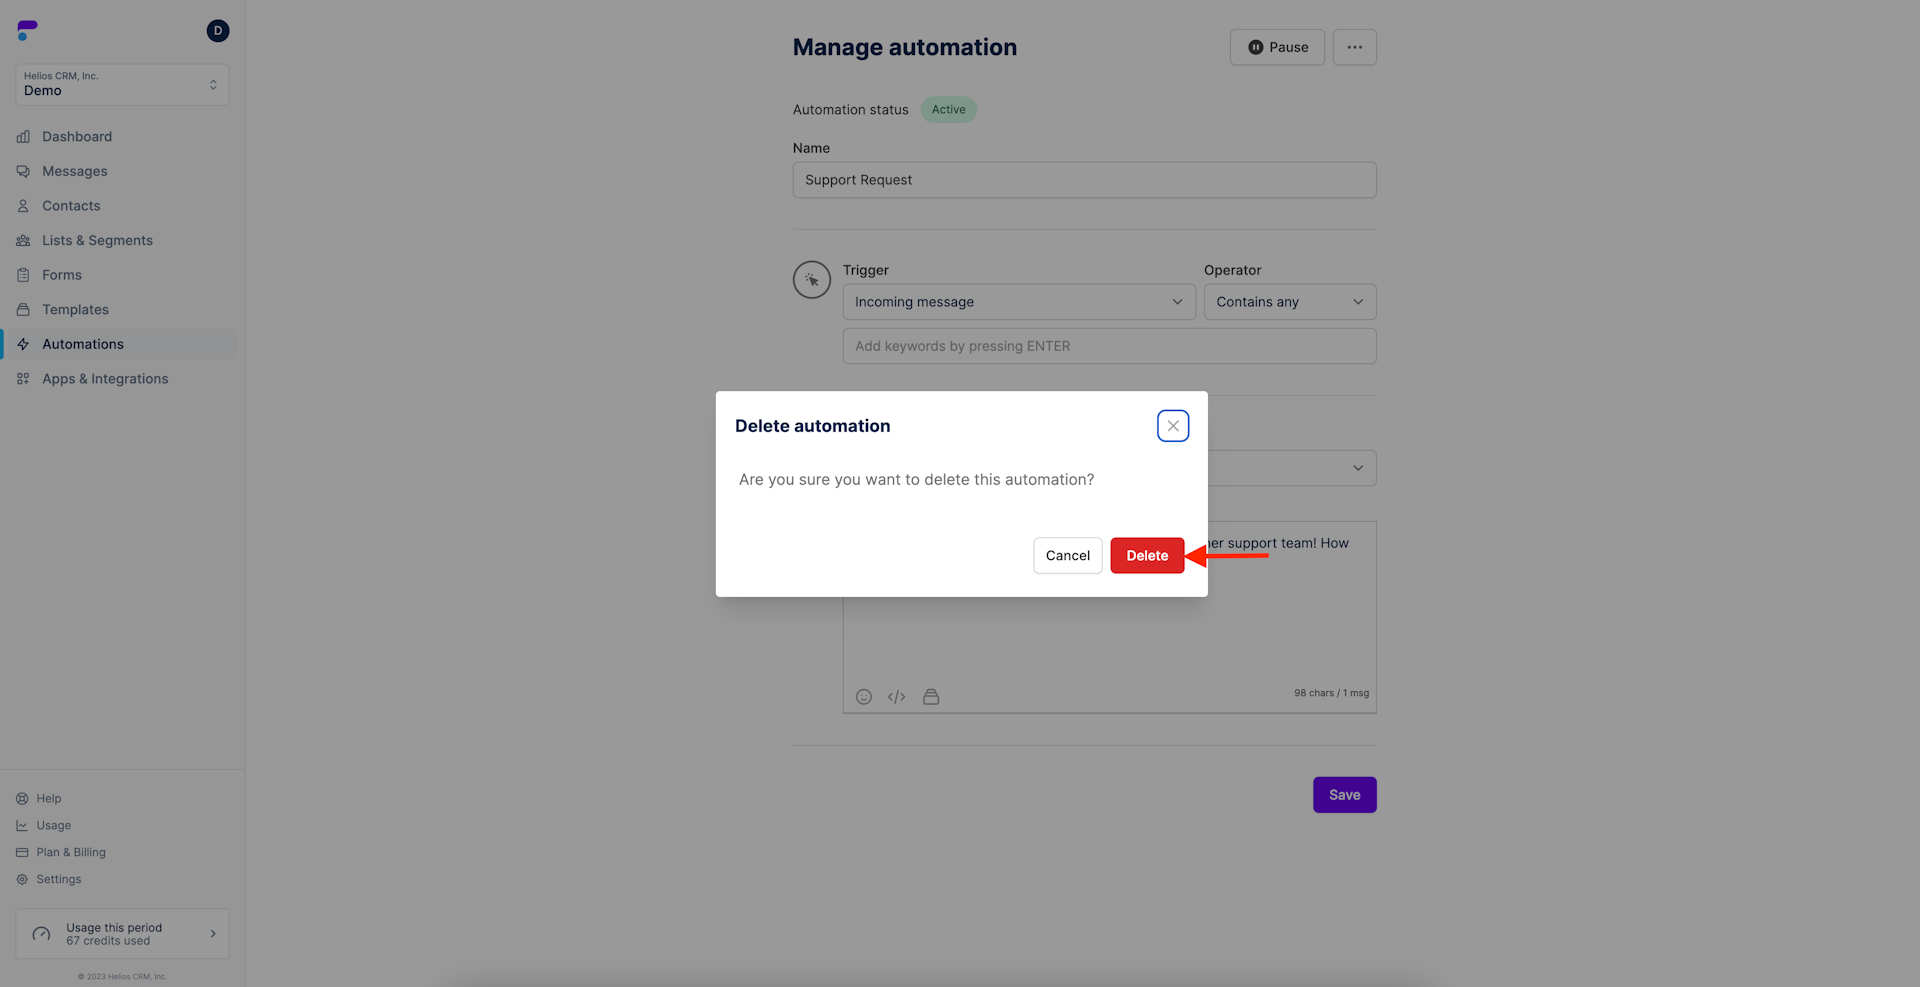
Step 3: Confirm
Automations are a powerful Helios feature. They enable businesses to carry out conversations and generate conversions with minimal effort. When it comes to automations, the work is front ended.
Setting up the automations is the most amount of work you’ll have to do. Then you can sit back and watch Helios work for you, interjecting your personal touch whenever you find it necessary.