Platform & Features
Import Contacts
Contacts & Lists
Once you have created your account you are ready to explore the powerful tools of Helios. The full platform is at your disposal. So with that, let’s look at a logical workflow.
To begin, let's get some contacts loaded onto Helios.
Add an Individual Contact
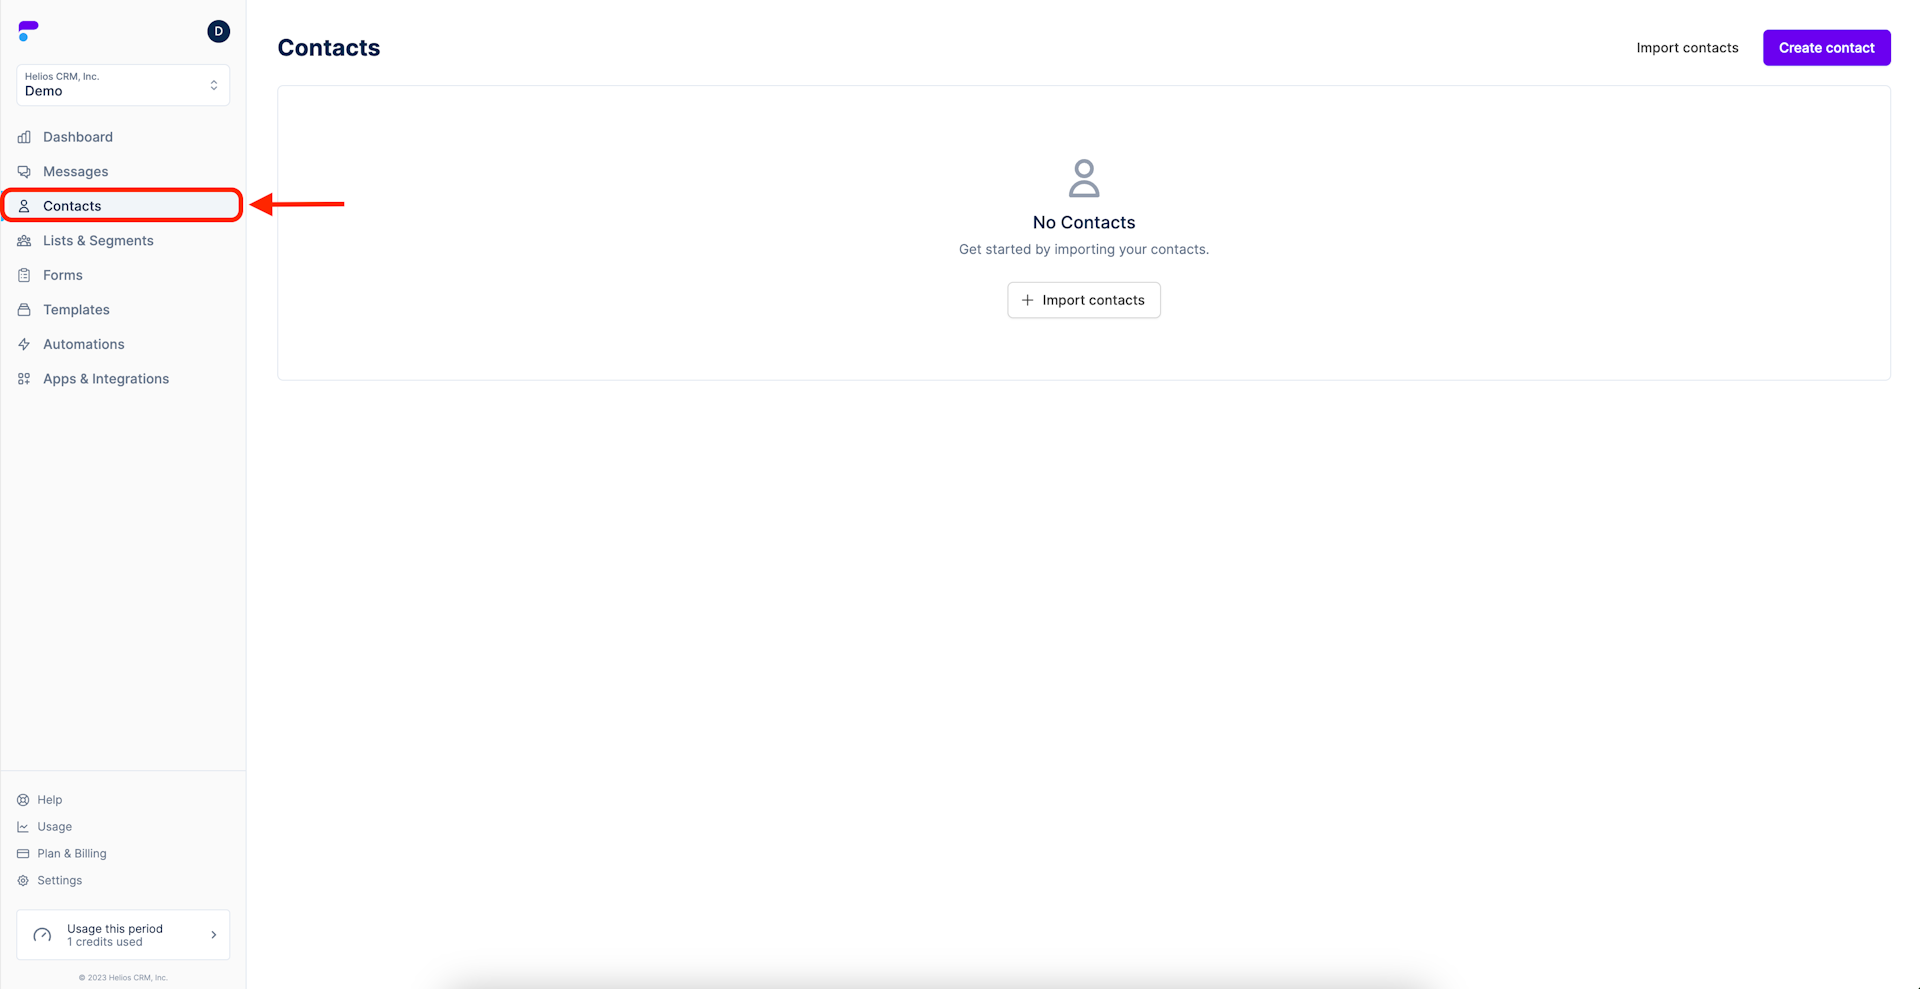
Step 1: Navigate to Contacts
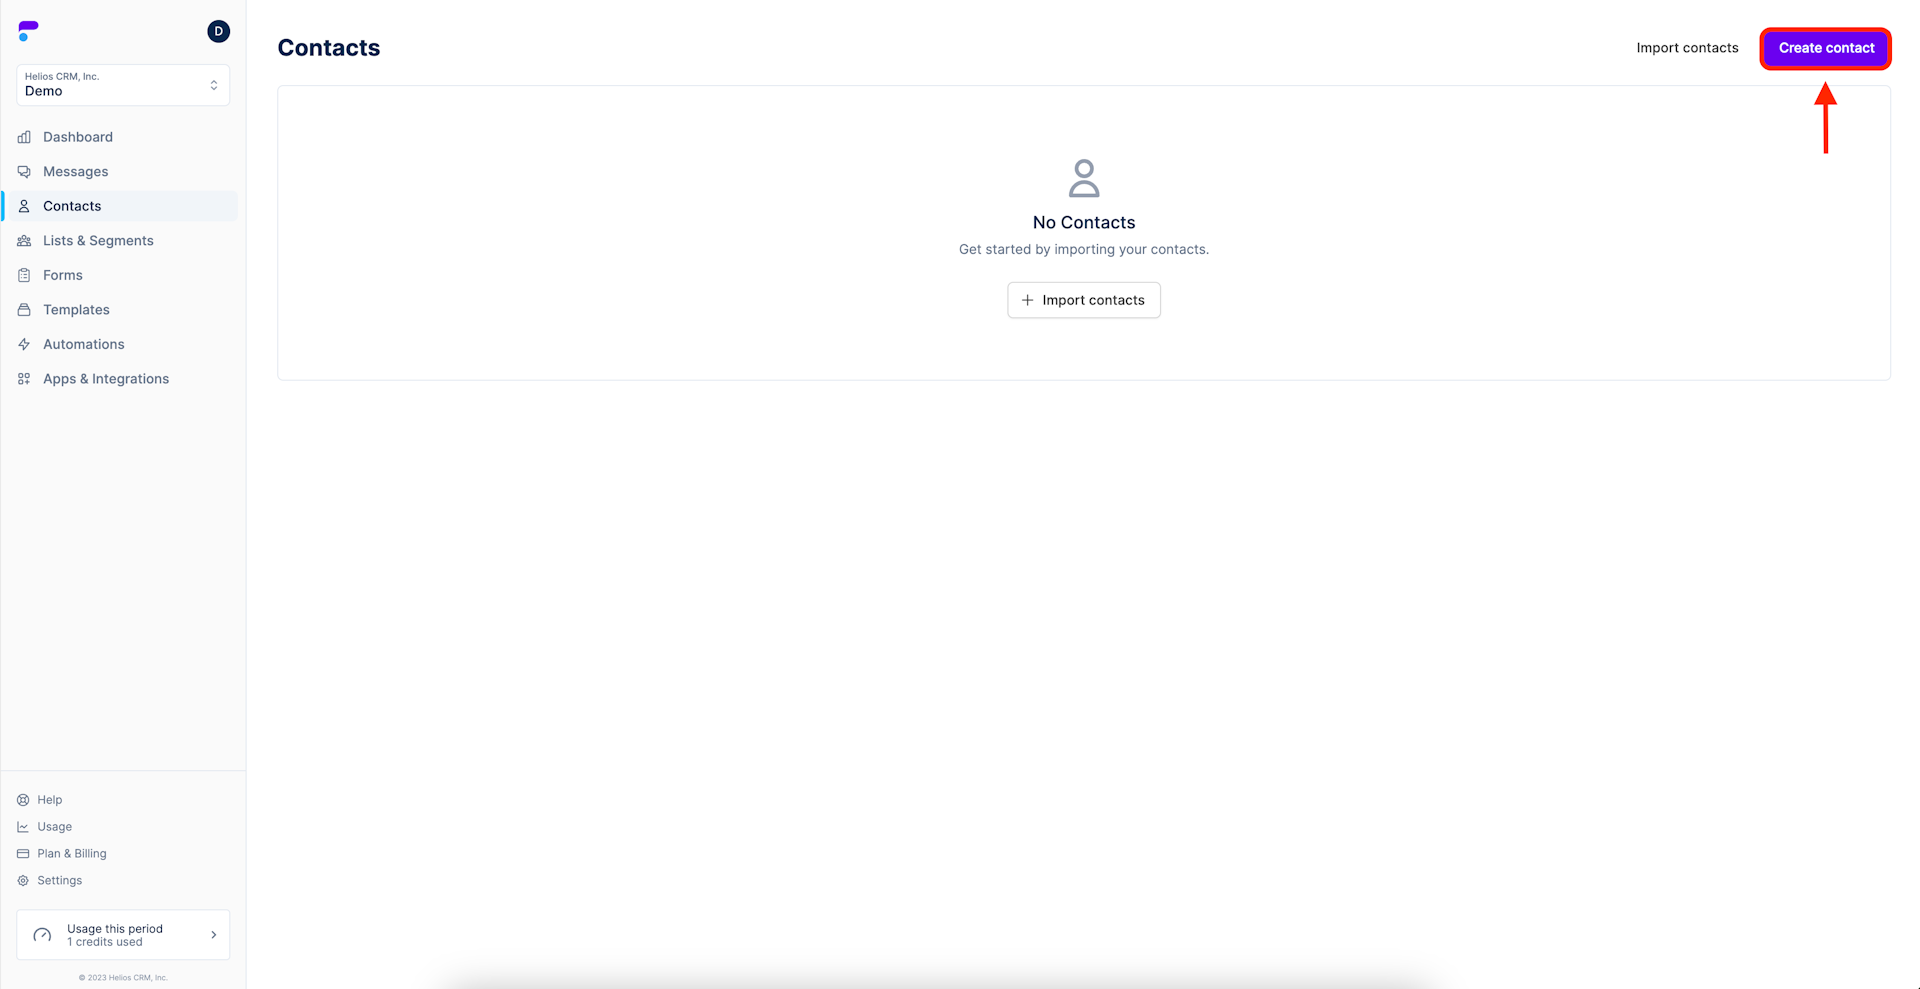
Step 2: Select Create contact
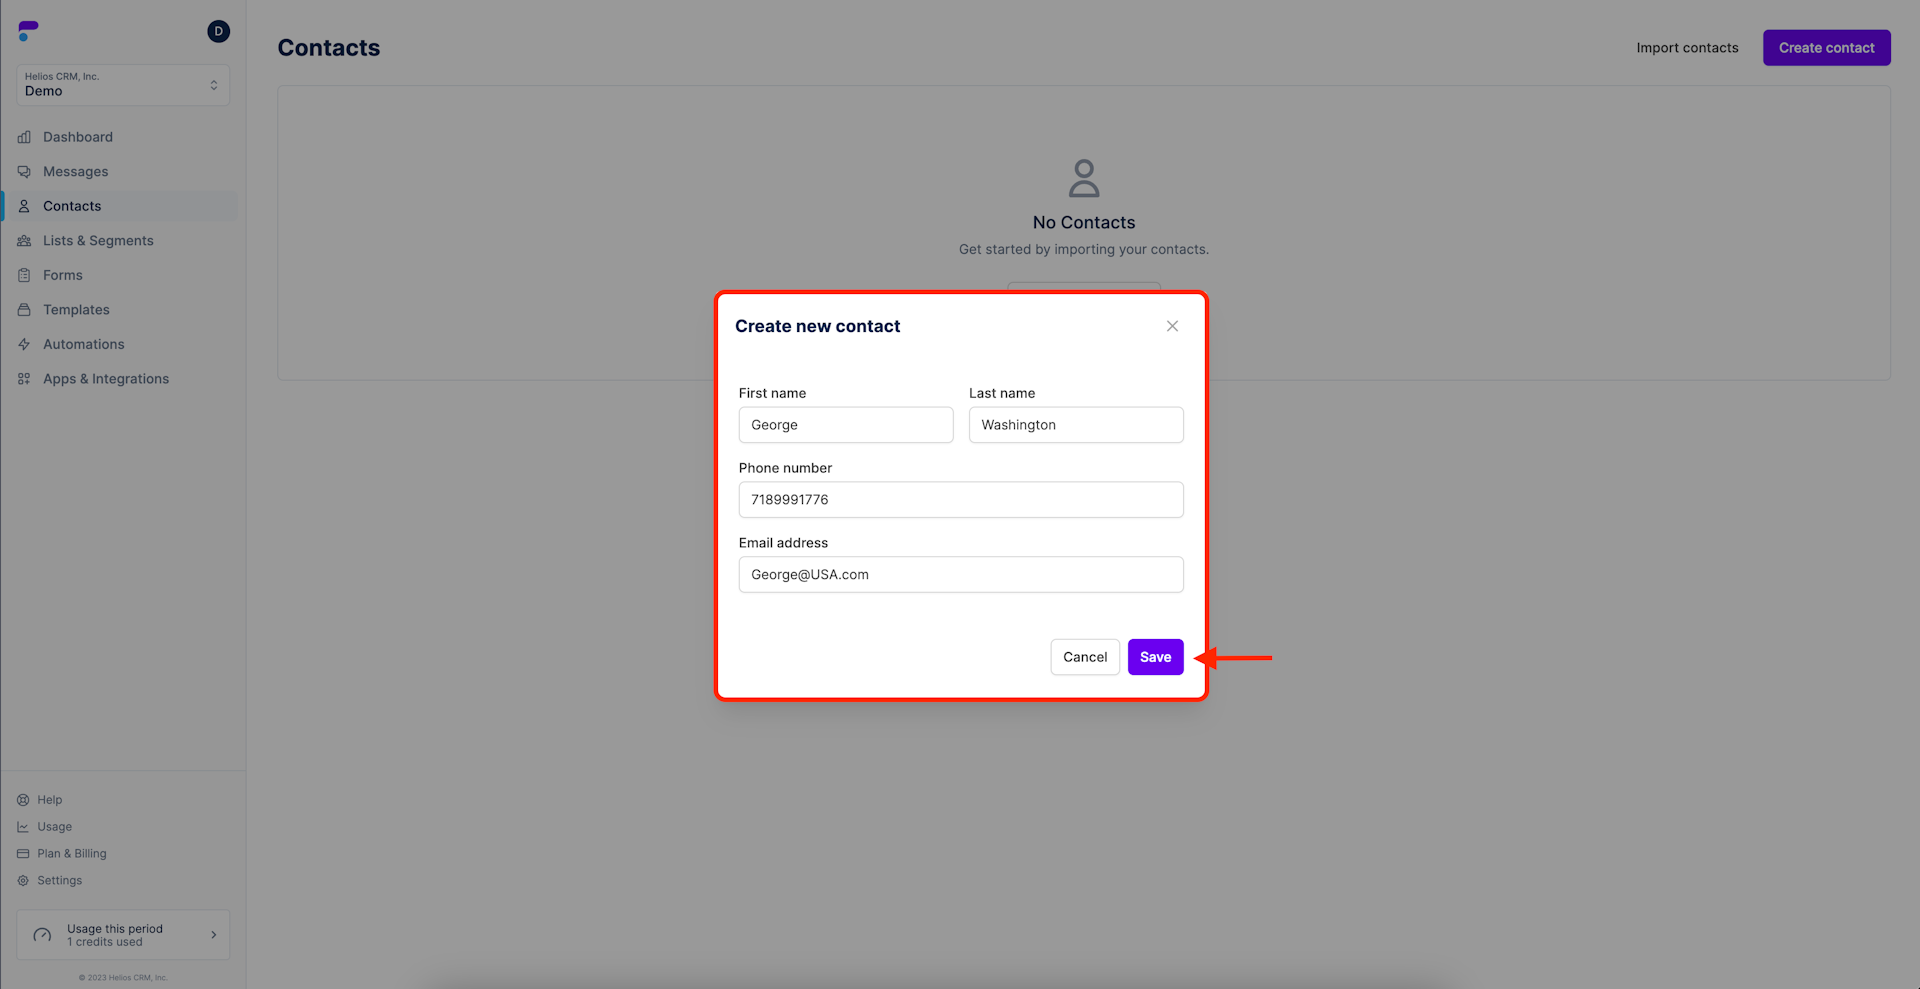
Step 3: Fill in contact credentials & save
Step 4:

Importing a List of Contacts via CSV
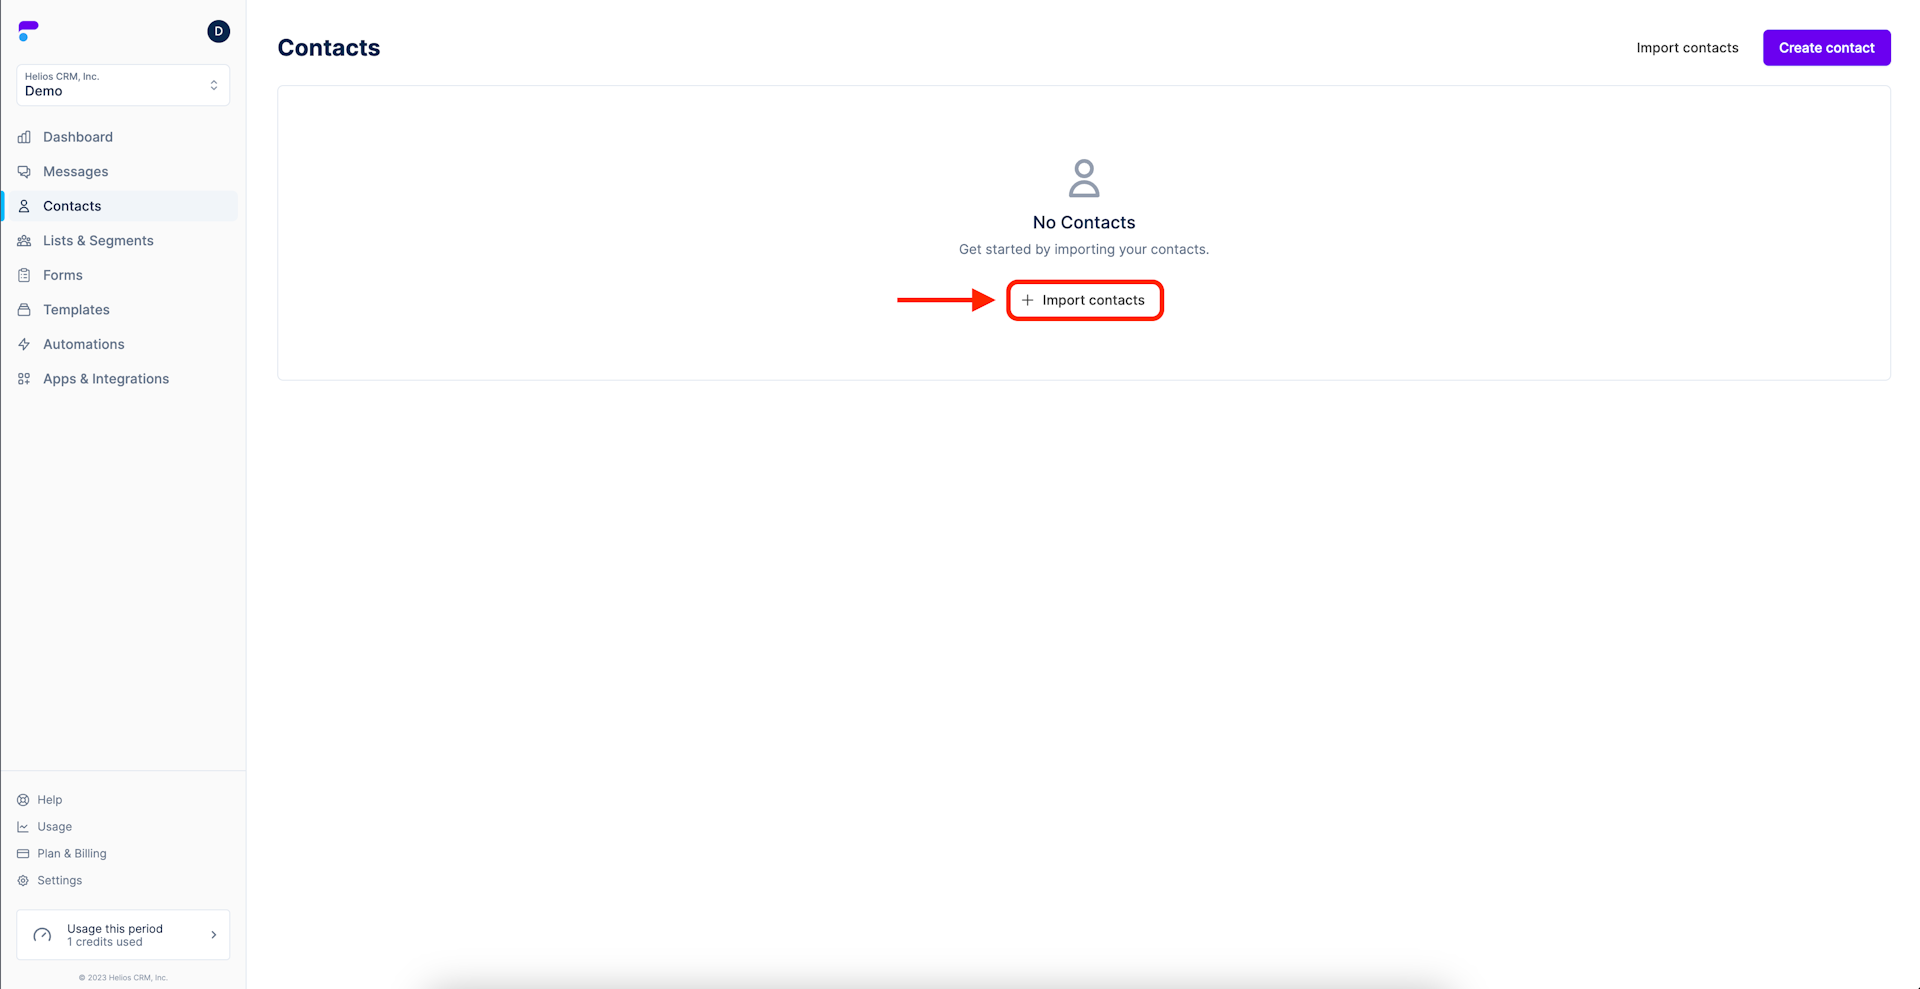
Step 1: Select Import Contacts
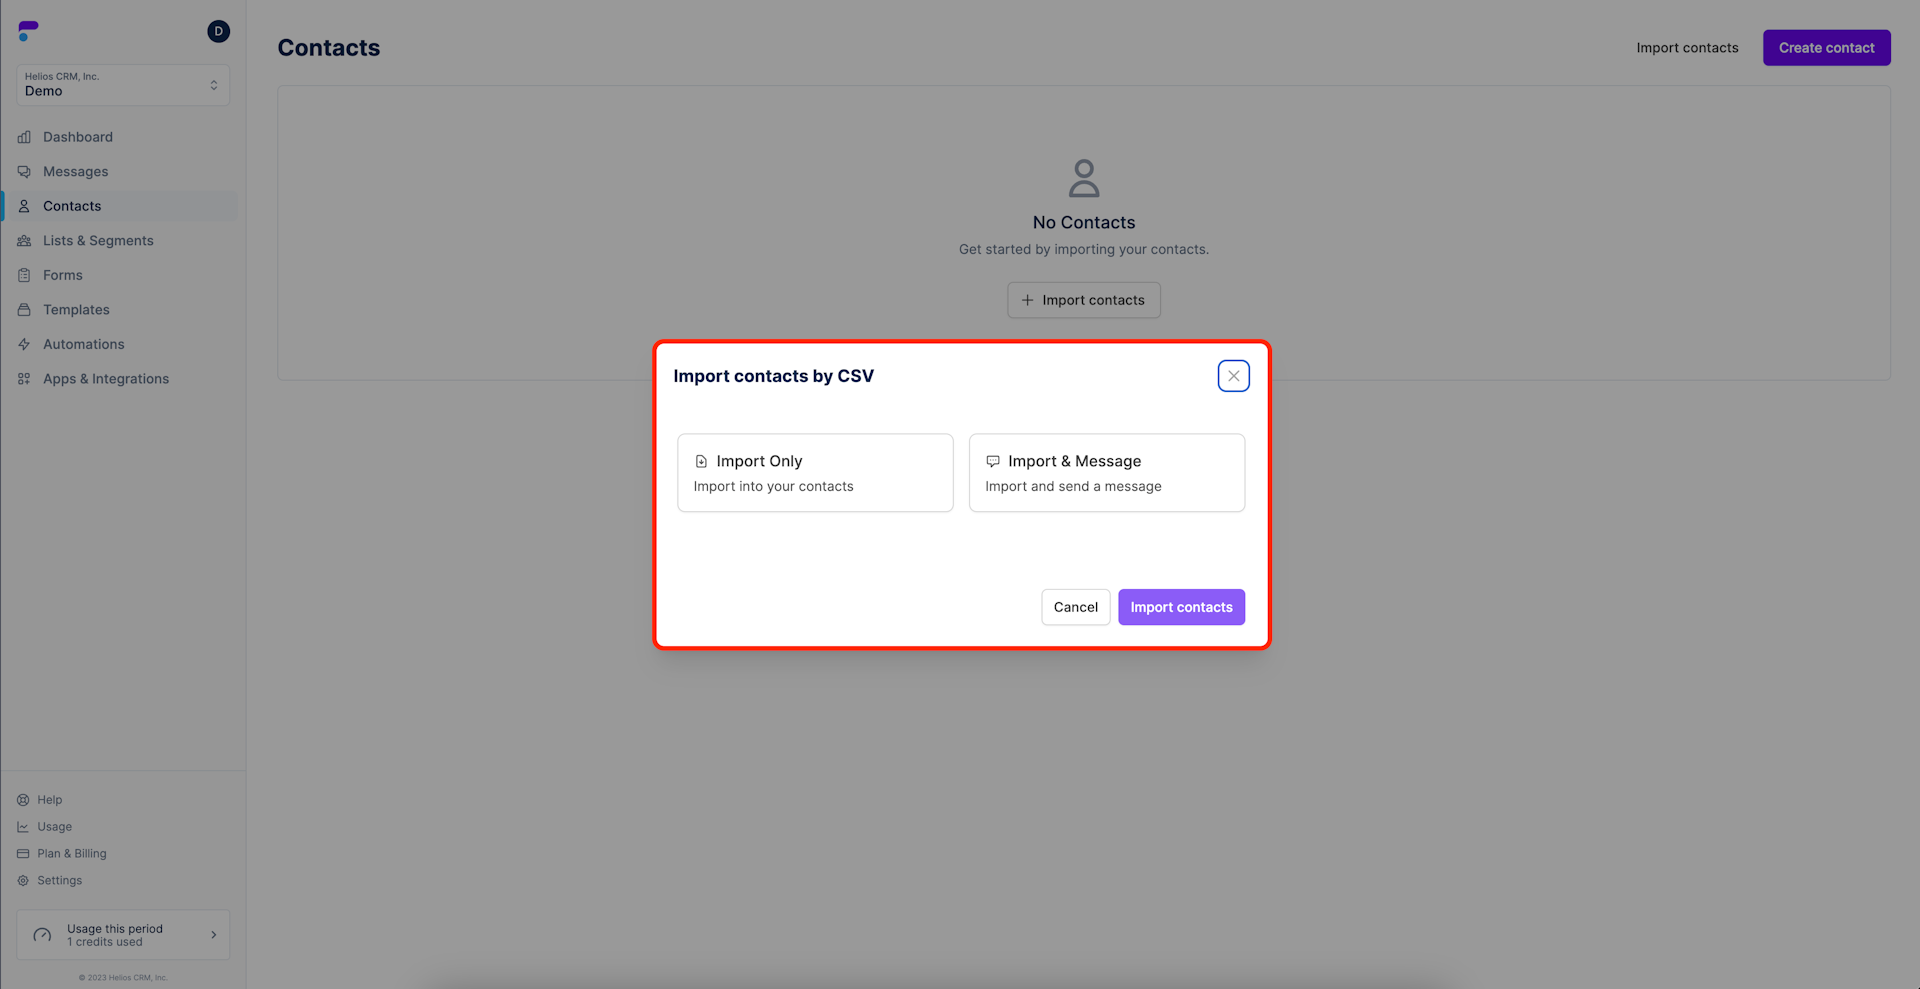
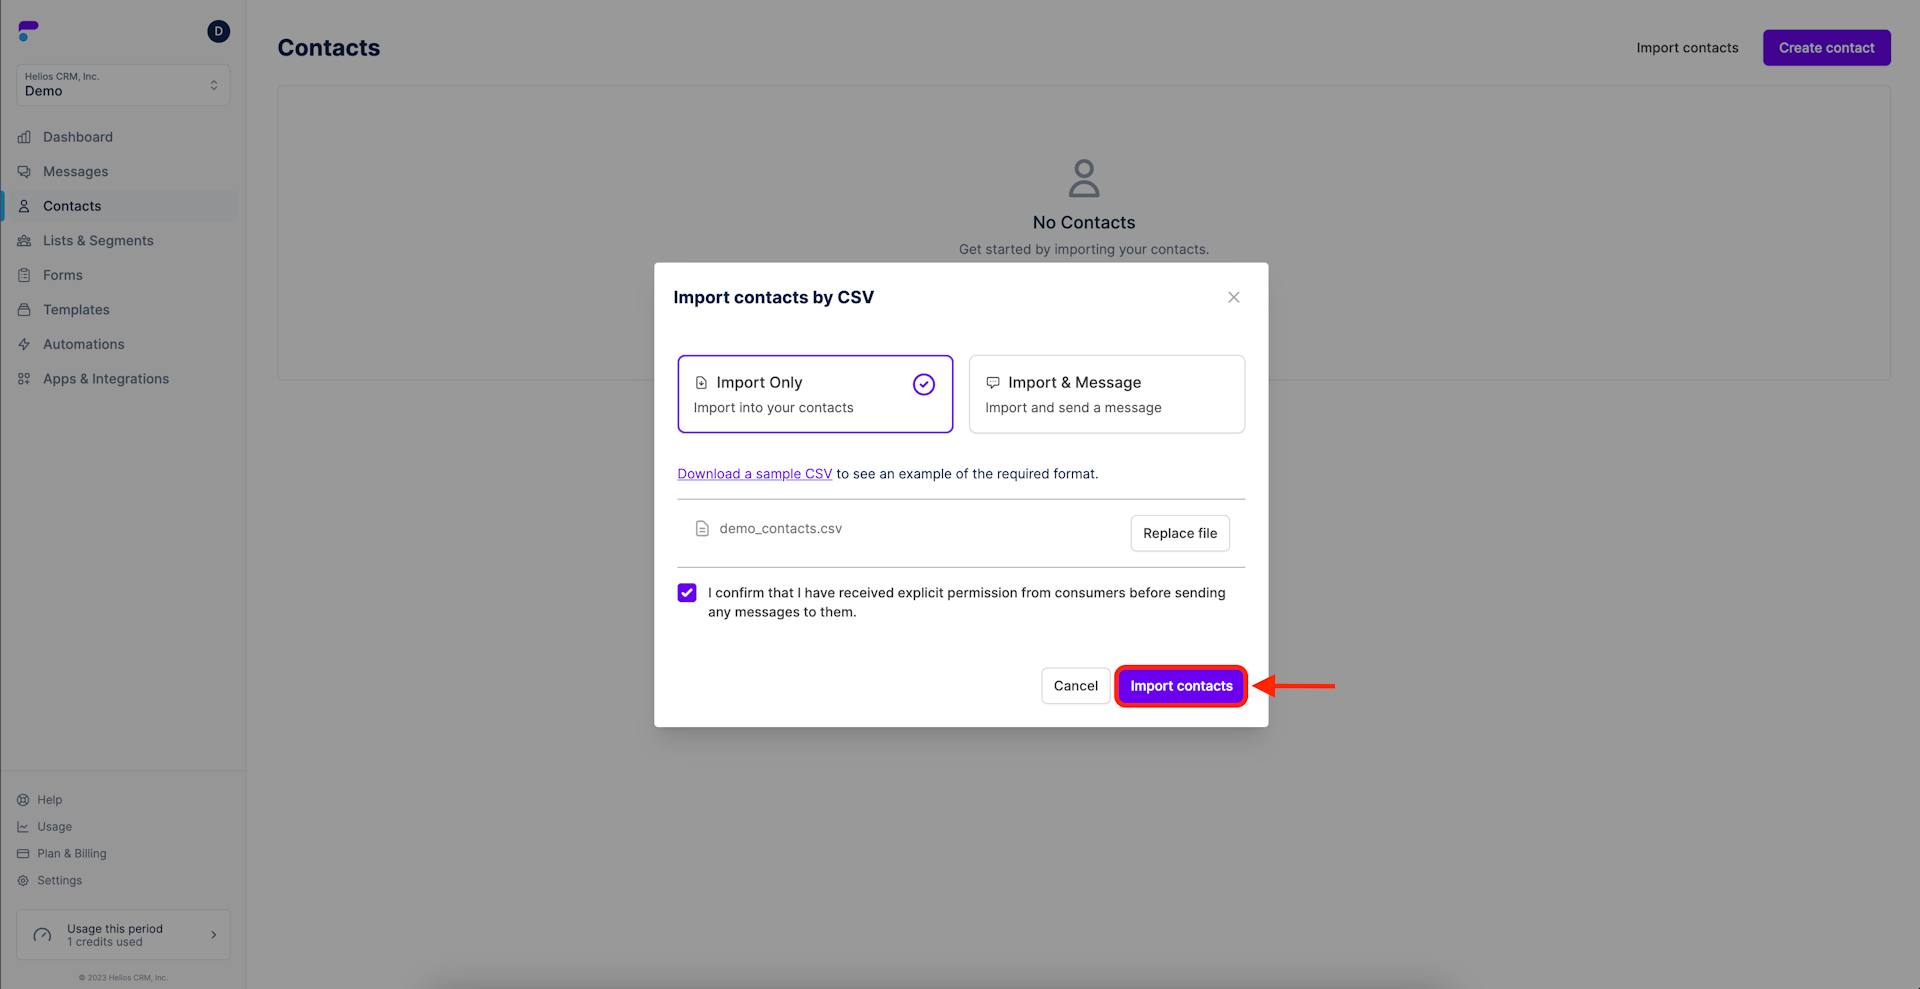
Step 2: Choose to Import Only or Import & Message
You can select Import only, or if you’re ready to boost conversions, go ahead and select Import & Message. Import & Message allows you to immediately send messages from a template or from scratch as soon as the contacts load.
Step 3: Download a sample CSV (optional)
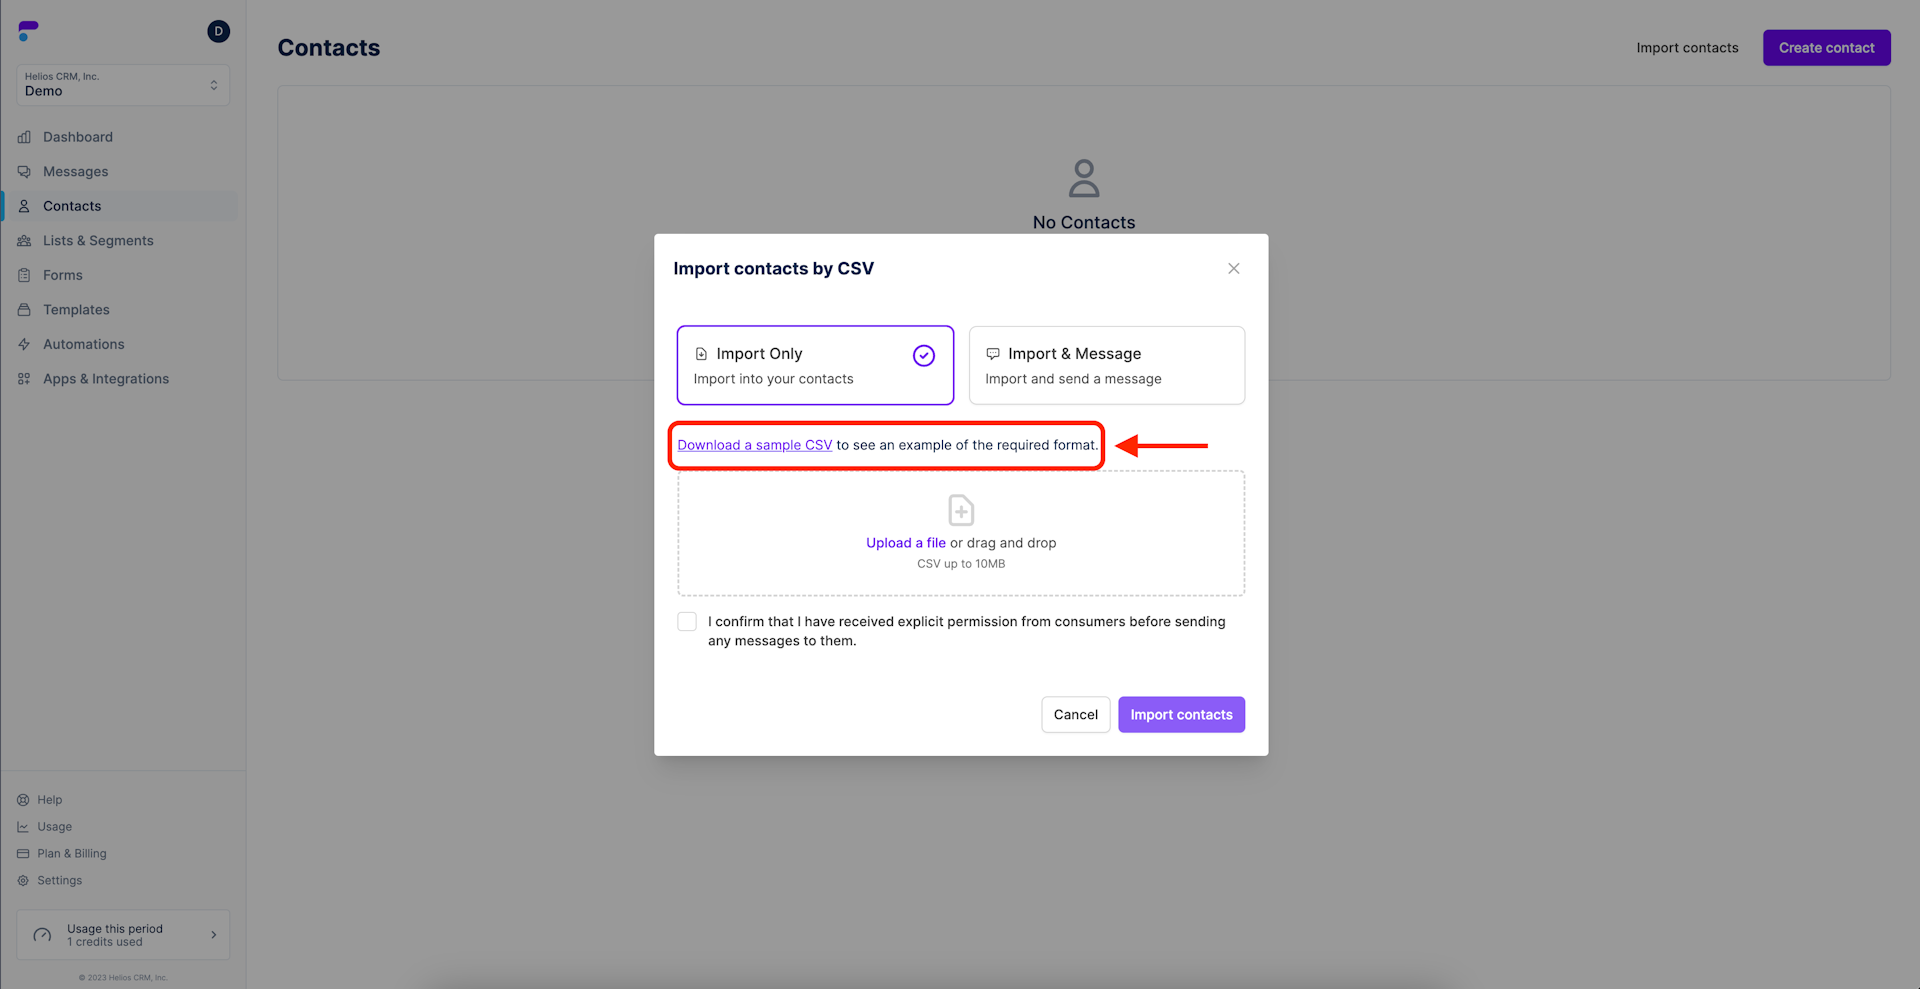
Step 4: Upload your CSV of contacts
Click Upload a file or drag and drop your file.

Step 5: Confirm your List's Opt-in
This compliance feature asks that you confirm each member of your contact list has given expressed written consent to receive your marketing messages.
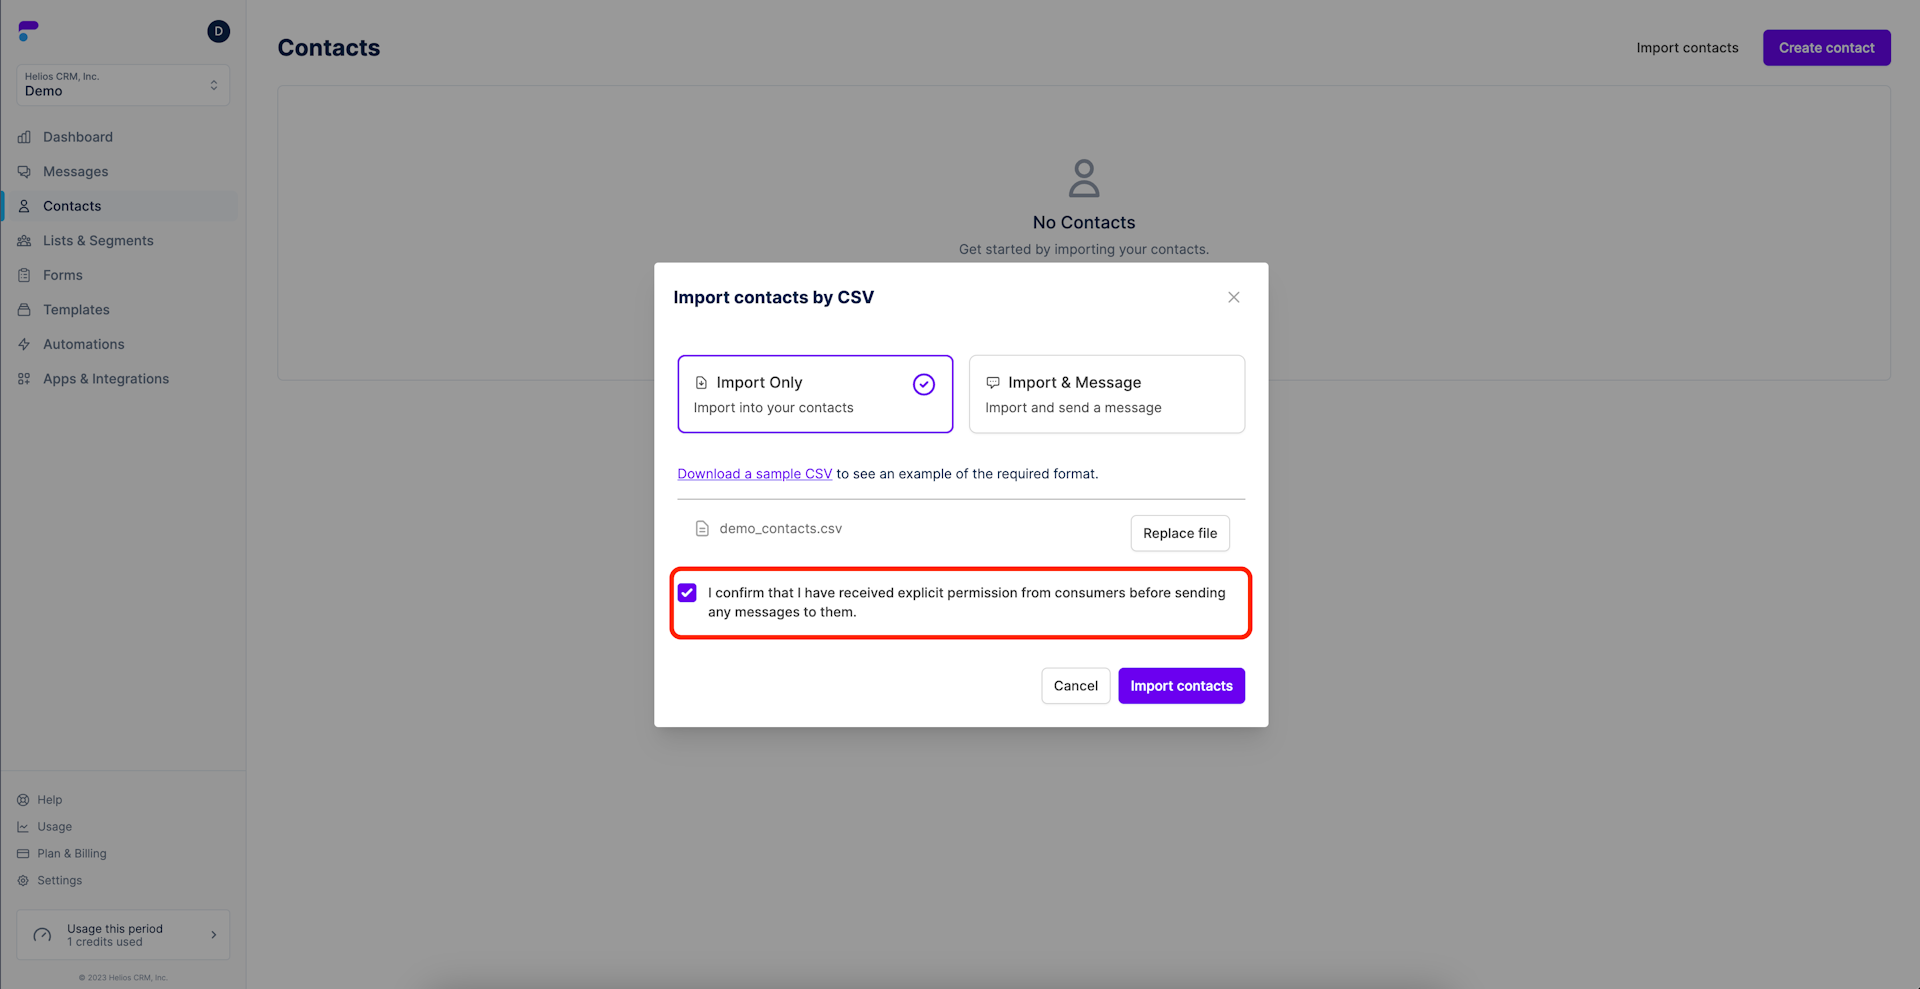
Step 6: Select Import contacts
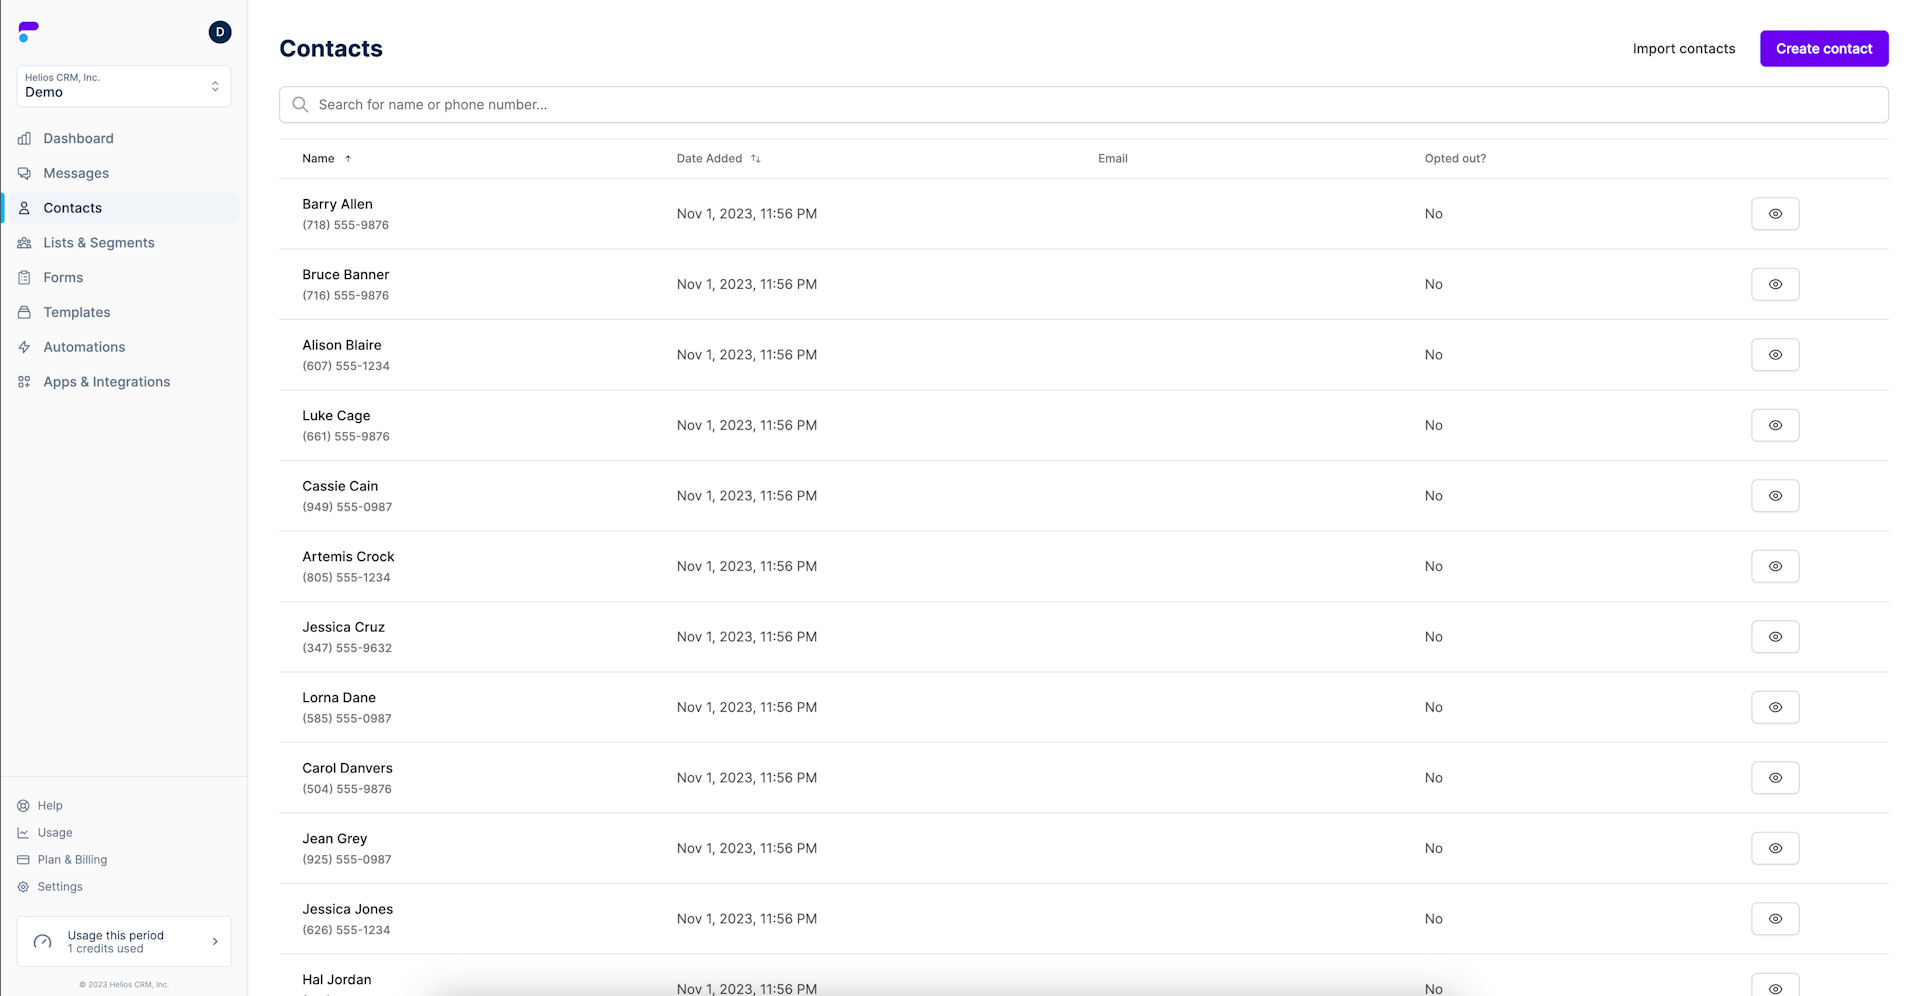
The progress bar will show you just how fast Helios works as your contacts appear in a matter of seconds.
Your contacts should now be displayed when looking at Contacts. Note that the contacts page is paginated and will display 25 contacts at a time. Scroll to the bottom and select the Next button in the bottom right of the screen to go through the pages of your contact list.
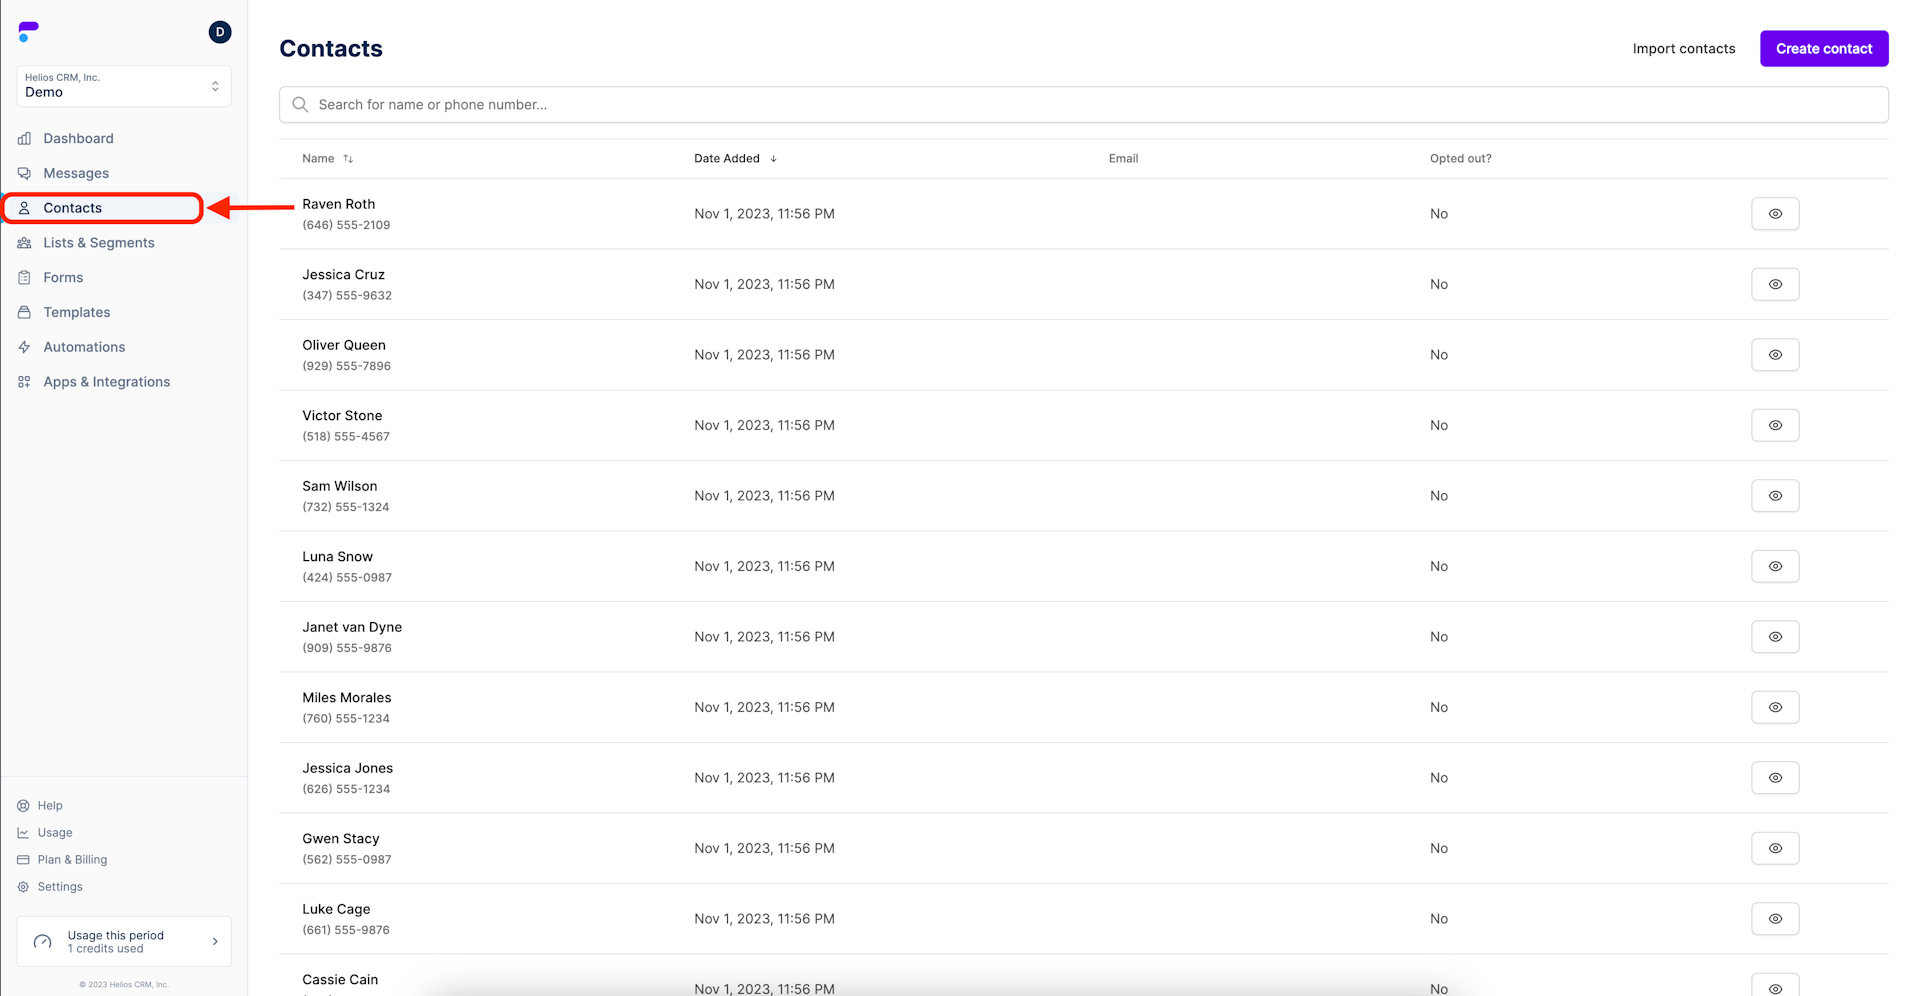
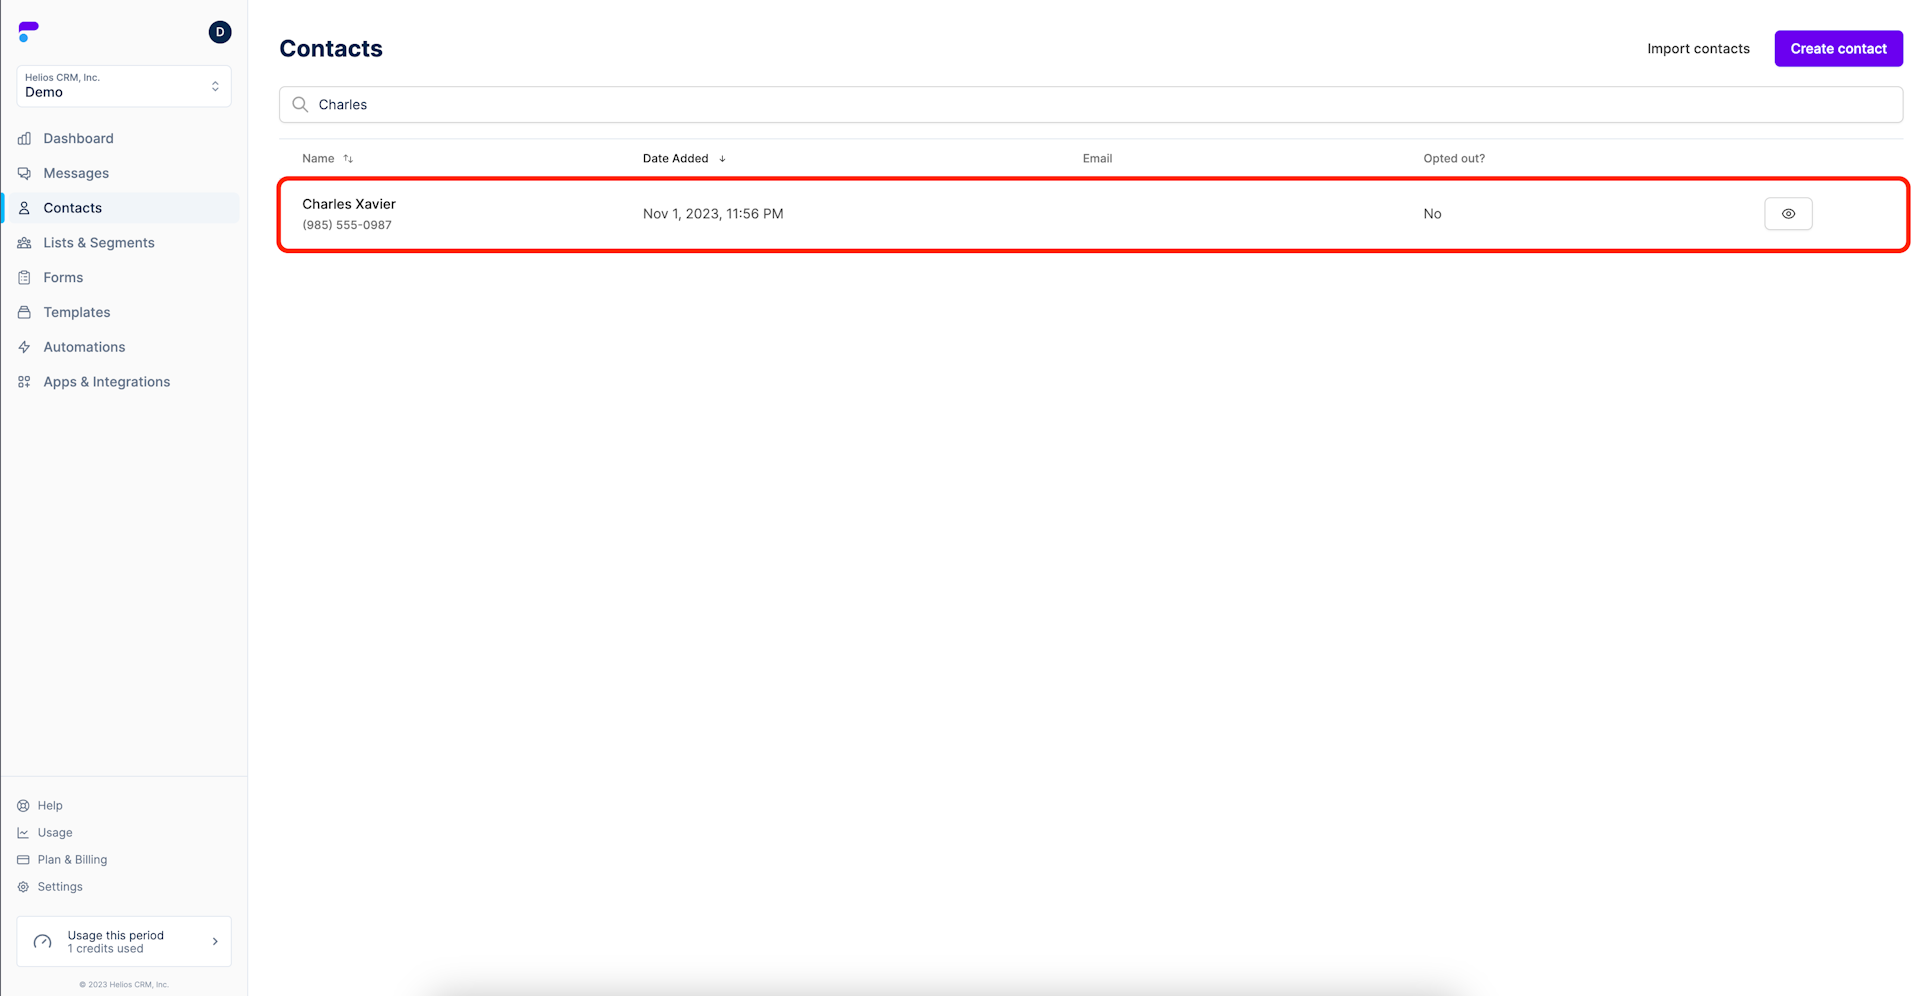
Search for a Contact
Step 1: Navigate to Contacts
Step 2: Go to the Search Bar
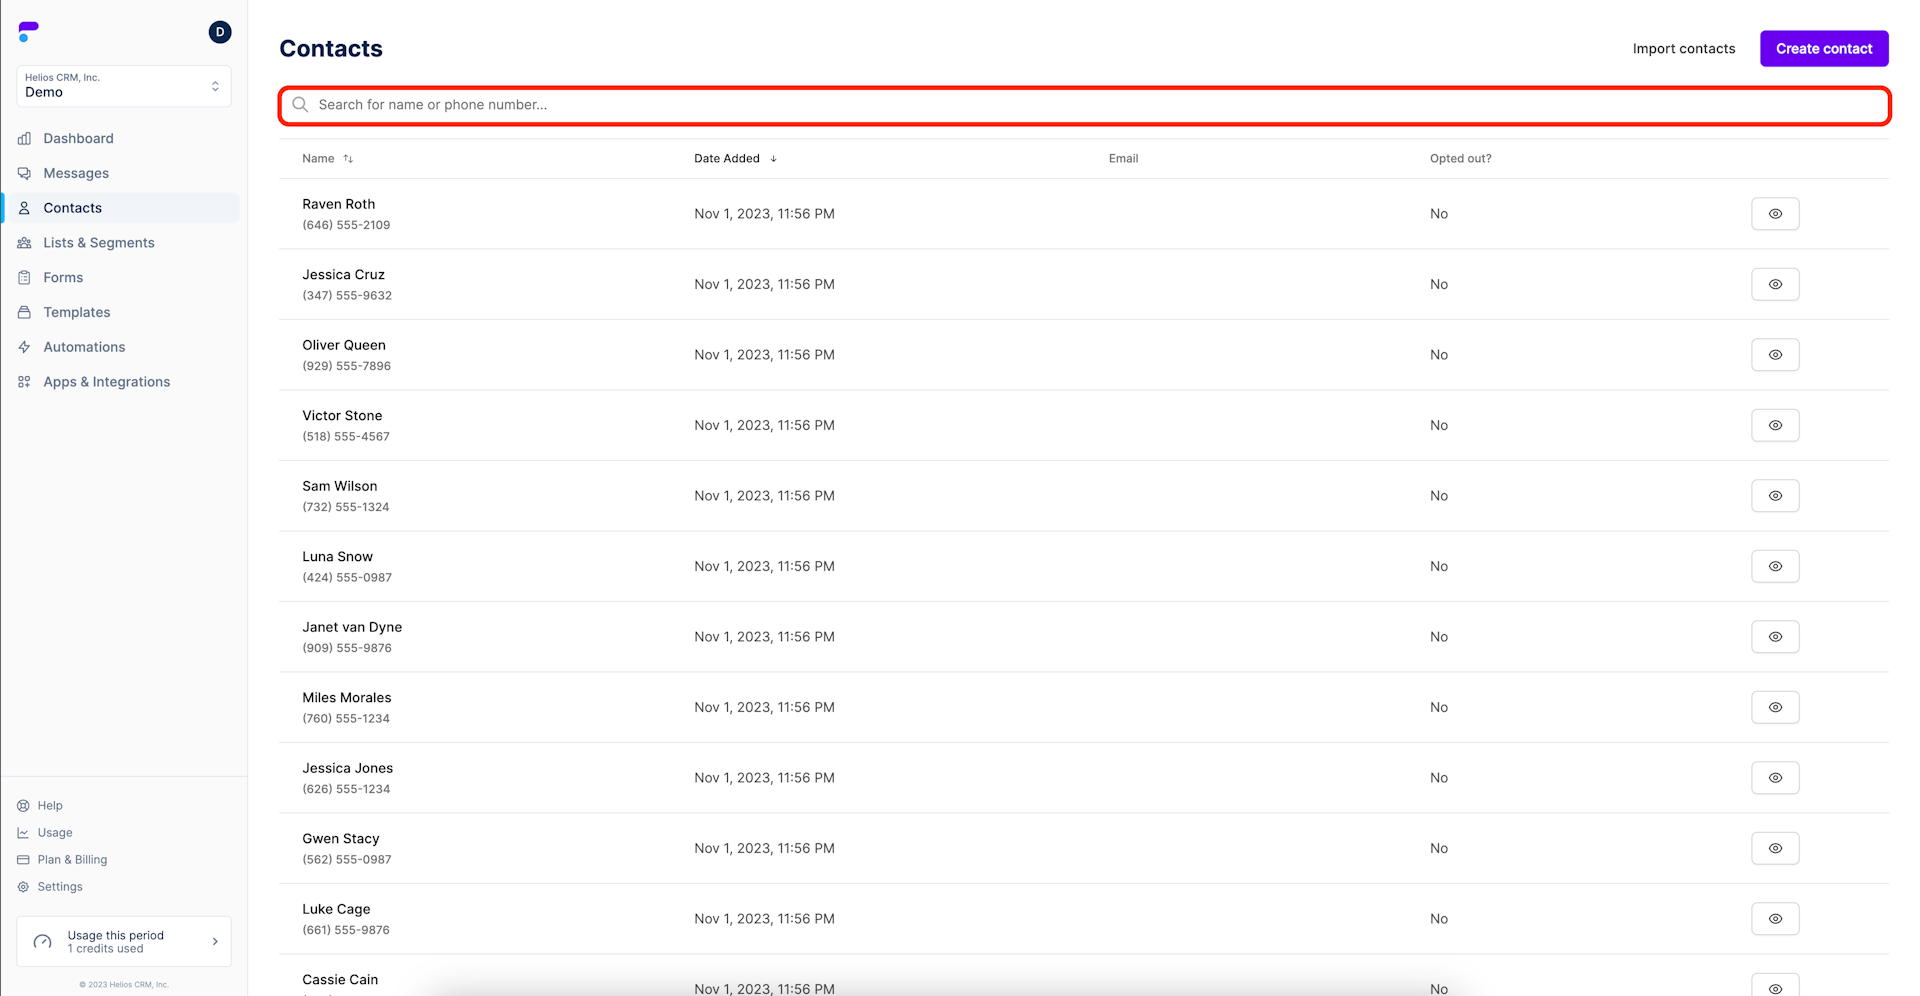
Step 3: Enter the Contact's name or number
Notice that the list of potential contacts auto-populates as you type.
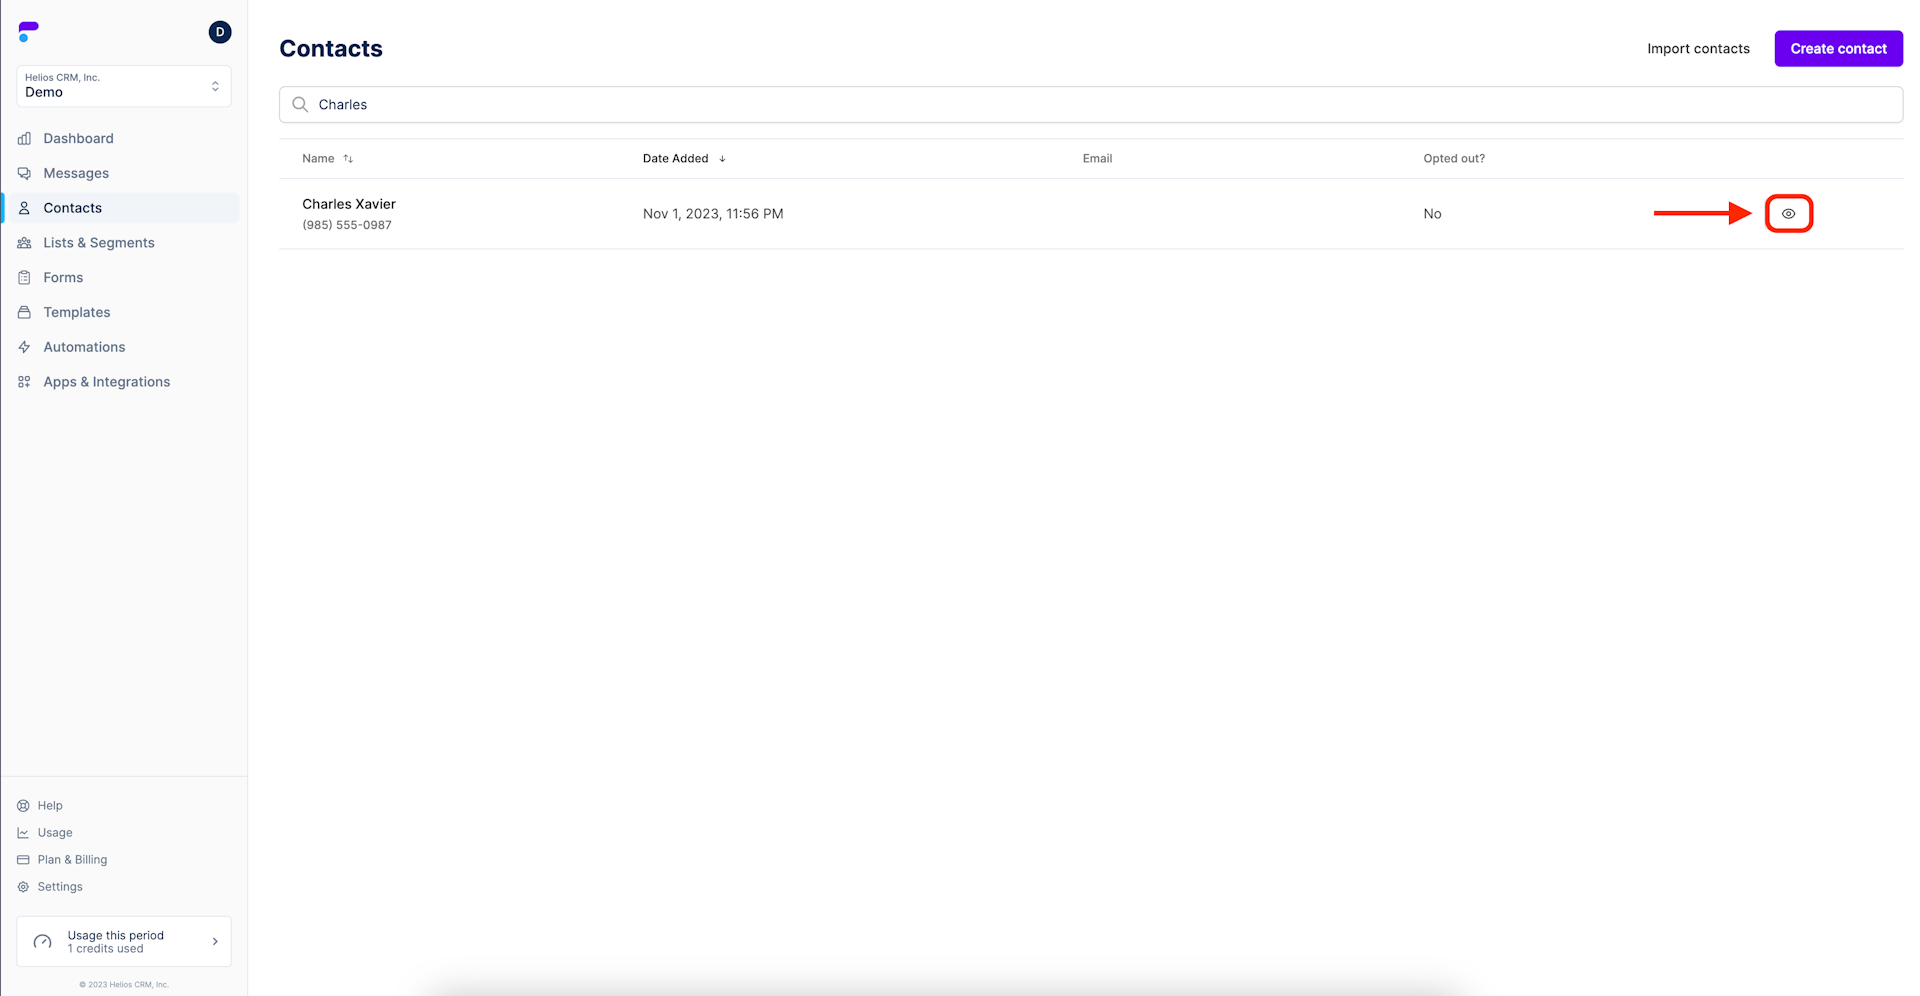
Edit a Contact
Step 1: Navigate to the contact and click the view icon
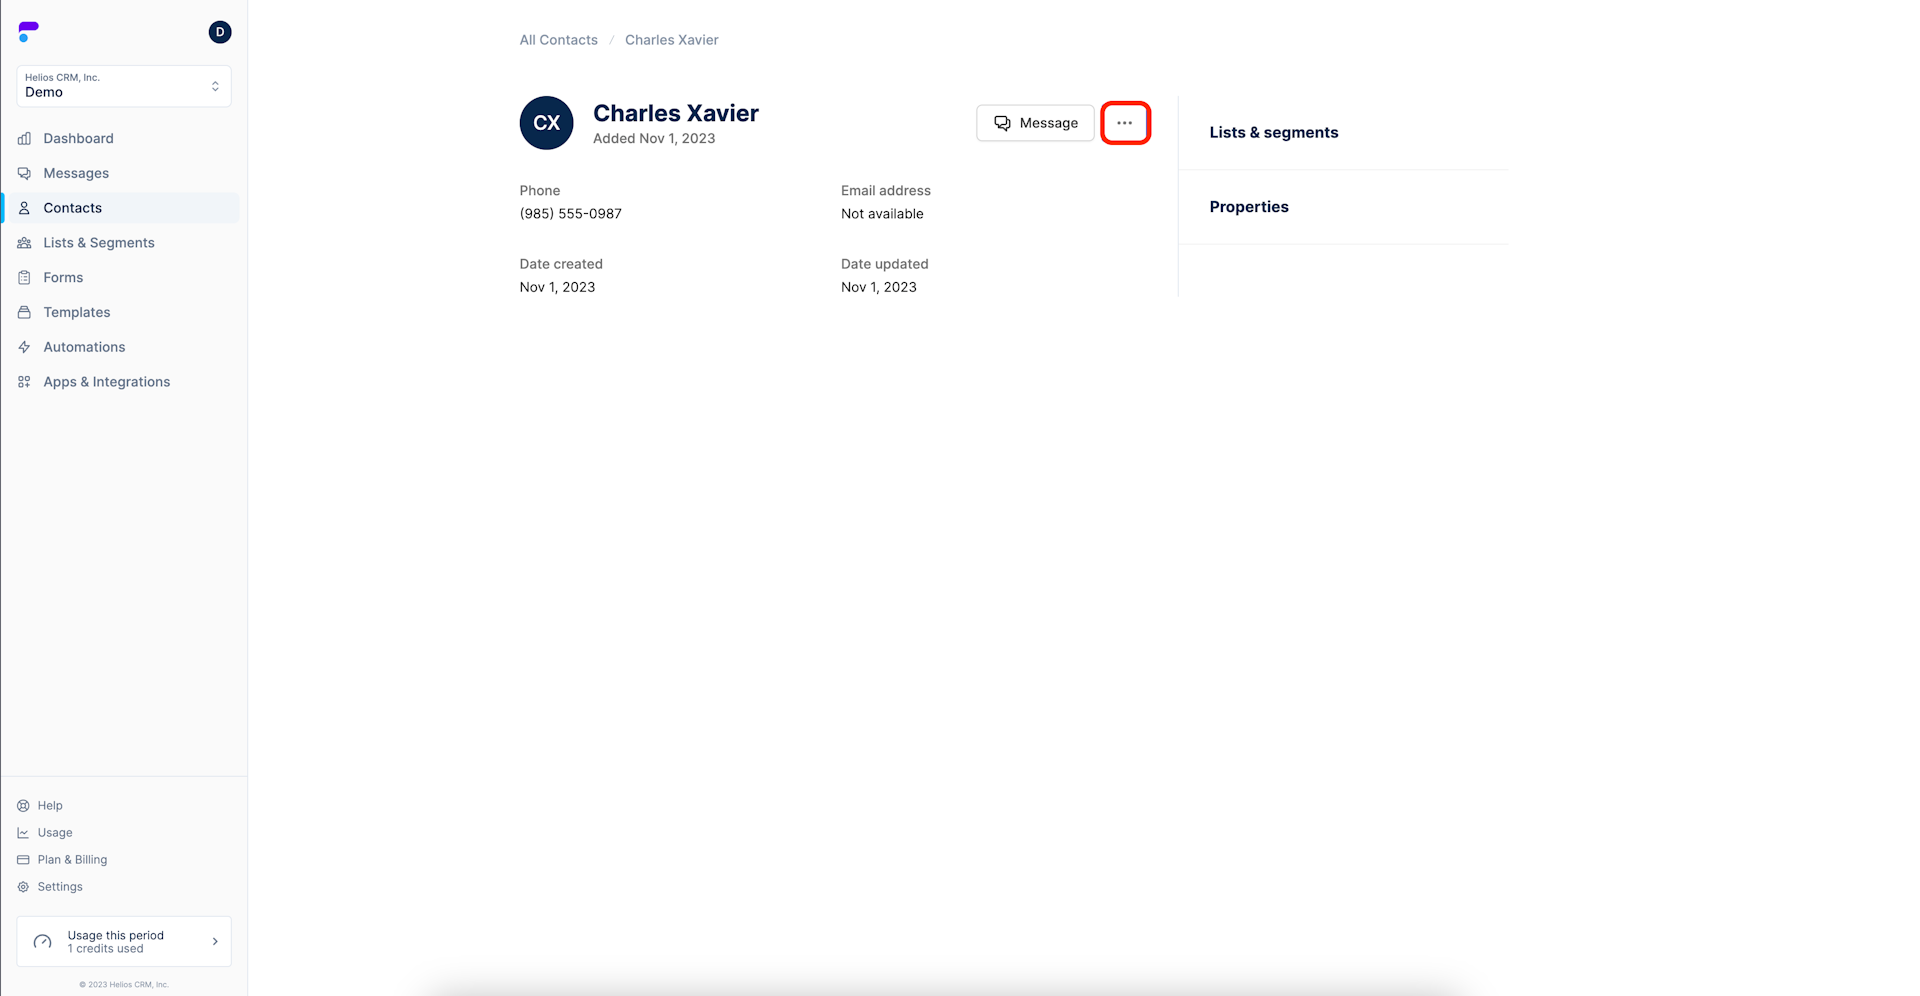
Step 2: Click the options icon
Step 3: Select Edit
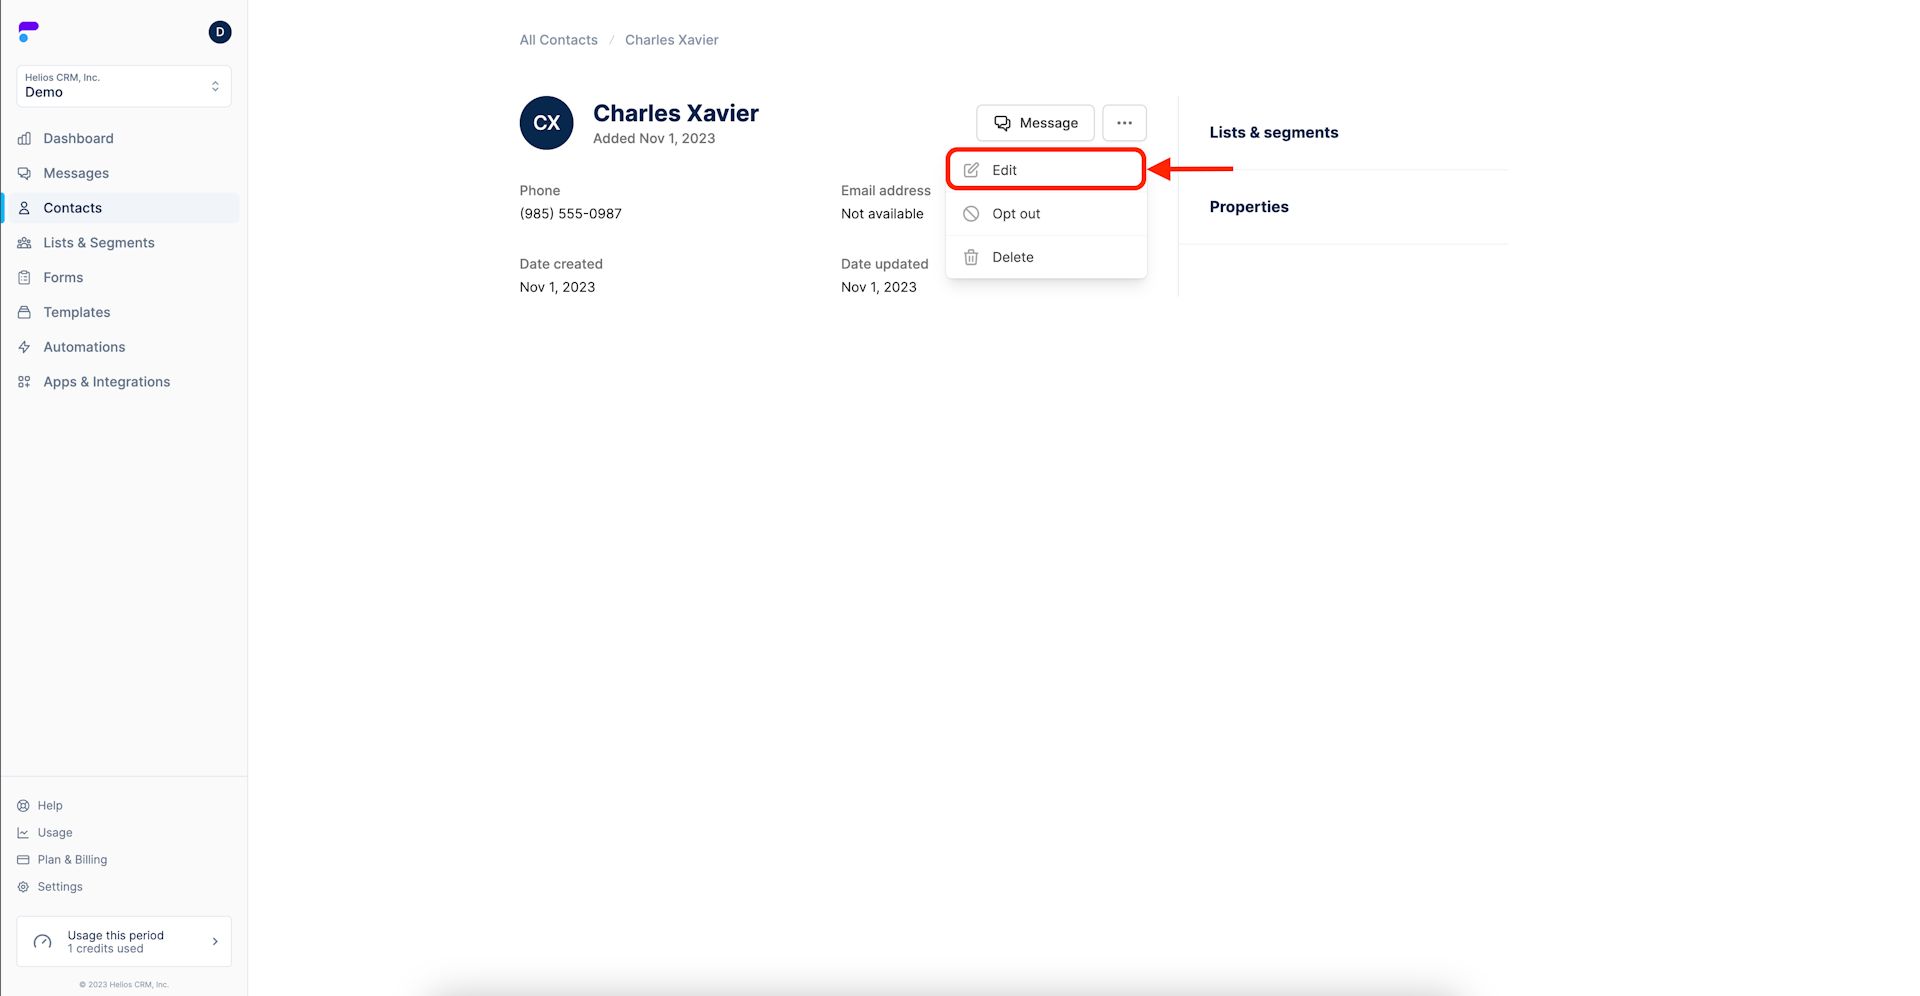
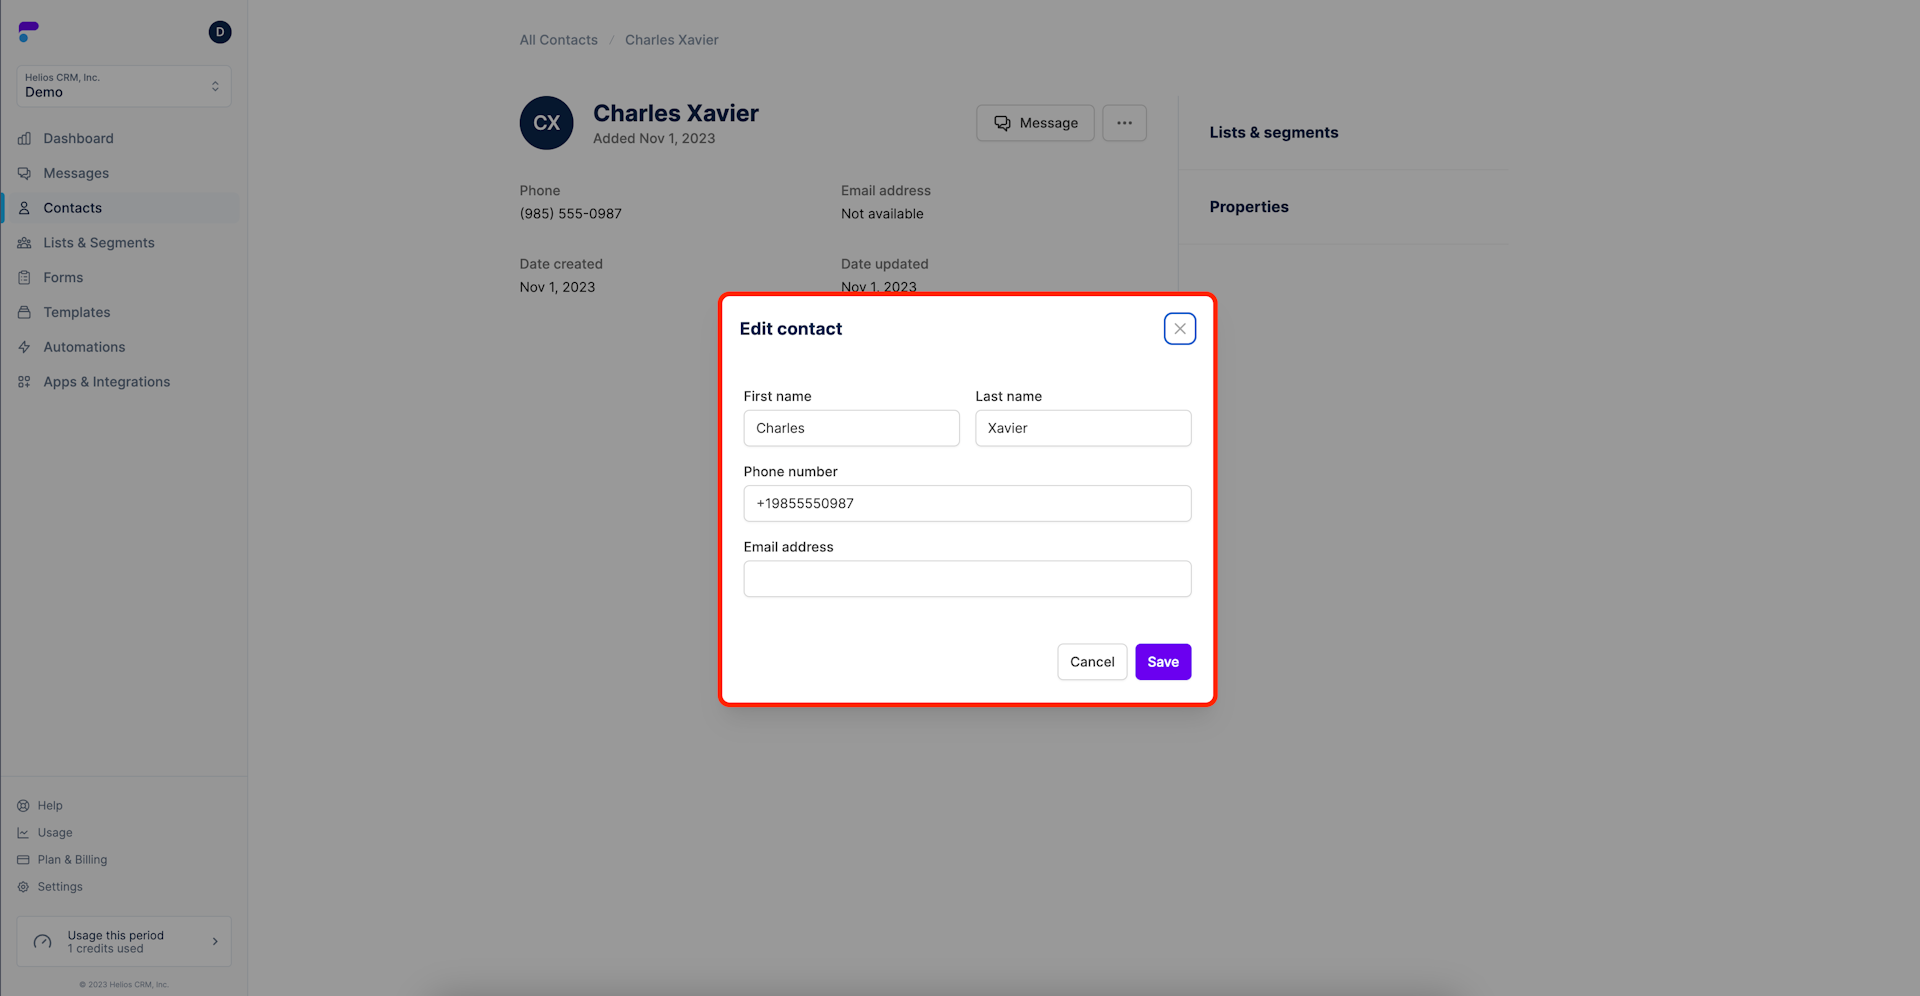
Step 4: Edit the contact's information
In this example, I will manually add the customer's email address. You can also update their name or number.
Note: if your contacts are connected via API they will update automatically based on your CRM or POS system.
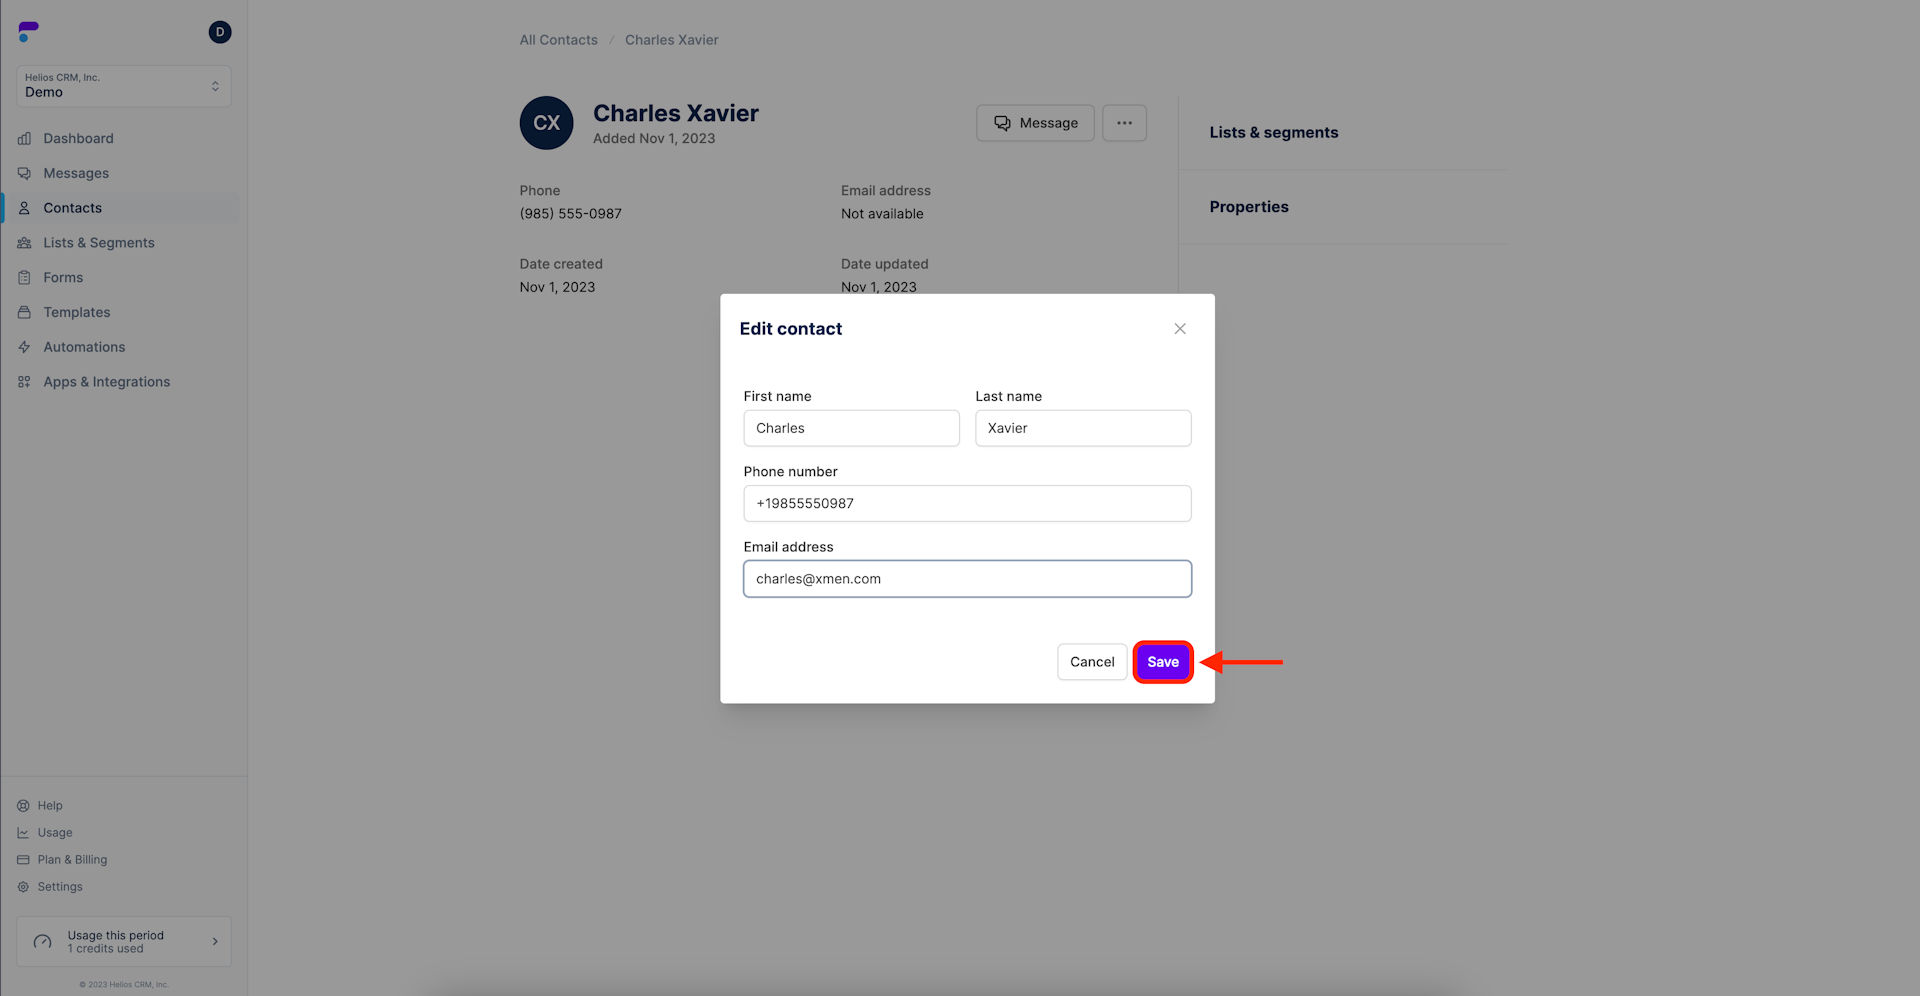
Step 5: Select Save
Delete a Contact
Step 1: Navigate to the contact and click the view icon
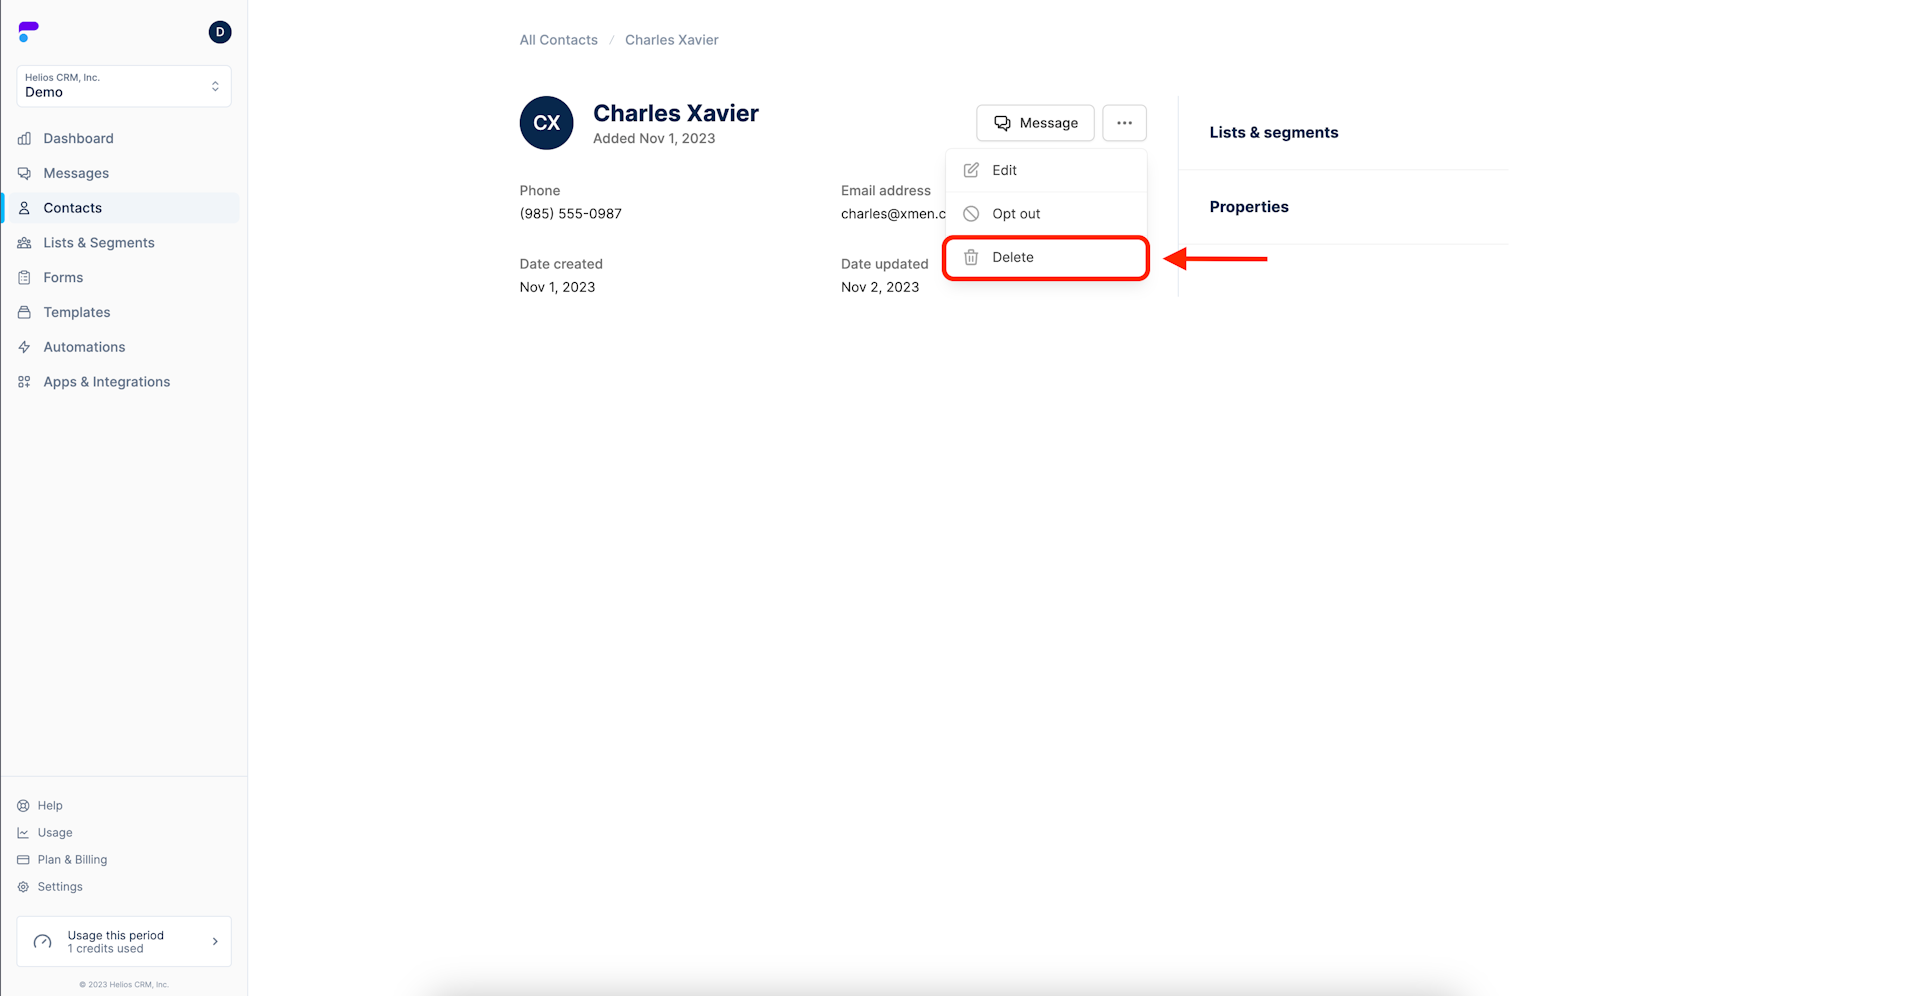
Step 2: Click the options icon
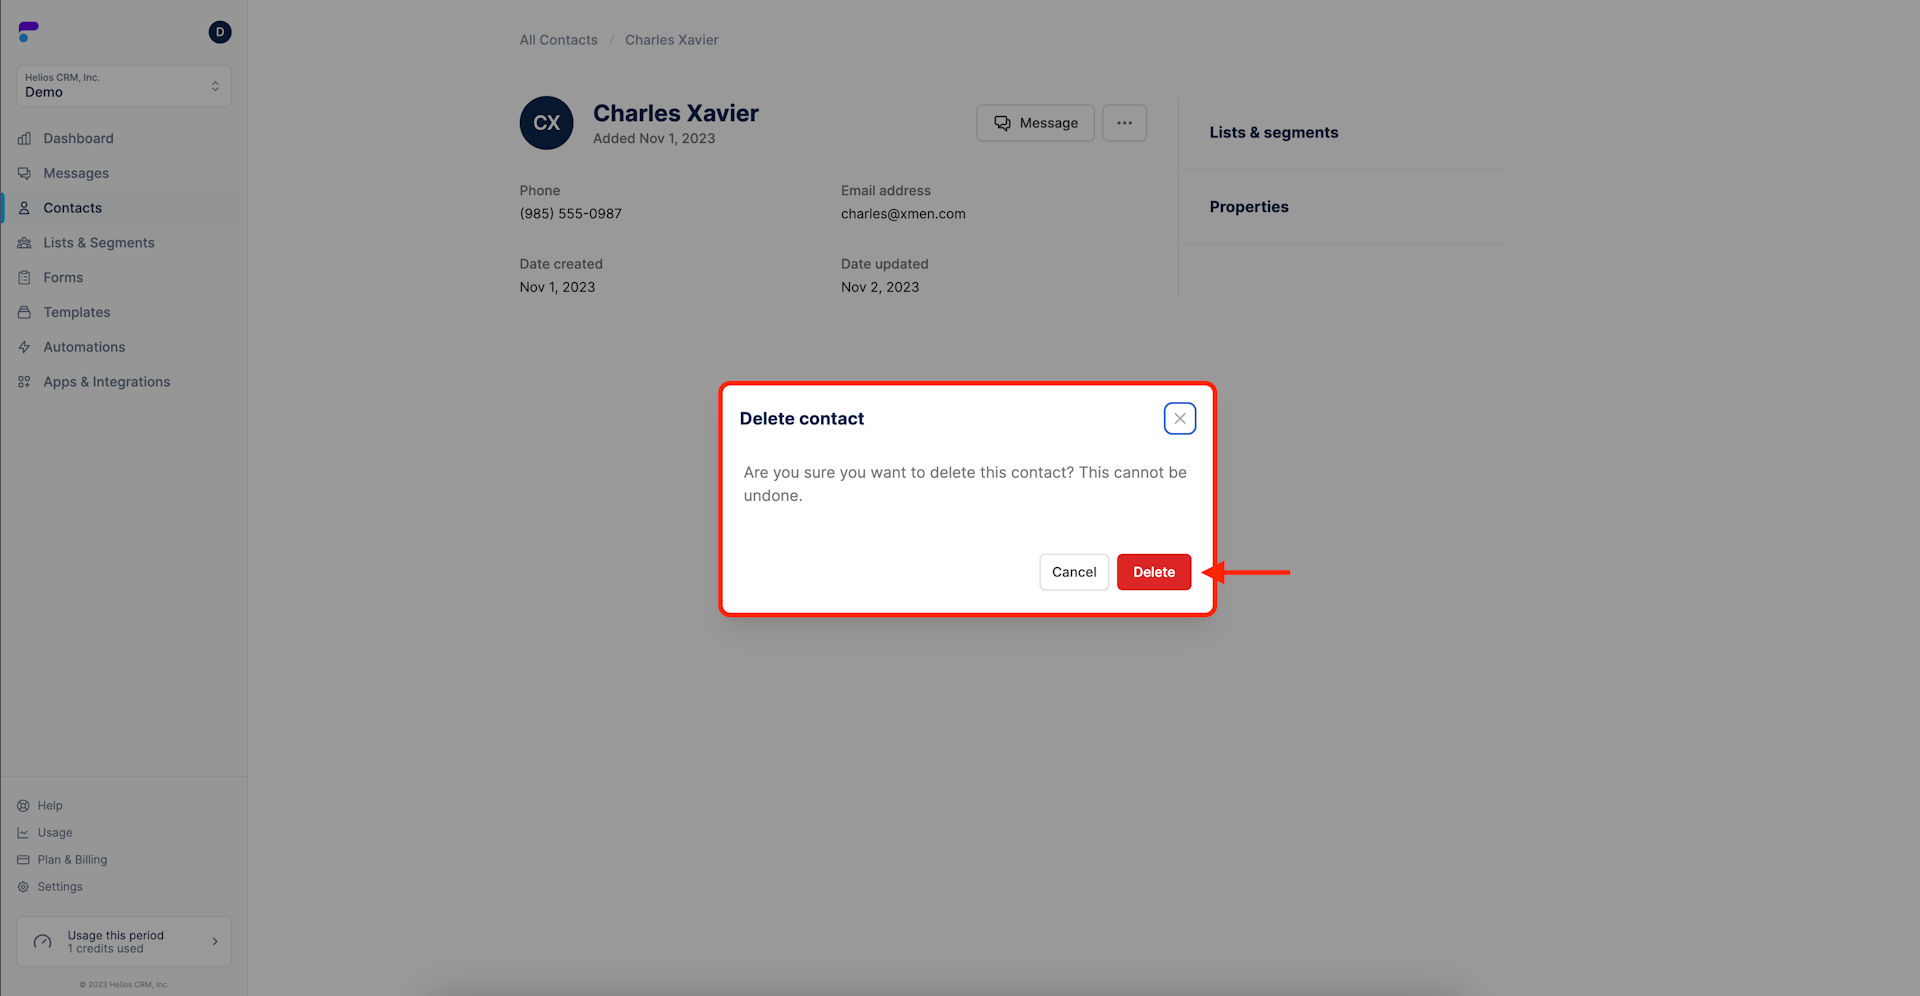
Step 3: Select Delete
Step 4: Confirm Deletion